Help Center
Find answers to common questions about using Picpee
Vendor FAQs
Here's a few recommendations on how to make your profile stand out to photographers shopping for your services:
- Add a profile photo to your Picpee profile. Make sure your profile photo is friendly and engaging. The best examples are either your logo or your headshot.
- Add images to your portfolio for each service you offer.
- Upload unique images for each service you offer instead of using one image.
- Remove graphics from your gallery. Images in the gallery should not include any logos, designs, or graphics - only finished, edited photos.
- Offer a discount to the 1st 5 photographers who use your services.
- Share the link to your Picpee profile with photographers who are looking for editors on social media.
NOTE: Picpee does not provide any editing work directly to editors.
One of the benefits you get as a vendor on Picpee is access to receive payments via e-wallet!
Follow the steps below to get set up to receive payments in Picpee:
- Create your vendor account on the website.
- Set your prices, add images to your portfolio, and complete the verification process.
- Once your verification tests have been graded, you'll receive an email notifying you of the results of your test.
- When you're approved to offer your services on Picpee, you'll see an option in your Picpee profile to connect to your wallet.
- Click the option in Step 3 of your profile set up and follow the steps to connect to your wallet.
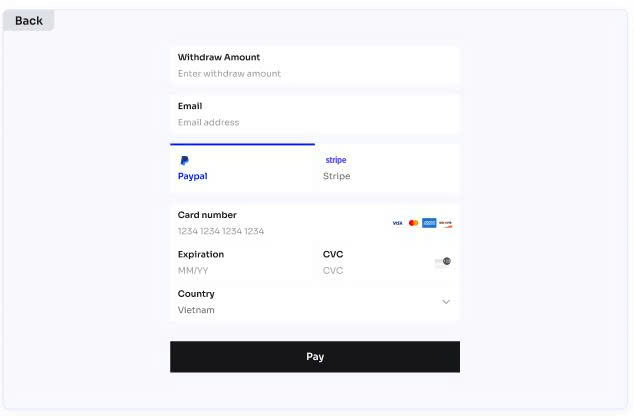
- Enter your banking information where you'd like to receive payments.
Payments for completed orders will not be automatically deposited into your bank account. Once the payment has posted to your Picpee account, you'll need to request a payout from your profile. (Click "Pay out funds" from the left navigation panel of your Picpee account.) This will initiate the payout to your bank account, which can take anywhere from 3-14 business days to reach your account depending on your bank's processing times.
Important Notes:
- The country you list on your Picpee profile must match the country of your bank account. If you selected the wrong country when creating your profile, send us an email at picpee.com@gmail.com and we'll change the country for you.
- Picpee only provides payments through e-wallet and we do not work with any other platforms.
Don't miss a deadline. Message the client as soon as you can. If the client accepts the new deadline, you can move forward with completing the work. If not, the work may be disputed, the money may be refunded to the client, and you can't take payment right away if you still choose to complete the work.
- Create a Picpee provider profile on the site
- Set prices and processing times for the services you want to offer.
- Upload examples to your portfolio for each of those services.
- Click "Get Verified" confirmation. Complete the quiz provided by Picpee.
- Connect your wallet.
- Enable your ability to receive orders!
Here's a few ideas we recommend:
- Choose the best examples of your work for your portfolio.
- Avoid using the test images you were provided during the verification process.
- Select images that are interesting and showcase your skills.
- Include before and after photos to show off your work.
- Add a profile picture, like a headshot or your business logo.
- Keep your profile updated.
- Review your pricing to be competitive with other editors on the marketplace.
- Offer a discount to the 1st 5 customers who use your services. (You can enable this setting from your Picpee profile.)
Based on the following criteria:
- Received many positive customer reviews.
- Provided most or all of the services available on Picpee.
- Provided a track record of clear and consistent communication, on-time delivery, and excellent customer service.
- Received very few disputes or complaints.
- Provided adheres to Picpee's policies outlined in the Terms of Service and complies with the requirements for an approved vendor profile.
It is free for editors to sign up for an account and the service is free. However, Picpee will deduct 20% of the order value and you will receive 80% of the money back. Because Picpee is an intermediary between freelance editors and clients.
Clients will pay in advance for each order and Picpee will hold the payment until the client approves the final revision. At that time, Picpee transfers the amount to the supplier's account, where they can transfer it to bank accounts.
This guide provides step-by-step details for you to complete the editor services on Picpee.
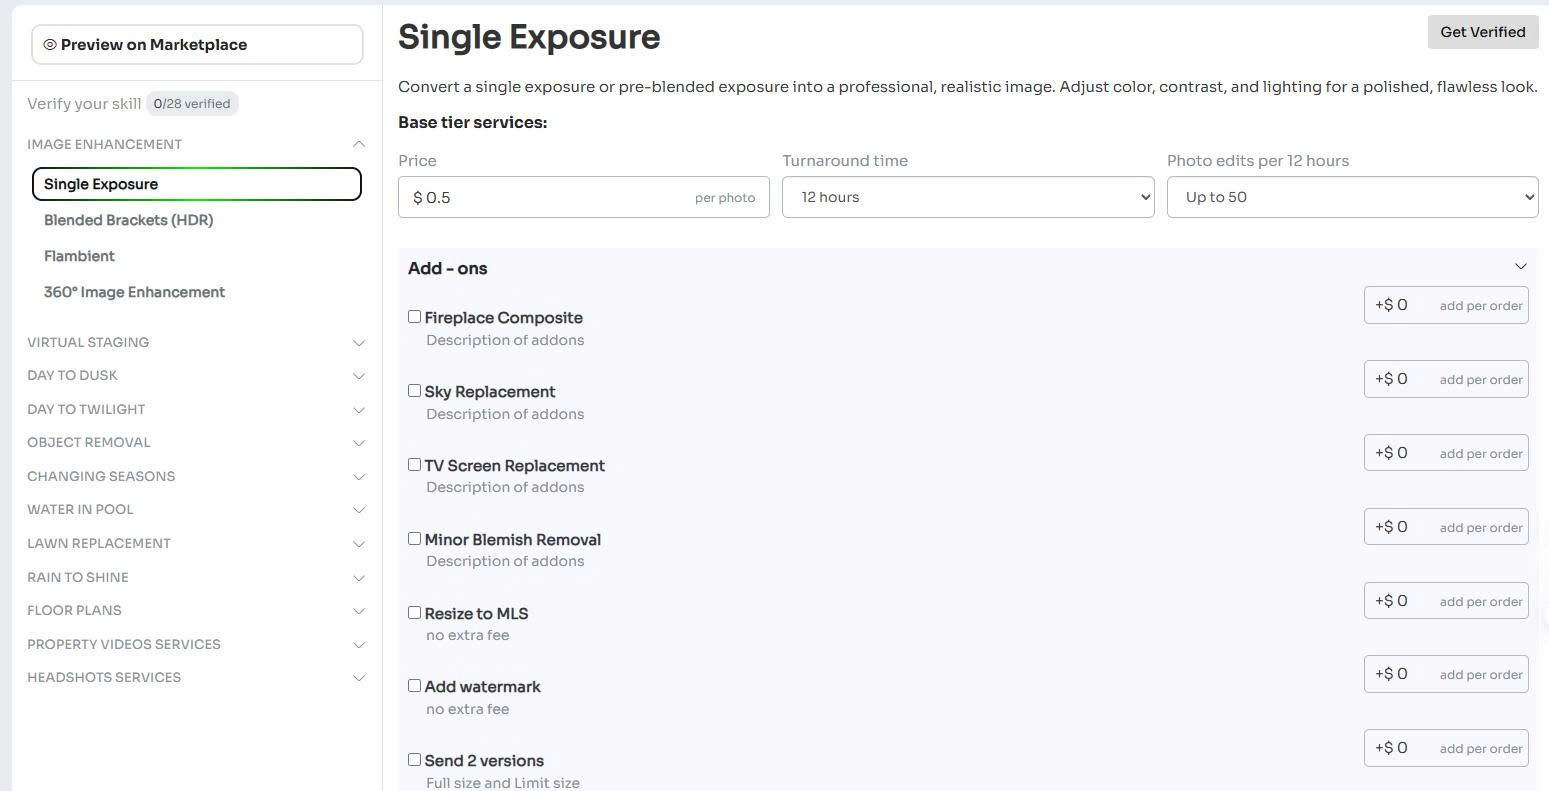
1. Log in to your editor account or create an account if you do not have a Picpee account.

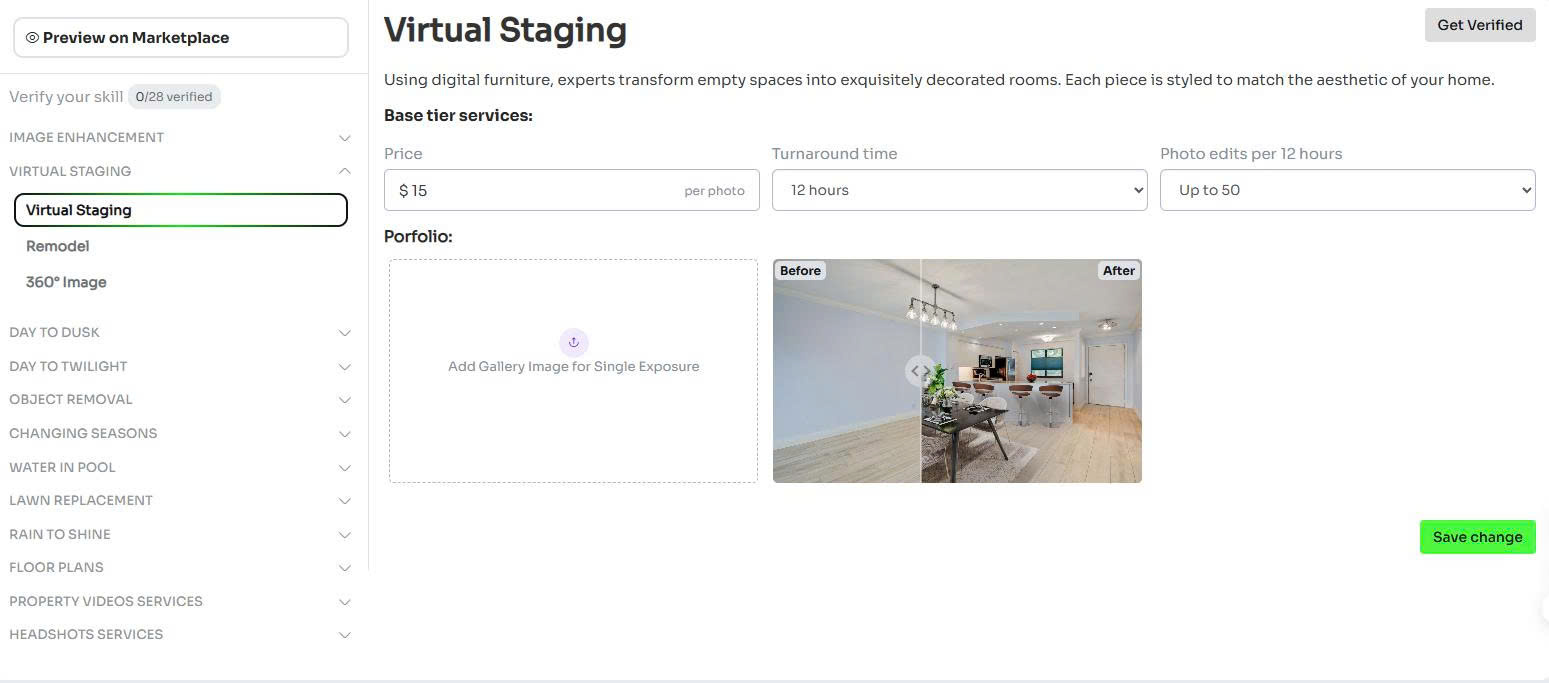
2. Select the service you want to register for. Fill in all the fields such as price, number of photos in a certain period of time, and upload your product
3. Click save information

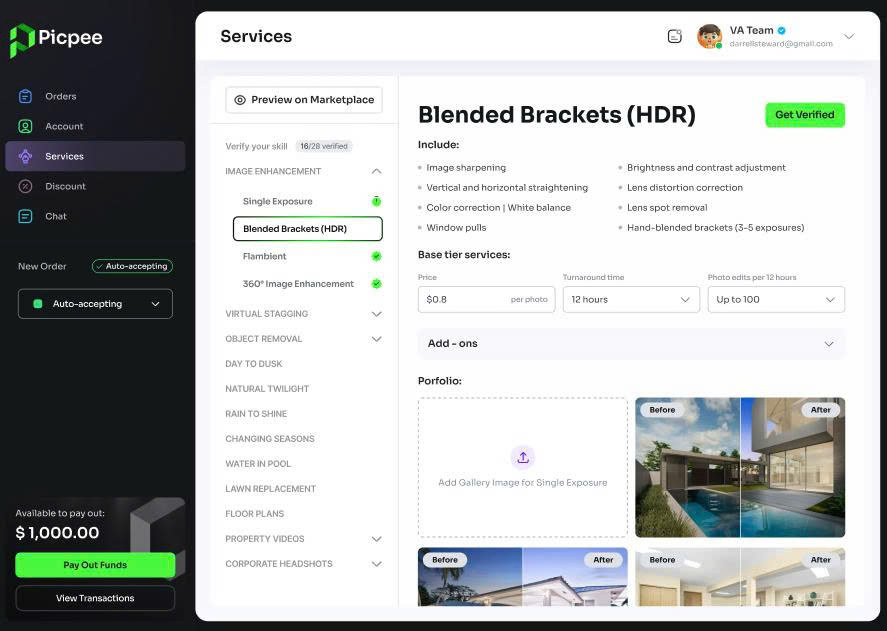
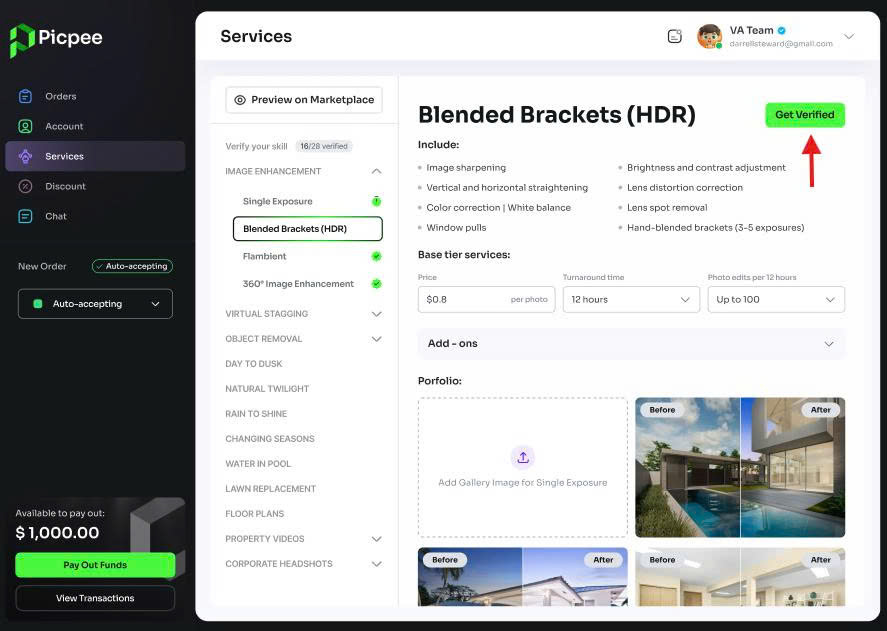
4. Move your mouse to "Get Verified" and click verify
5. After clicking, you will receive a test from the system in the order section. You need to complete the test.
6. After completing, you click complete and ship. The system will review your skills.
7. Repeat this process for each service you register.
We want you to reach your full potential and get the jobs you want. Here are some simple yet effective ways to make your profile stand out and attract photographers looking for photo editing services:
1. Invest in your profile
- Professional profile photo: Use a clear, friendly headshot or your personal logo if you're a studio.
- Short, clear bio: Describe your editing style, experience, and strengths. Avoid being too wordy, focus on what makes you different.
2. Build a quality portfolio
- Post a variety of work you've done: For each service you sign up for, post a variety of work you've done so clients can evaluate your experience.
- No generic photos: Don't use real estate photos from the web or skill test photos provided by Picpee.
- No logos or graphics: Picpee requires clean gallery images with no watermarks or logos.
3. Create an initial offer
- Offer a discount for the first 5 customers: This is a quick way to get your first orders and start getting reviews. You can activate this offer in the "Promotions" section.
4. Share your profile
- Post your profile to community groups: Share your Picpee profile link to Facebook groups, photography forums, or your personal page.
- Be proactive: If you know a photographer who needs their photos edited, don't be afraid to send them your Picpee profile.
Before you start disputing an order, you should try to resolve the issue directly with the customer. Send a message in the order to clearly and politely discuss the difficulty you are experiencing.
Steps to file a dispute
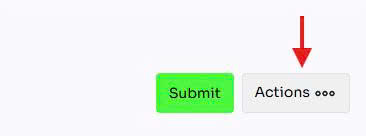
1. Access your order. Click the "Actions" button in the upper right corner of the screen.
2. When the menu appears, select "Submit a dispute". A message will appear, read it carefully and agree to continue the process.
3. Select the appropriate dispute reason:
You will see several options, for example:
- Customer assets Unable to Access: The customer did not provide sufficient access or data to complete the order.
- Customer requests Beyond Agreement: There is a request that goes beyond the scope of service or the initial cost agreed upon.
- Customer refuses to Accept Product: Even though you have completed the order correctly and completely, the customer still refuses the product.
- Order cancellation Required: For example, the customer ordered the wrong service or the wrong quantity.
- Other reasons: If the problem is not in the above categories, select "Other" and explain specifically.
4. Provide more specific and clear information so that Picpee's support team can understand the situation and best support you.
5. Complete the process by submitting the form.
Important Note:
- You can withdraw the dispute if you and the customer can resolve it privately. To withdraw the dispute, go to the menu where you created the "dispute" and select withdraw dispute
- Your complaint will be reviewed by Picpee's admin team within 1 business day.
- The customer will receive a notification of the dispute, but will not see the reason you selected.
- Although Picpee is committed to fair review, we cannot guarantee that the dispute outcome will always be in your favor.
Although disputes are sometimes unavoidable, if they happen frequently or are not resolved satisfactorily, they can still affect your reputation on Picpee.
If the dispute goes in the supplier's favor, you will not be required to pay a refund or pay more for that order. In some cases, Picpee will split the payment in half, refunding part to the customer and paying the rest to you, depending on the level of completion of the job.
However, Picpee will record your dispute history on your profile. If you have multiple disputes or are repeatedly reported for poor quality work, you may:
- Have your account temporarily suspended for review,
- Be financially penalized according to the platform's policies,
- Or be permanently suspended for serious or repeated violations.
Some tips to avoid negative impacts:
- Always communicate clearly with customers before and during the process.
- Read the order requirements carefully and confirm if there are any unclear points.
- Limit disputes by proactively proposing solutions instead of confrontation.
- Choose your best edited image
Start with your strongest image as the first image in each portfolio. This is the image that will make the first impression on your clients. - Focus on the visual element
Avoid choosing images that are too monotonous, such as empty rooms or uninteresting angles. For example, with a single exposure portfolio, an overhead shot is not suitable. Choose interior shots with a wide angle. - Diversify and specialize
Show a variety of projects to show that you have experience working on a variety of properties. Don't just stick to one type of photo. Show off your versatility in editing techniques, especially if you offer add-ons like Virtual Staging, Day to Dusk. - Keep your photo gallery Before/After
Upload before and after photos to help clients see your editing skills. Note: Don't include text, logos, or graphics. This can be distracting and make clients feel unprofessional. - Update your images regularly
Continuously update your best images, to demonstrate your skills improving over time. - Make sure each photo is relevant to the service it's about
For example, if you're building a portfolio for Virtual Staging, don't use a photo of a city skyline. Choose photos that clearly illustrate the transformation from a bare space to a furnished one.
Customer FAQs
There are no additional fees for customers to use the Picpee marketplace. You only pay the fee for the service you choose.
Of course you can. All customer and supplier communication can take place directly on Picpee.
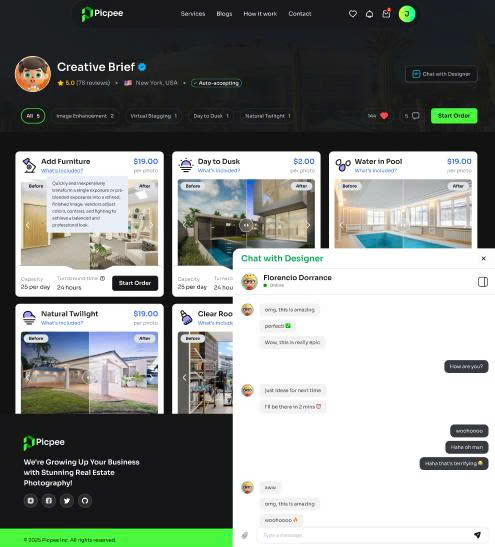
Direct messaging system between customers and vendors
The vendor profile also lists their timeline and the project must be completed within that time.
You will receive a notification when the vendor has submitted the final revisions to the order. The vendor is paid when you choose to accept.
If the vendor does not deliver the project on time, you can dispute the project. Our team will review and refund the money to your e-wallet.
Picpee suppliers do not offer free trials. To test a supplier, you can place a small order of 3-5 photos to compare their style and processing time.
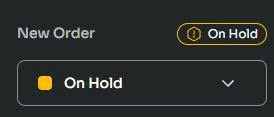
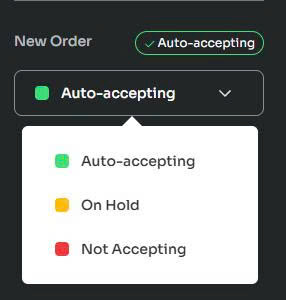
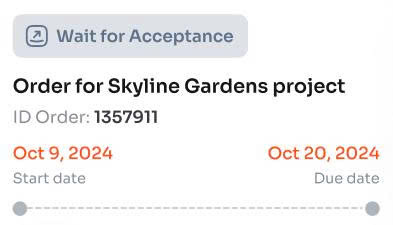
- The vendor is reviewing each order received. The vendor has up to 12 hours (from when the order was submitted) to manually accept or decline it. The deadline for the order is set when the work is accepted.
- The project's status will show as "Submitted" until the vendor accepts (which will show "In Progress") or declines (which will show "Declined").
- After 12 hours, any orders that have not been accepted will be automatically declined. If rejected, the funds will automatically be refunded to your e-Wallet balance.
- You will receive an email as well as in-app notification when the order is accepted or declined.
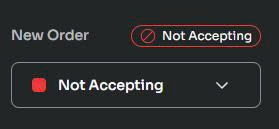
- The vendor is not accepting any more orders at this time. Check back later to see if the vendor is available or select a different vendor.
- If you're waiting on work you've already ordered from this vendor, he is still able to deliver previously accepted work or deliver revisions.
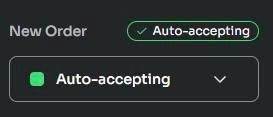
For vendors who offer immediate work and show that they are online right now and accepting work immediately.
It is inevitable that you will order the wrong number of images and choose the wrong service or add other add-ons. To change a service after ordering, you should complain to us to cancel the service and get a refund. Then you put the replacement service in your project.
You can rate a vendor after you accept a project. This rating will be displayed on the vendor's profile and will be visible to clients.
If you continue to work with the same provider in the future, you can change or update your previous comments.
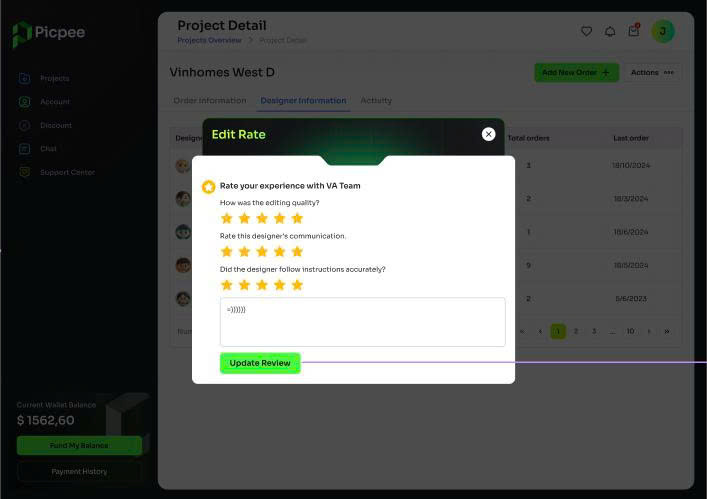
Leave reviews and ratings for vendors after project completion
Yes, once the Picpee admin has resolved the dispute, you will be able to leave a review.
Once the provider finishes editing the video, they will upload the finished video to the same Google Drive or Dropbox folder you shared in the order. Once the video is uploaded, it will automatically sync to your account. This way you can access it directly or download it.
To request a refund for a service or project on Picpee, the order must first be disputed. After submitting a dispute, Picpee's support team will review within 1 day whether or not the refund is available. Once a project or service is marked as "Approved", it cannot be disputed or refunded.
How refunds work:
- Refunds from disputed orders will be credited to your Picpee balance.
- This credit can be automatically applied to your future orders on the platform.
- Refunds will not be issued directly to your credit card or original payment method unless otherwise specified.
You can't build a Vendor Team directly on Picpee. But you can create a list of favorite editors by tapping the heart icon in their profile. This way, when users create projects and add services, the providers on the list will be suggested first, making it easier for you to choose.
If you want to remove this editor from the list, just tap the heart icon in the favorites again.
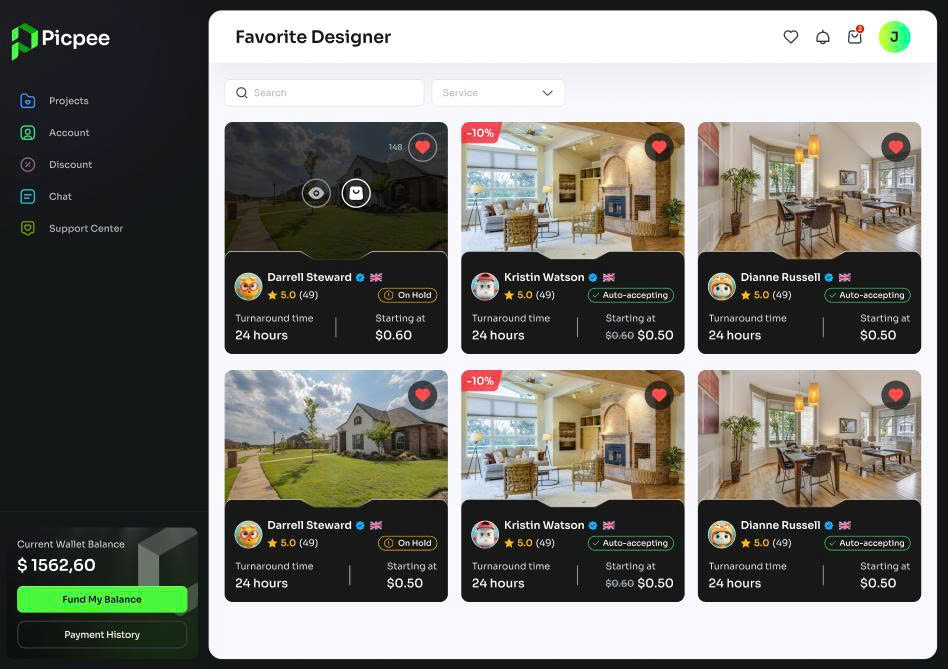
Favorite vendors list with heart icon toggle
We love it when you want to recognize your sellers' hard work and dedication! Currently, Picpee does not support tipping. But we will work to add this feature in the near future.
Projects are a convenient way to organize multiple services under one platform. They're perfect for managing everything related to a single real estate listing or campaign.
Think of a Project as a folder where you can:
- Group all services (editing, virtual staging, morning to night, etc.)
- Track the vendors you've hired
- Track payment status and project progress
- Easily reuse or duplicate services for similar listings in the future
On your Projects page, you'll see an overview of all your projects in a grid or list format, including:
- Project name
- Services ordered
- Related vendors
- Total amount paid
- Status of each service
When you open a project, you'll see:
- A summary of services, vendors, and payments
- Project-specific actions via the Actions menu (three dots), including: Rename project, copy project, create template from project, add new service and project dispute.
General FAQs
We welcome your comments and ideas so that we can continuously improve our services and features, optimize our workflow to make it as convenient as possible for you. You can share your thoughts and ideas via the Help Center.
This number represents how many reviews the customer has left, not how many projects the provider has completed. This number is only updated if a customer leaves a review.
- Reviews can be seen by anyone on Picpee, while expectation ratings cannot.
- Reviews apply to all work performed by a provider, while expectation ratings apply specifically to each service ordered from a provider.
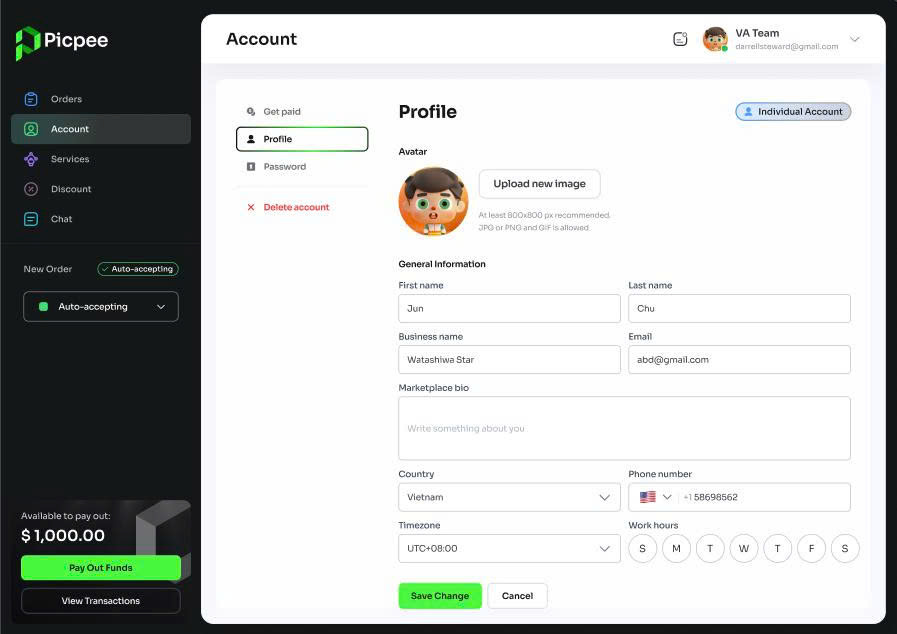
Want to update the email address associated with your Picpee account? Here's how:
- Log in to your Picpee account and go to your Profile.
- In the Account Information section, enter the new email address you want to use.
- Click Save to finish.
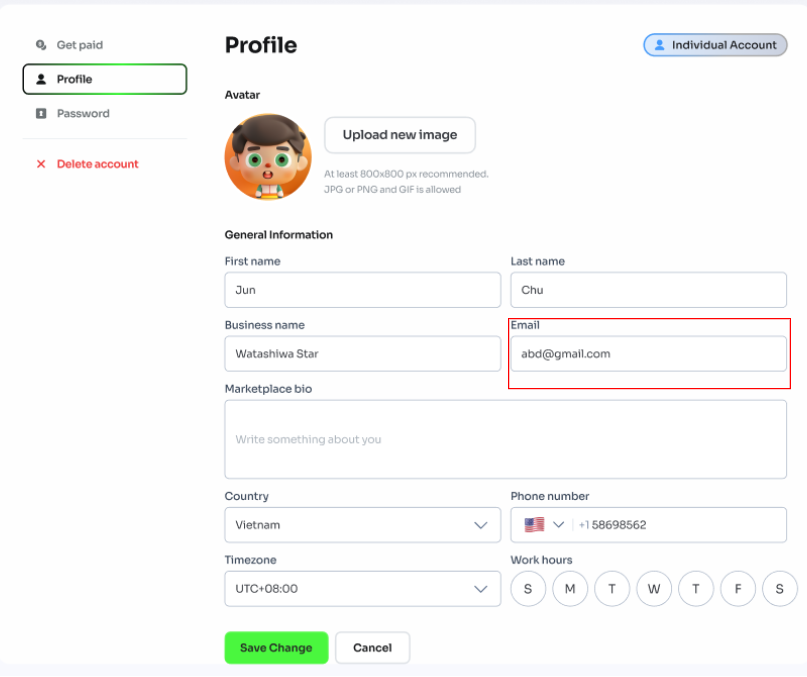
Account Information section for email updates
Note: Changing your email on Picpee does not automatically change the email you use to receive invoices from the payment gateway that processes your transactions.
If you are logged in and want to change your password, go to your profile. Click on password. Here you need to re-enter your old password and new password. After completing, click "save" and you have successfully changed your password.
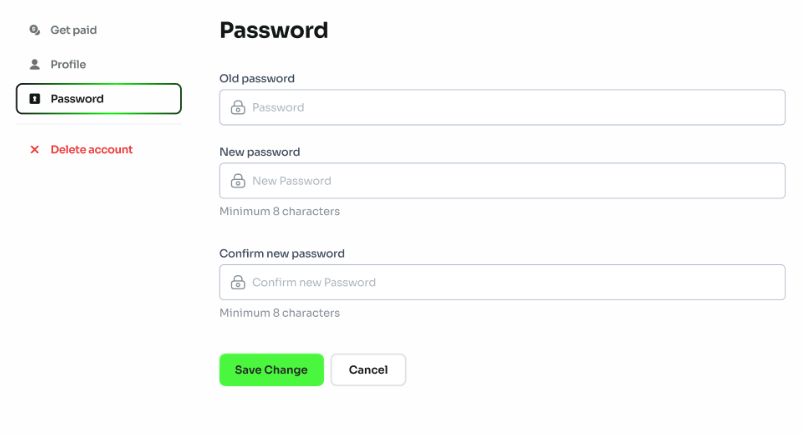
Password change interface in your profile settings
If you forget your password on the login screen, click on "forgot password". Then, you need to enter your email to receive the OTP code provided by Picpee.
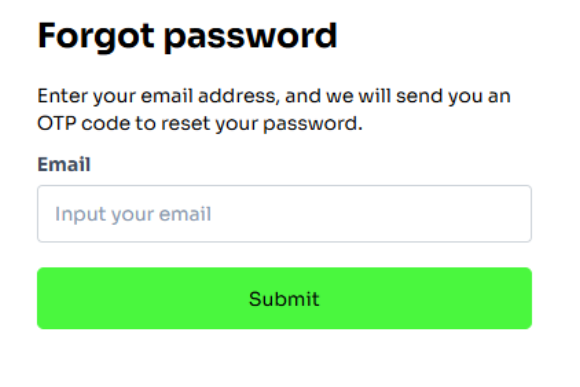
Forgot password email input screen
Next, you just enter the OTP code just provided and re-enter the new password.
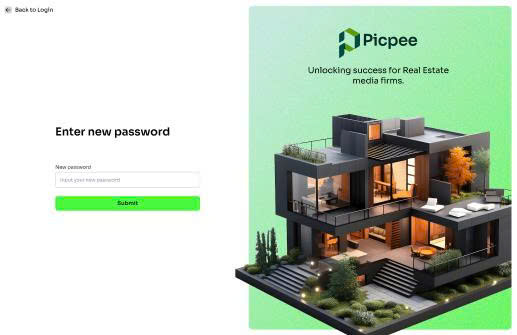
OTP verification and new password setup
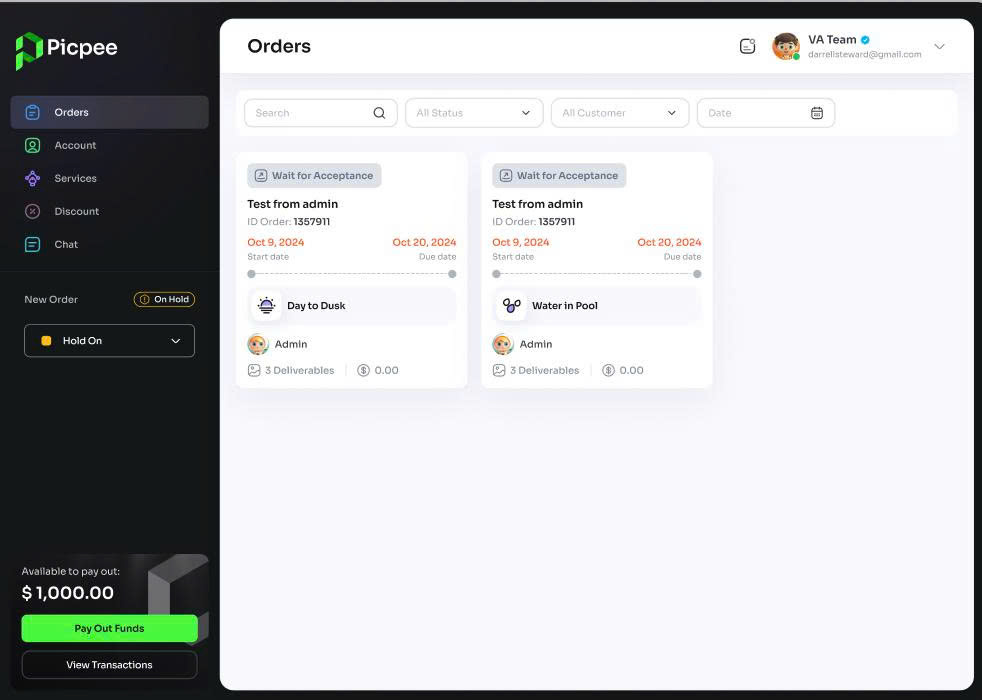
Your order status is updated and categorized in the Project section, making it easy for you to track your order.
The statuses listed in a project are:
Submitted: The service has been ordered from the supplier and you are waiting for the supplier to accept it.

Started: The project has been accepted by the supplier and the deadline is calculated at this time.
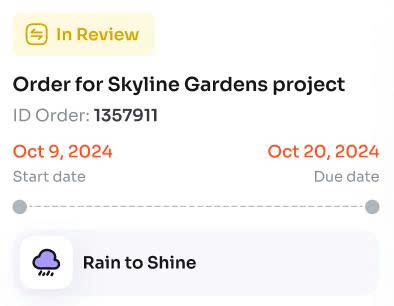
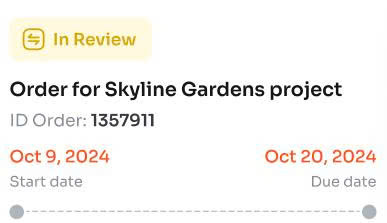
In review: You and the supplier are discussing to clarify the requirements and style, ensuring the project is implemented as desired.
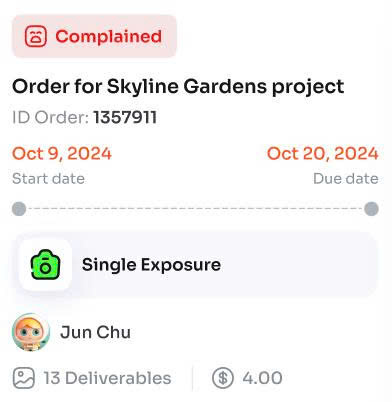
Complained: You have a problem with the project and have submitted a complaint for support to resolve it.
Request for revision: You have requested the supplier to revise it and are waiting for completion.
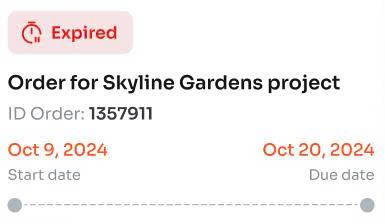
Expired: The supplier has not completed the project within the proposed deadline.
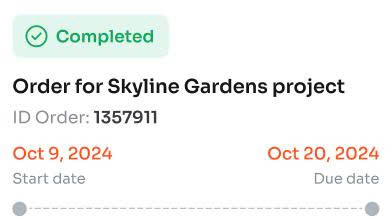
Completed: The supplier has completed the work and you accept the project and pay the supplier.
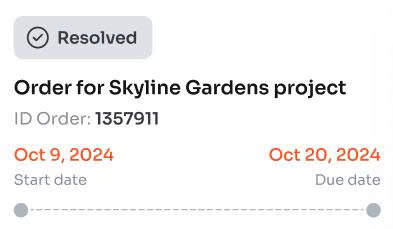
Resolved: Any issues or complaints regarding the project have been resolved satisfactorily.
Whether you are a customer or a supplier, you can use Picpee for free. Users do not need to pay to register an account or to list their services on the platform.
Picpee operates on a revenue sharing model. Specifically:
- Customers pay the exact price listed (in USD) on the supplier's profile.
- The supplier receives 80% of the amount for each order they complete.
- Picpee retains a 20% commission to operate the platform, ensure payment security, and support customers and suppliers.
Picpee brings real value to users:
- Transaction protection: Picpee only pays when the customer has confirmed receipt of the order.
- Secure payment: All transactions are made through Picpee's payment account, helping to ensure financial security, prevent fraud and scams.
- Fair dispute resolution: Picpee can intervene in disputed orders, provide an objective assessment and refund if necessary.
- Transparent costs: Customers can clearly see the revised price before placing an order and have a transaction history.
- No need to ask for money: Suppliers can work with peace of mind, because Picpee guarantees timely payment after the job is approved.