Real estate photography
Best Real Estate Photography Tools
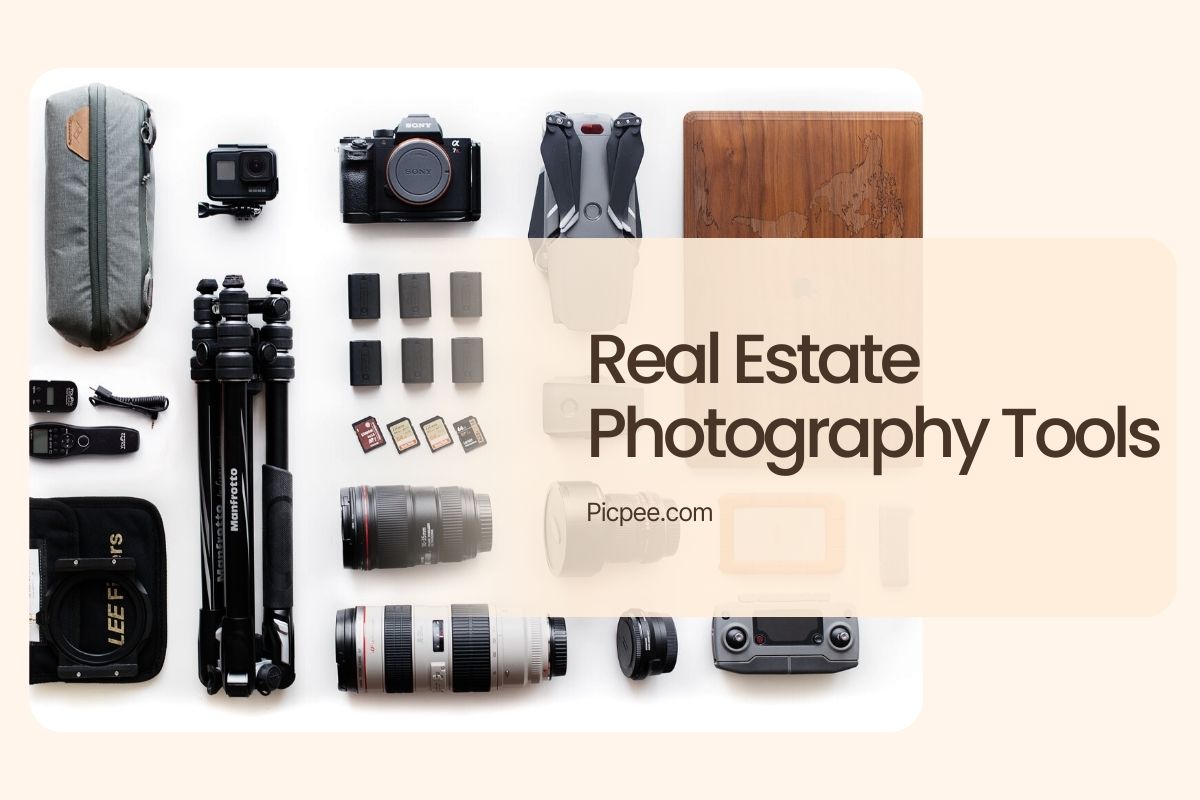
High-quality photos are no longer a bonus in real estate—they are the standard. Buyers expect sharp, bright, and engaging images when browsing listings online. To achieve this level of professionalism, photographers need more than just skill—they need the right real estate photography tools. From cameras and lenses to drones and editing software, the right equipment ensures every property looks its best and stands out in a crowded market.
Why Do Real Estate Photography Tools Matter?
A real estate photo is more than just a picture of a house. It’s a powerful sales tool, shaping the buyer’s first impression before they ever step foot on the property. The right Real Estate Photography Tools—from cameras and lenses to lighting and editing software—not only improve image quality but also directly influence how fast a property sells and at what price.
In this guide, we’ll explore the essential Real Estate Photography Tools professional photographers rely on, including wide-angle lenses, drones, advanced editing programs, and 360° technology.
Camera and Lens – The Foundation of Every Shot
In real estate photography, the camera and lens form the backbone of image quality. Even the best editing software cannot fully compensate for blurry, dark, or poorly framed shots. That’s why choosing the right gear is the first step toward creating photos that sell.
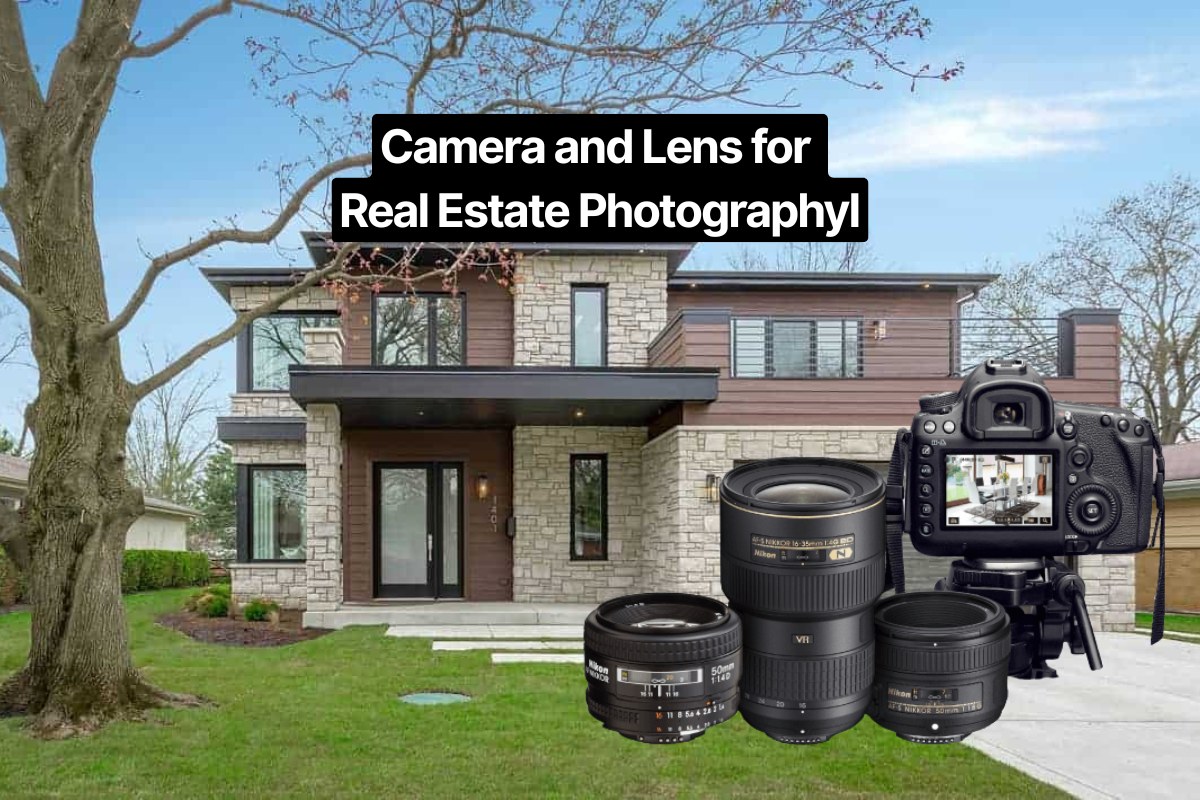
Cameras
Professional real estate photographers often prefer modern mirrorless cameras like the Canon EOS R5 or Sony A7 IV. Mirrorless systems are compact, provide real-time exposure previews, and perform exceptionally well in low-light conditions—crucial when shooting dim interiors or twilight exteriors.
For those still comfortable with DSLR systems, the Canon 5D Mark IV remains a reliable workhorse trusted by many professionals.
Lenses
A wide-angle lens is the secret weapon of real estate photography. It expands the field of view, allowing you to capture an entire room in a single frame, which makes spaces look open and inviting.
For instance, when photographing a small 40m² apartment, a 14–24mm lens (on full-frame) ensures that you capture the full depth of the room without cutting off important details.
Popular choices include
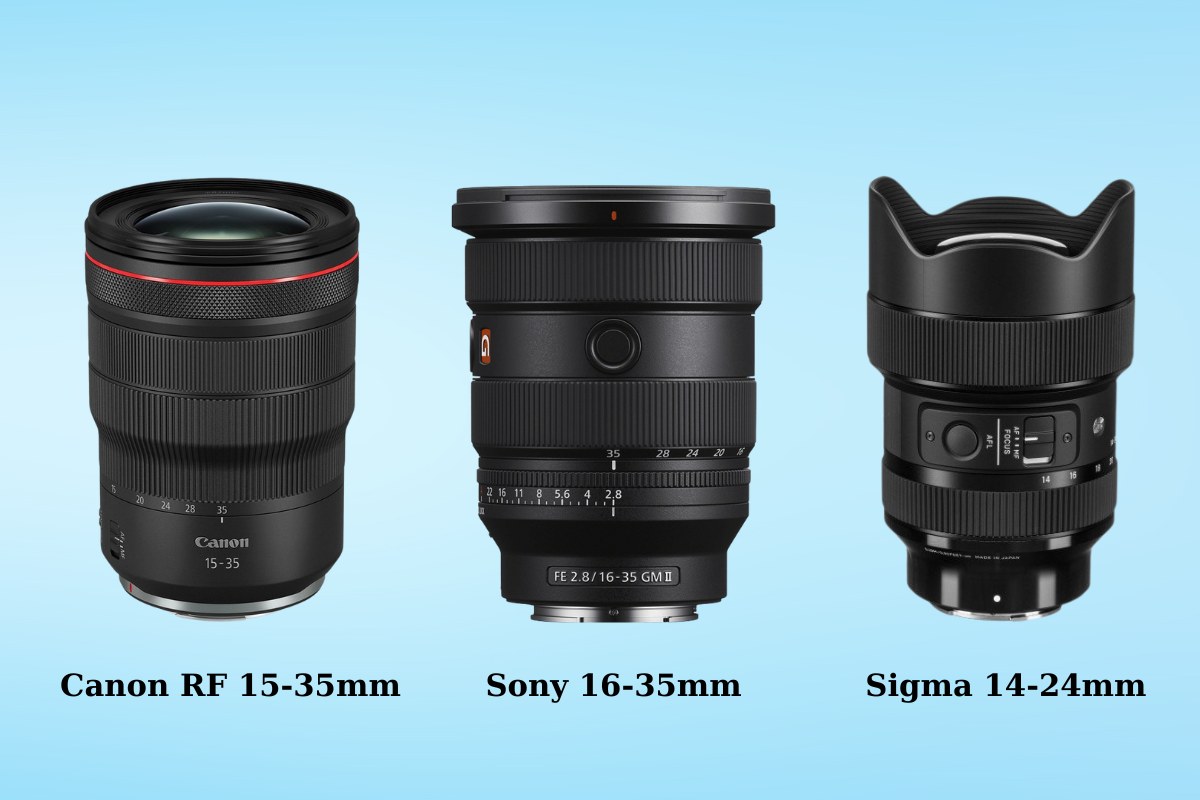
- Canon RF 15-35mm – excellent sharpness and versatility for Canon mirrorless shooters.
- Sony 16-35mm – ideal for both interiors and exterior property shots.
- Sigma 14-24mm – a budget-friendly alternative with professional-level quality.
Pro tip: When shooting small living rooms or bedrooms, place the camera in a corner and use a focal length between 14–18mm. This technique maximizes space while keeping vertical lines straight, preventing the unnatural distortion that can make walls look curved.
Tripod – Keeping Shots Stable and Professional
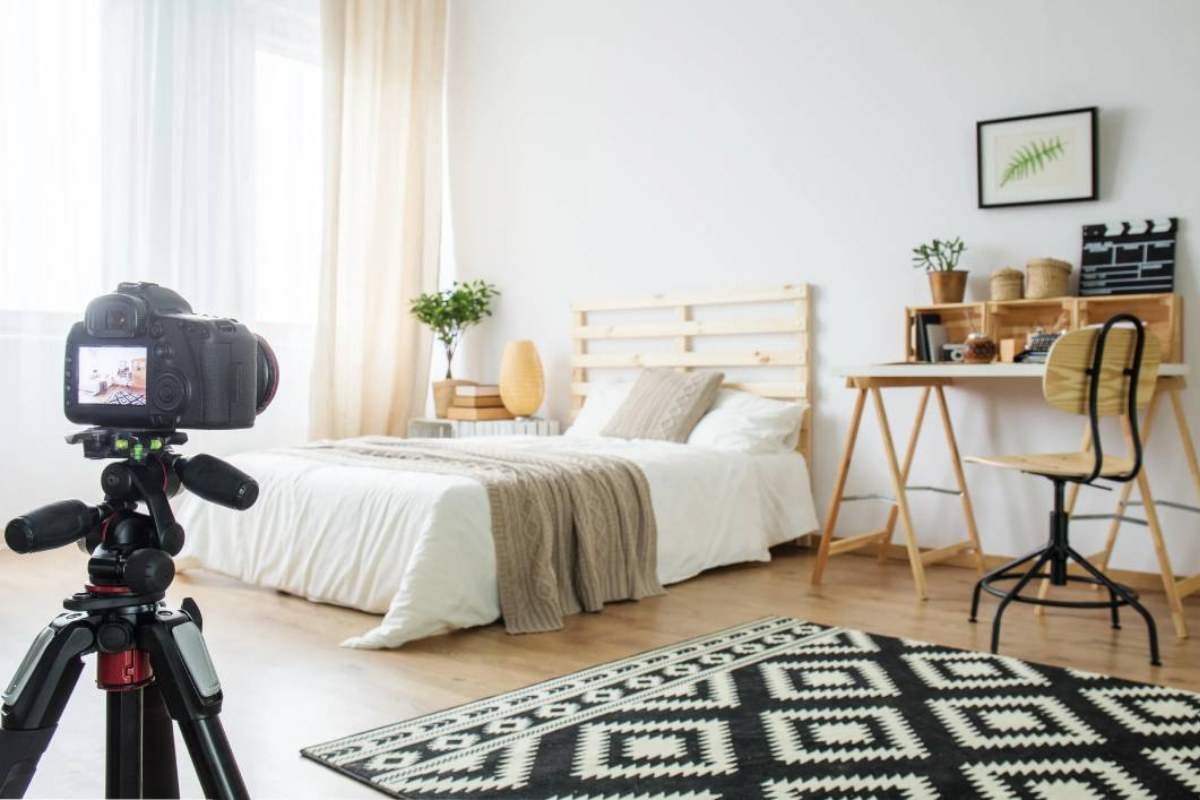
A tripod is one of the most underrated yet essential real estate photography tools. While modern cameras have built-in stabilization, nothing compares to the absolute steadiness of a tripod when shooting interiors or low-light scenes. Stability is key to producing crisp, sharp images that look professional and trustworthy in a listing.
Why it matters
- Sharper images: Even the slightest hand movement can blur details, especially in low light. A tripod eliminates this risk completely.
- HDR photography: Properties often have high contrast—think of a living room with dark furniture and bright windows. With a tripod, you can take multiple exposures at different brightness levels and merge them into a single photo that shows both interior details and the view outside the window.
- Consistent framing: When photographing multiple angles of the same room, a tripod keeps your framing steady, which is crucial if you plan to stitch images or create a virtual tour.
Practical example
Imagine shooting a bedroom with floor-to-ceiling windows on a sunny afternoon. Handheld shots will either blow out the view (too bright) or darken the furniture (too dim). With a tripod, you can capture one exposure for the furniture, one for the windows, and one balanced exposure—then blend them together in editing. The result: a photo where the room looks bright and welcoming, and the outside view remains crystal clear.
Recommended gear
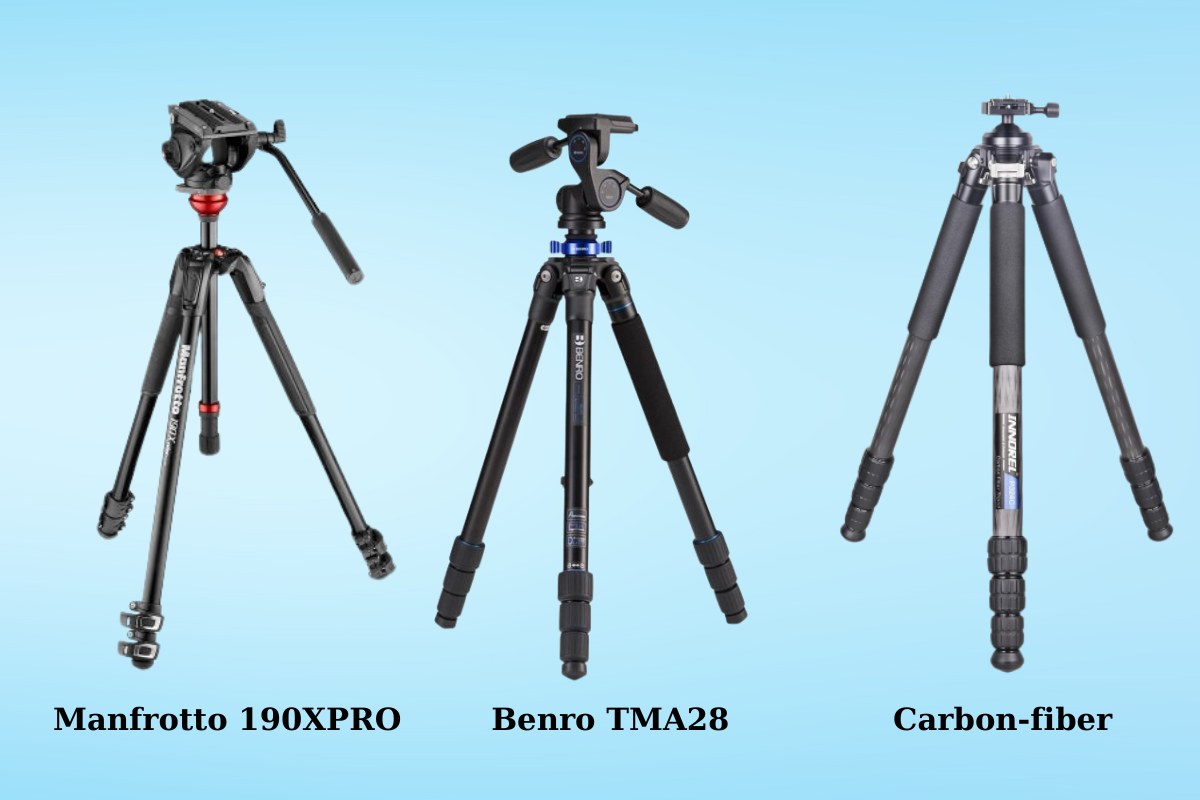
- Manfrotto 190XPRO – a professional tripod with adjustable legs, perfect for uneven flooring in older homes.
- Benro TMA28 – lightweight but sturdy, ideal for photographers who shoot multiple properties in a day.
- Carbon-fiber tripods – pricier, but they reduce weight significantly, which is a big advantage for mobile shoots.
Pro tip: Always use a 3-way pan/tilt head rather than a ball head. It gives you finer control over horizontal and vertical lines, helping to keep walls straight and preventing distortion—a must in professional real estate photography.
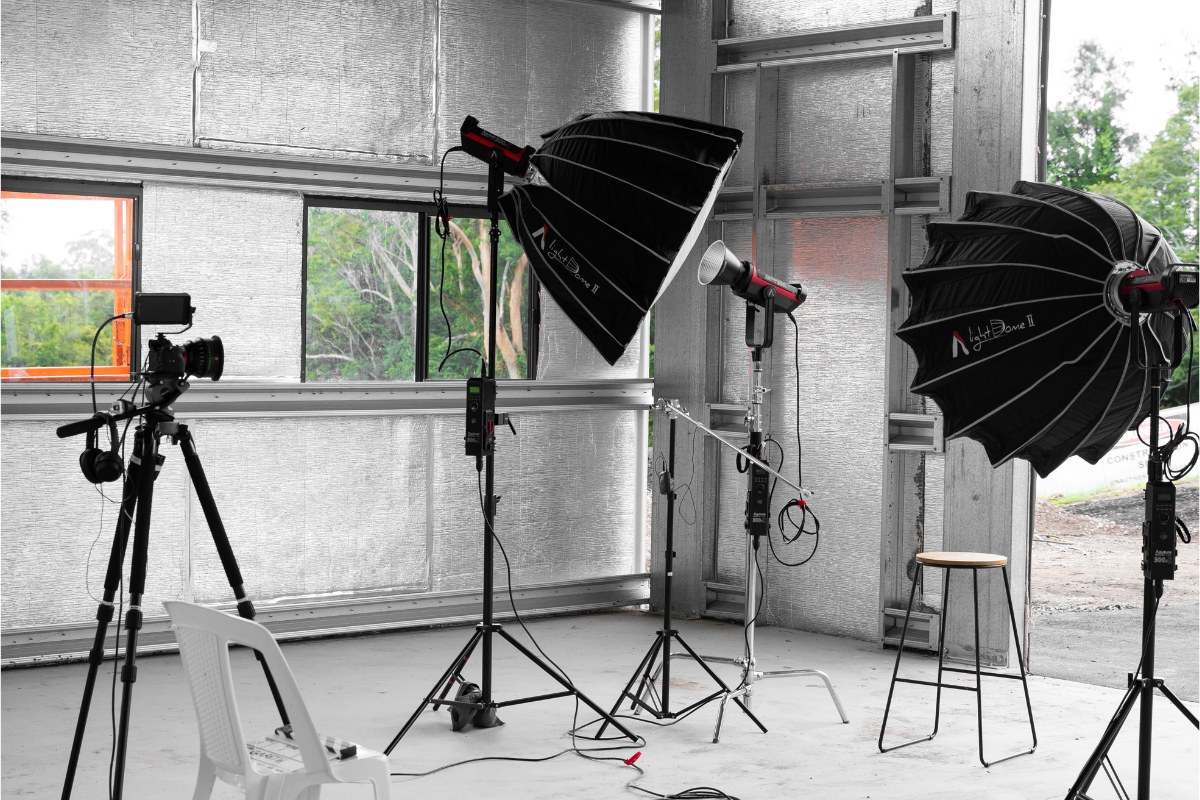
Lighting Equipment – Solving Dark Spaces
Not every property is blessed with large windows or perfect daylight. Many real estate shoots take place in narrow hallways, dim apartments, or basements where natural light is simply not enough. This is where professional lighting equipment for real estate photography becomes crucial. The right tools can transform a dark, flat-looking space into a bright, inviting home that appeals to buyers.
Why it matters
- Brightens shadowy interiors: Lighting fills in dark corners and balances uneven exposure, making spaces feel larger and more open.
- Creates a natural look: Proper lighting avoids the harsh, artificial feel of a direct flash. Instead, it replicates daylight, giving buyers an authentic sense of the property.
- Essential for consistency: If you’re photographing multiple rooms in one session, portable lights help you maintain the same brightness and warmth throughout the shoot.
Practical techniques
Bouncing the flash: Instead of pointing your flash directly at the subject, aim it at the ceiling or a nearby wall. This spreads the light evenly and softens shadows. For example, in a small kitchen with no windows, bouncing a flash off the ceiling can instantly make the room look airy and clean.
Layering with LED panels: Portable LED panels like the Aputure Amaran series allow you to adjust brightness and color temperature. This is especially useful in homes with mixed lighting (e.g., warm tungsten bulbs in one room, cool daylight in another).
Twilight and video tours: For evening property shoots or walkthrough videos, continuous lighting from LEDs provides a consistent glow, enhancing both the mood and professionalism of your work.
Recommended gear
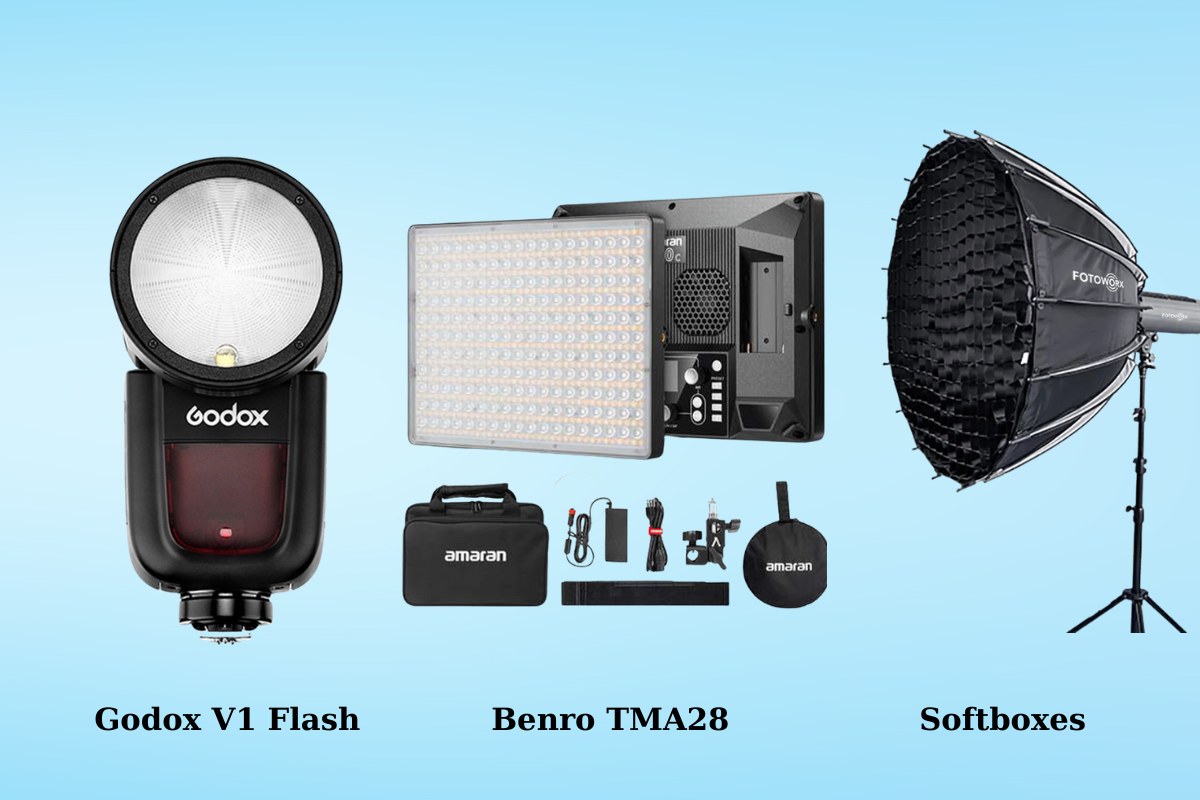
- Godox V1 Flash – powerful and versatile, with a round head design that mimics natural light when bounced.
- Aputure Amaran LED Panels – compact, adjustable, and perfect for twilight or video.
- Softboxes and diffusers – great add-ons for softening light further, especially when photographing reflective surfaces like glossy cabinets or windows.
Pro tip: Always balance your added light with the existing ambient light. If your artificial light is too strong, the room may look unnatural. A good rule of thumb is to make your added light blend in—so the final photo looks as if the space is perfectly lit by daylight.
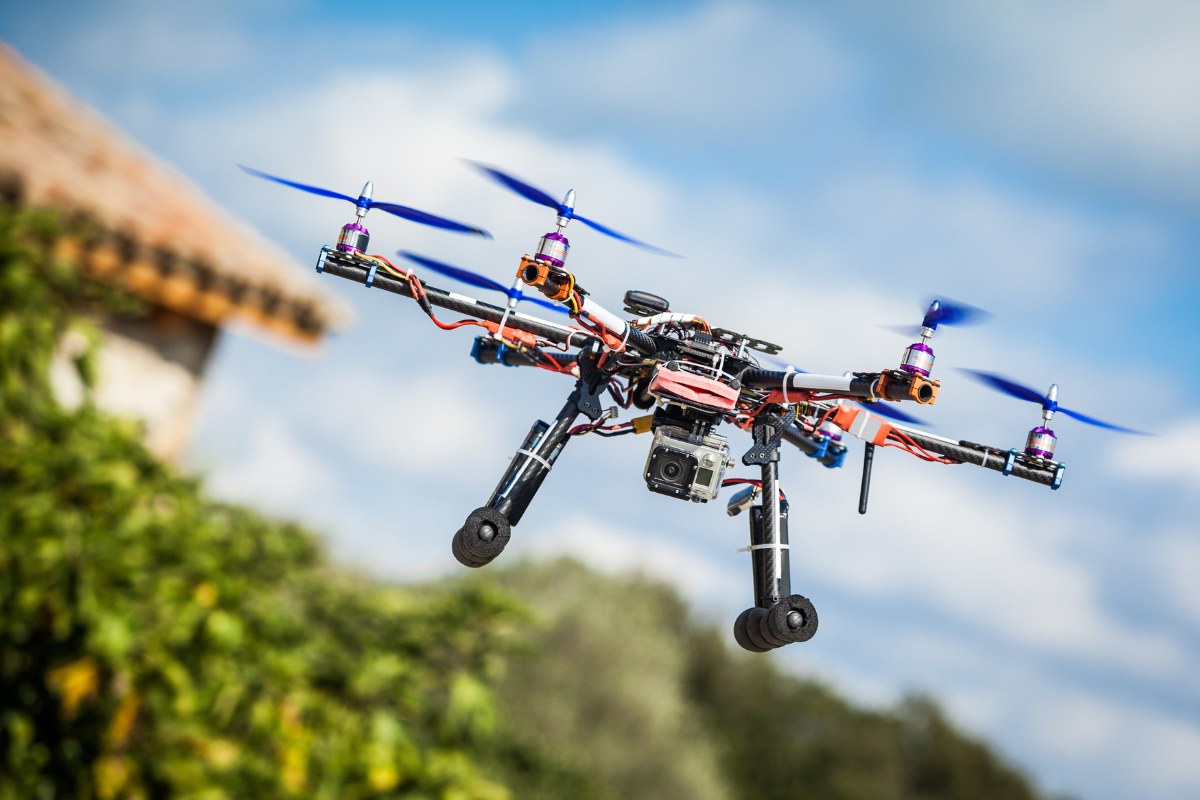
Drone - Expanding the Perspective
In today’s competitive market, listings need more than interior shots to grab attention. Drone photography in real estate provides a perspective that ground-level images simply can’t achieve. By showing the property in relation to its neighborhood, surroundings, and even lifestyle opportunities nearby, aerial imagery instantly elevates the listing.
Why drones matter
- Showcasing property scale: A drone shot makes it easier to highlight the true size of a home, backyard, or commercial lot, especially for larger properties where standard photography feels limiting.
- Contextualizing the location: Aerial views reveal what makes a property unique—whether it’s proximity to a beach, park, school, or city skyline. Buyers can quickly understand the environment before they even visit.
- Boosting buyer engagement: According to studies, listings with aerial imagery get up to 68% more attention online, as buyers spend more time exploring the visuals.
Practical uses
- Residential listings: Even a modest single-family home can appear more attractive when a drone captures its green backyard, a nearby walking trail, or tree-lined streets.
- Luxury estates: Drones can showcase sprawling grounds, swimming pools, and architectural design that ground shots cannot fully capture.
- Commercial properties: For businesses, aerial views highlight parking capacity, accessibility, and visibility from main roads—key selling points for investors.
- Cinematic video tours: Smooth drone footage at 30–60 meters creates a cinematic feel, giving buyers a virtual “flyover” of the property.
Recommended gear
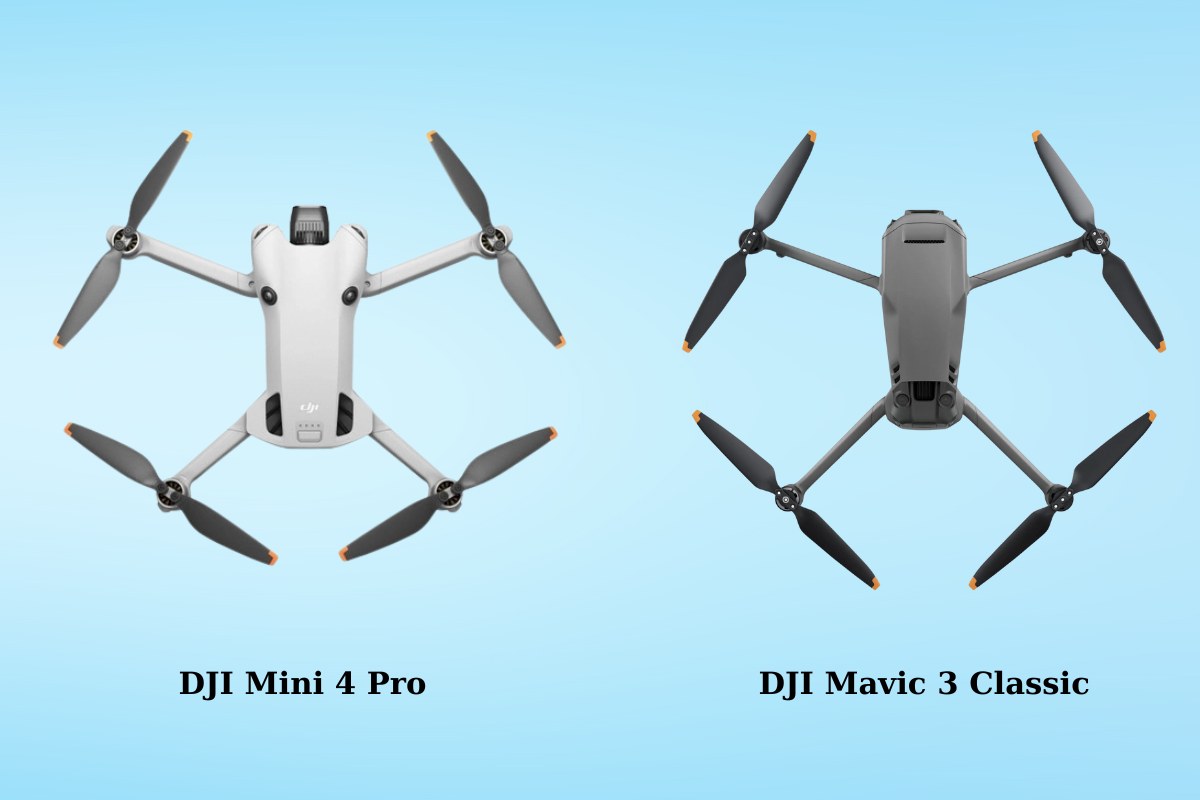
- DJI Mini 4 Pro – lightweight, beginner-friendly, yet powerful enough for high-resolution 4K images and stable flight.
- DJI Mavic 3 Classic – excellent for professionals seeking long battery life, advanced obstacle avoidance, and premium image quality.
- ND filters – essential for controlling exposure when shooting in bright sunlight, ensuring your footage doesn’t look washed out.
Pro tip: When shooting with drones, always comply with local drone regulations and secure the necessary permissions. Aerial photos are stunning, but safety and legality come first.
Editing Software - Turning Good Photos Into Sales Tools
The photo straight out of the camera is just the beginning. What makes a listing stand out is how polished, balanced, and inviting the final images appear. Editing software transforms a simple photo into a compelling marketing tool that can directly influence how quickly a property sells.
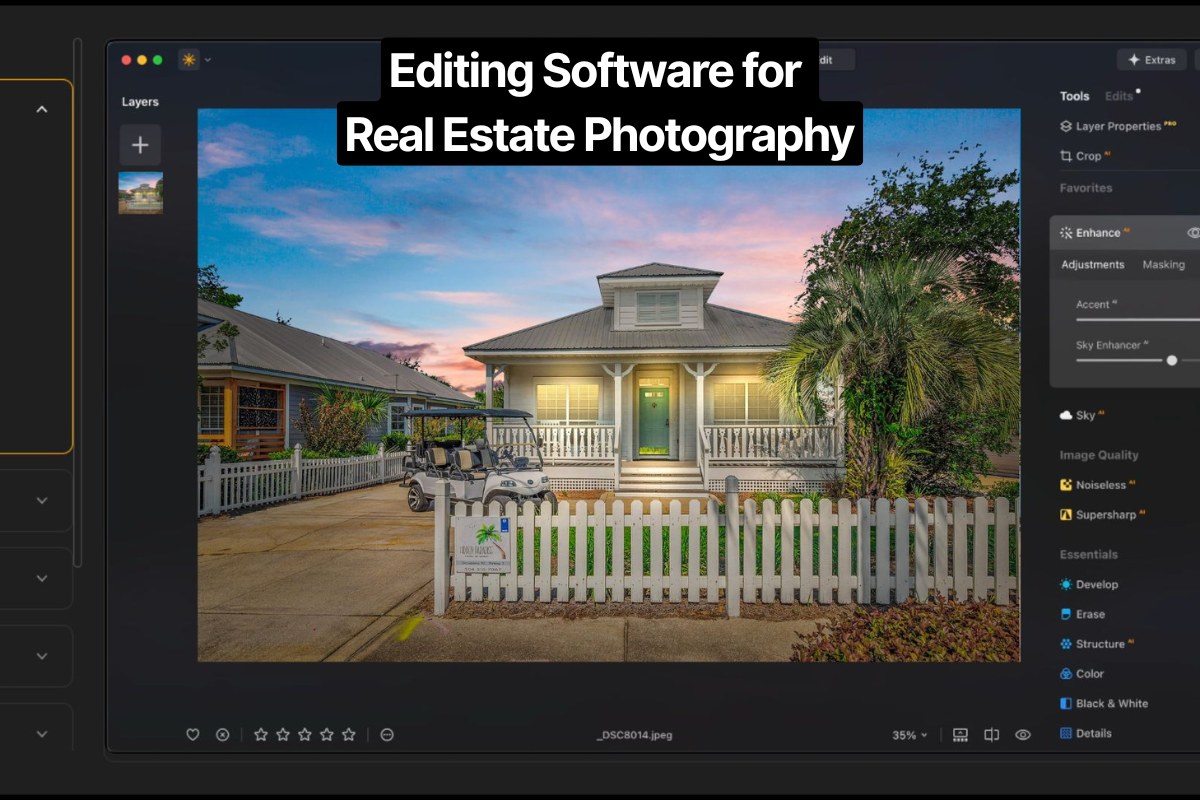
- Lightroom: The go-to software for most real estate photographers. It handles large volumes of photos efficiently, allowing you to correct white balance, adjust exposure, and fix lens distortion in just a few clicks. Batch editing is especially valuable for ensuring every room in a home has consistent tones and brightness.
- Photoshop: Best for fine-tuning details. Whether you need to replace a dull gray sky with a bright blue one, remove clutter left behind by tenants, or straighten vertical lines in tall rooms, Photoshop ensures your photos look flawless and professional.
- Virtual Staging Tools (e.g., BoxBrownie, Virtual Stager): Empty spaces often look cold and uninspiring. Virtual staging allows you to add stylish, digital furniture and décor that help buyers imagine themselves living there. This can significantly increase buyer interest—especially in online listings where first impressions matter most.
Real-world example: An unfurnished condo may sit unnoticed online. With virtual staging, the same unit can look like a modern, cozy home ready for move-in—instantly drawing more inquiries from buyers.
Small Accessories That Make a Big Difference
While cameras, drones, and editing software get most of the attention, it’s often the smaller tools that determine whether your shoot runs smoothly or not. These accessories may seem minor, but they can dramatically improve both the quality of your photos and your workflow efficiency.
- Remote Trigger: Prevents camera shake during long exposures, especially when shooting interiors with low light. Even the steadiest hand can’t match the precision of a remote trigger.
- Extra Batteries and Memory Cards: Running out of power or storage mid-shoot can cost you valuable time and potentially lose sunlight. Having backups ensures you never miss a shot.
- CPL (Circular Polarizer) Filter: A must for shooting interiors with large windows. It reduces glare, cuts reflections, and makes outdoor views through glass look clearer.
- ND (Neutral Density) Filters: Perfect for exterior shots in harsh daylight. They let you balance exposure, keeping skies from blowing out while maintaining detail in shadows.
Real-world example: A photographer capturing a luxury apartment used a CPL filter to eliminate distracting window reflections. This simple accessory turned an ordinary shot into a crisp, magazine-quality photo that helped the listing stand out.
Conclusion
Success in real estate photography doesn’t come from owning the most expensive gear. It’s about building the right Real Estate Photography Tools - fast, reliable, and professional.
From cameras and wide-angle lenses to tripods, lighting, drones, editing software, and virtual tour technology, each tool works together to create stunning images that sell homes faster.

 Single Exposure
 Room Cleaning
 Reels
Reels Blended Brackets (HDR)
 Changing Seasons
 Slideshows
 Flambient
 Water in Pool
 Individual
 360° Image Enhancement
 Lawn Replacement
 Team
Team Virtual Staging
 Rain to Shine
 Add Person
 Remodel
 Custom 2D
 Remove Person
 360° Image
 Custom 3D
 Background Replacement
 Day to Dusk
 Property Video
 Cut Outs
 Day to Twilight
 Walkthrough Video
 Change color