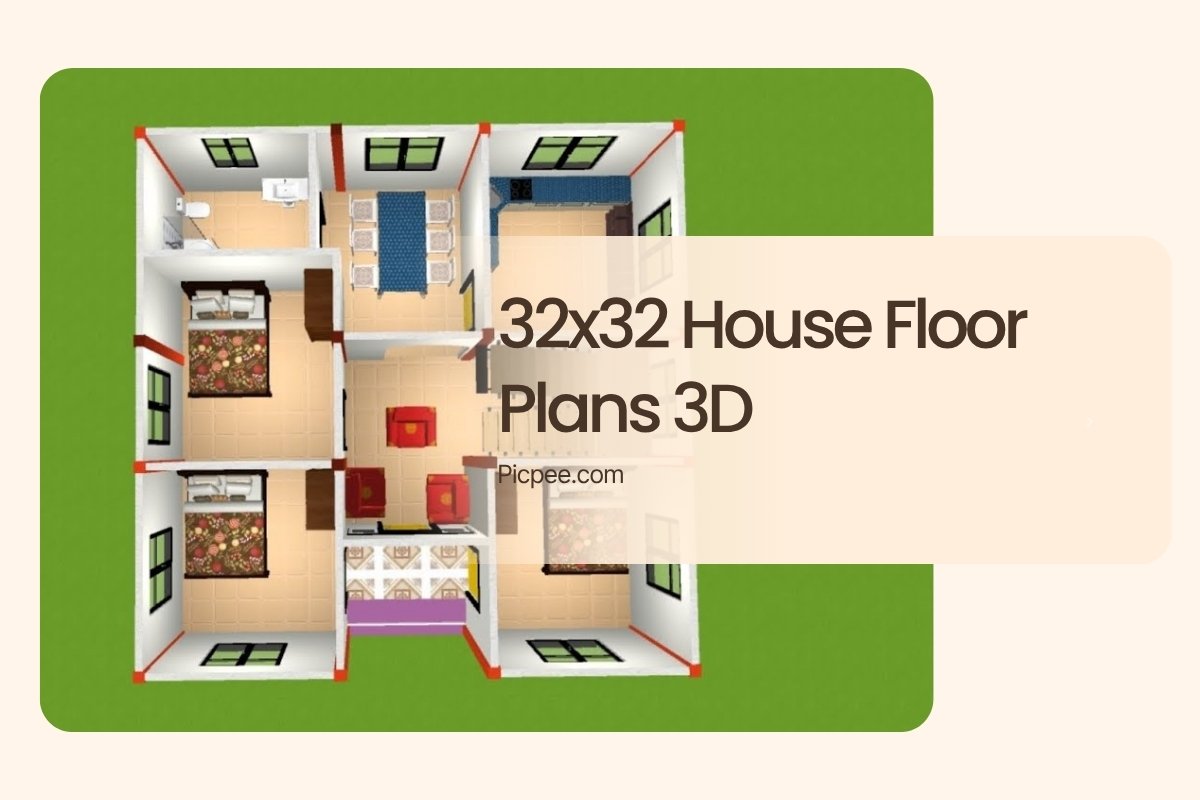
When it comes to residential architecture, small plots don’t have to mean limited design potential. The 32x32 house floor plan — measuring roughly 1,024 square feet — offers a versatile layout for modern families who value smart design, efficiency, and style. With the integration of 3D visualization tools, homeowners and designers can now explore realistic, detailed models that bring these compact homes to life before a single brick is laid.
Step-by-Step Guide to Create a 32x32 3D Floor Plan
Step 1: Define Your Needs
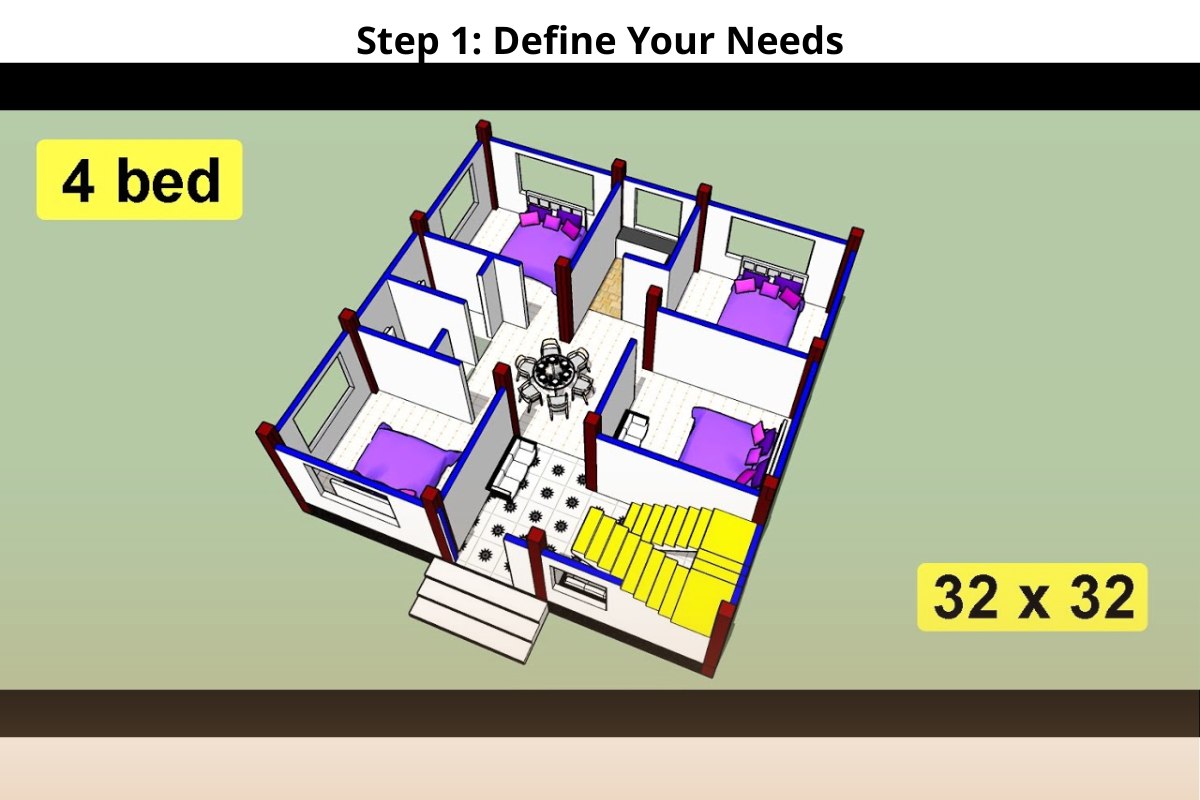
Before diving into the design software, clarify what you want your 32x32 home to achieve. This step shapes every design decision afterward.
Ask yourself:
- How many bedrooms and bathrooms are needed for your lifestyle?
- Will you include a garage, carport, or outdoor patio area?
- What architectural style best reflects your preference — modern minimalist, classic villa, or tropical open-concept?
You can also consider functional priorities:
- Do you need a home office or guest room?
- Would you prefer an open-plan living area or separated zones for privacy?
- Is there a need for green space such as a small garden or terrace?
Once your vision and needs are clear, you can begin translating them into layout form.
Step 2: Sketch the Basic Layout
Start by creating a simple 2D layout—either by hand or using software like AutoCAD, SketchUp, or Sweet Home 3D.
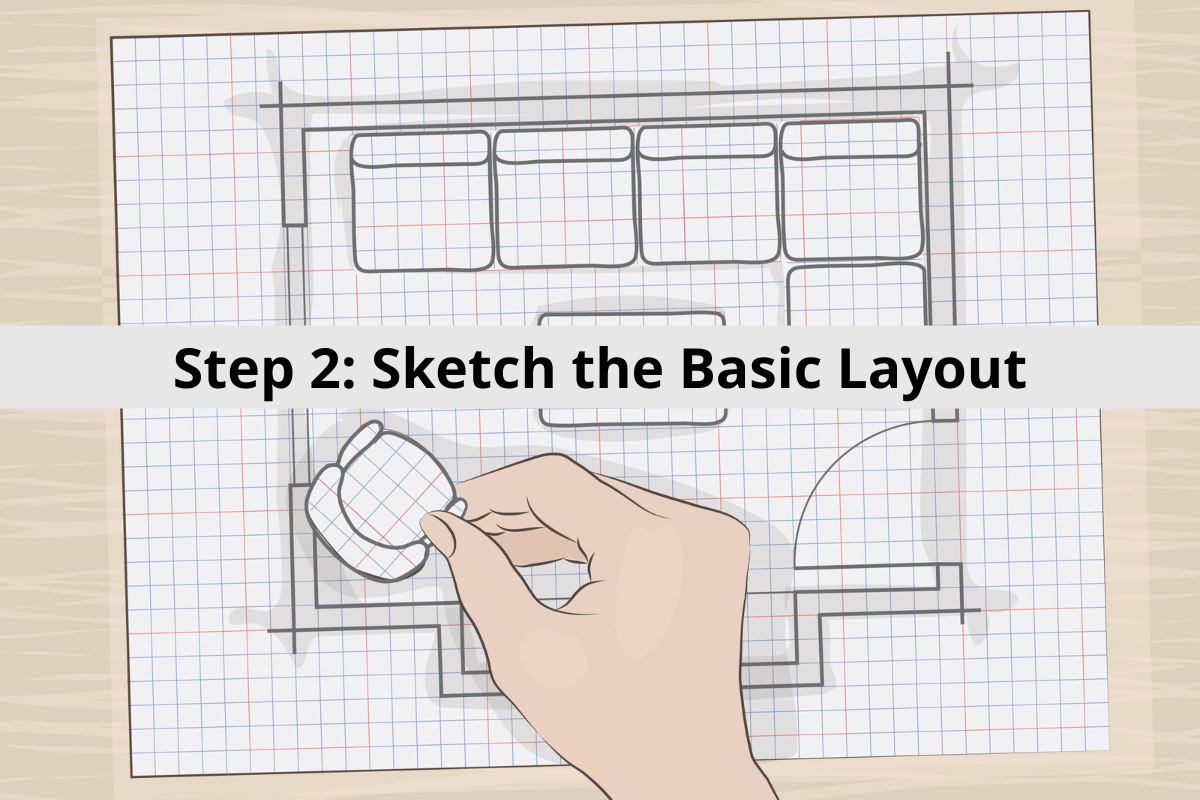
Your 2D sketch should include:
- The overall building outline (32x32 feet or meters).
- The placement of walls, doors, and windows.
- The flow of movement between rooms (e.g., living room connected to dining area, bedroom near a bathroom, etc.).
Pro Tip: When sketching, think about zoning—separating public spaces (living, dining, kitchen) from private ones (bedrooms, bathrooms). This enhances both privacy and efficiency.
At this stage, don’t worry about color or materials—focus purely on space organization and proportion.
Step 3: Use 3D Software
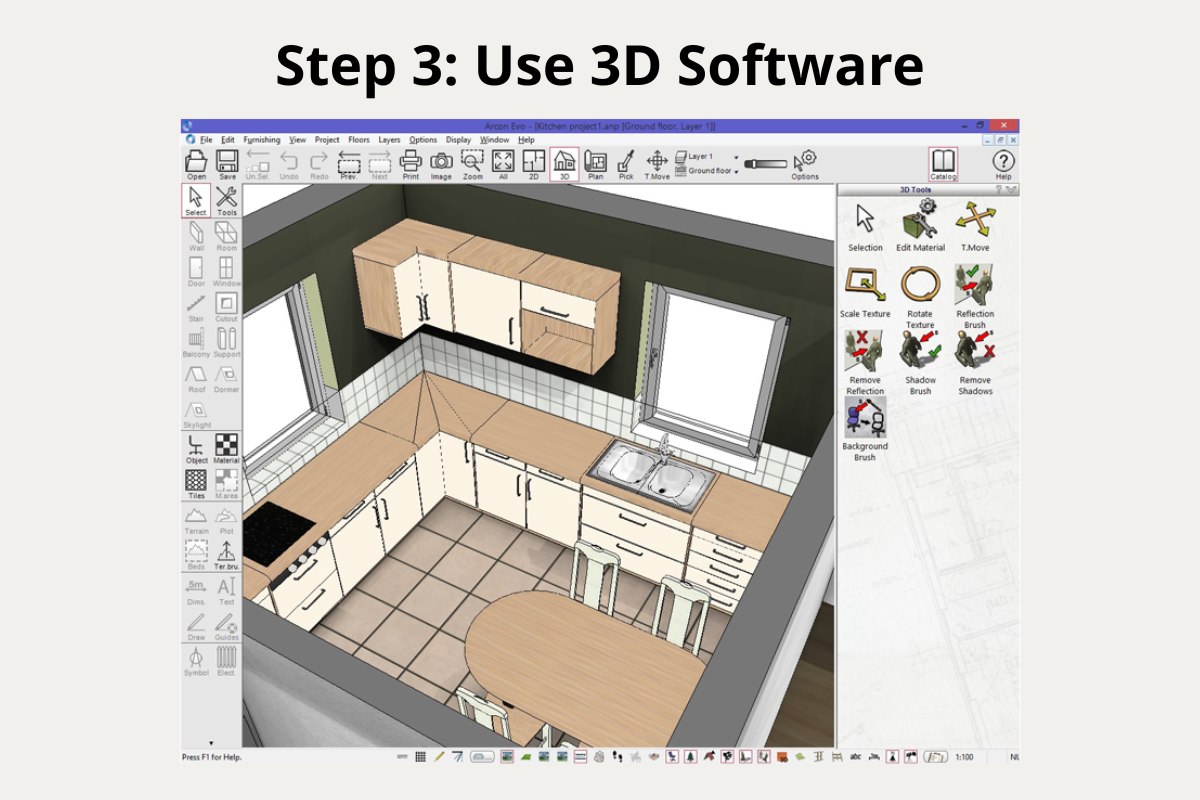
Once your 2D layout is ready, import it into a 3D modeling software such as:
- Sweet Home 3D (user-friendly interface for quick modeling)
- AutoCAD (professional-grade design accuracy)
- SketchUp (powerful for detailed architectural modeling)
Within your chosen software, start extruding walls to define height and structure. Add floors, ceilings, and furniture models to bring the layout to life.
Tip: For a 32x32 house, maintain proportional wall thickness (typically 6–8 inches) to keep your model realistic.
Step 4: Add Materials and Textures
This is where your 3D model transforms from a draft into a near-realistic representation.
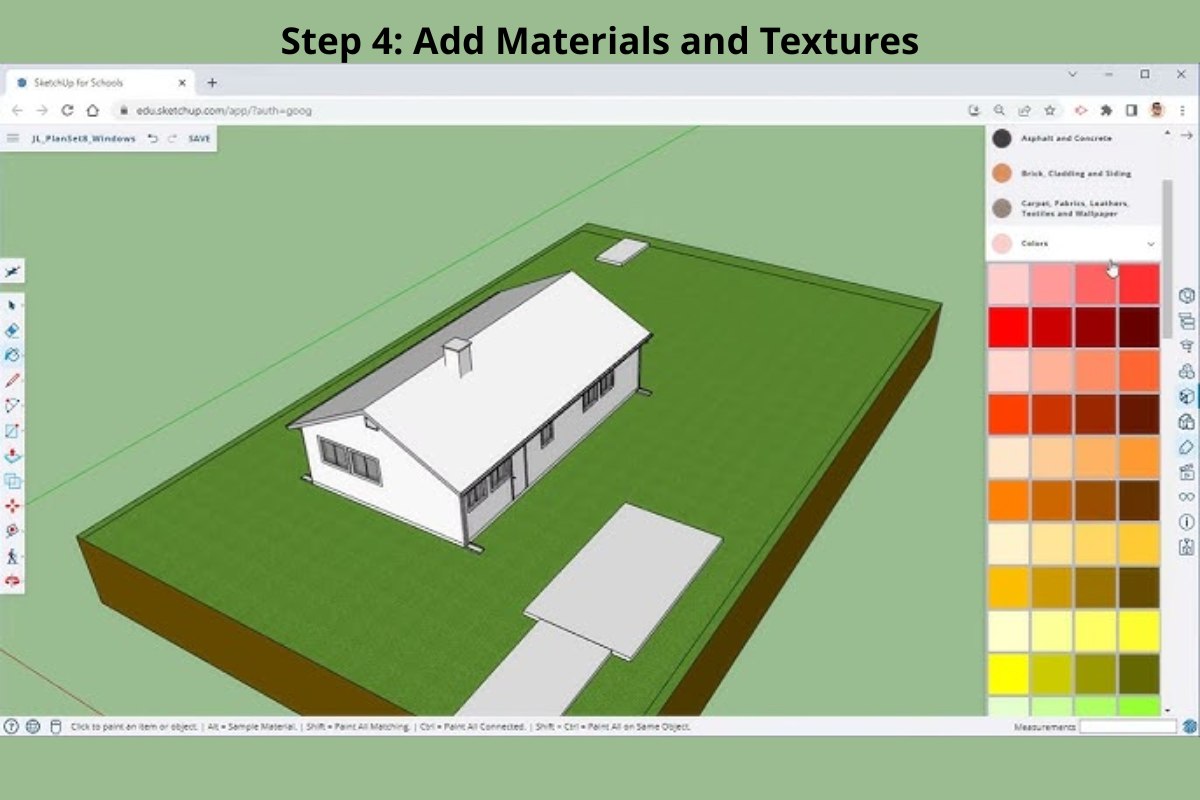
Apply materials and finishes such as:
- Flooring: ceramic tiles, wood, marble, or concrete.
- Walls: paint, stone cladding, wallpaper, or paneling.
- Ceilings: gypsum finishes or exposed beams for design character.
Don’t overlook color coordination—neutral tones often make small areas feel larger, while accent walls add visual interest.
Pro Tip: In Picpee or similar tools, you can easily switch between material palettes to test how your design feels under different color schemes and textures.
Step 5: Optimize Lighting and Furniture
Lighting dramatically affects how your 3D house design looks and feels.
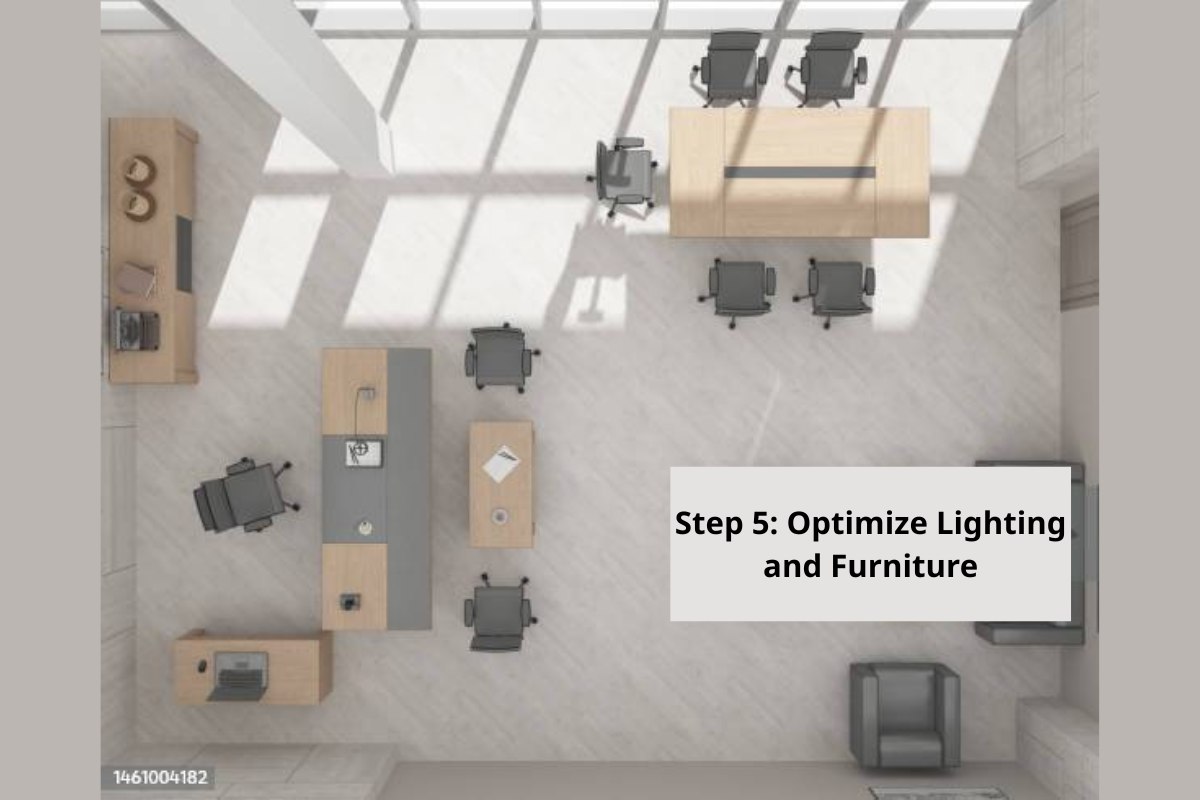
Use rendering tools to simulate:
- Daylight vs. Night lighting – Observe how natural light enters from windows and affects each room throughout the day.
- Artificial lighting – Add pendant lights, recessed fixtures, or wall lamps to create ambiance.
- Shadows and reflection – Adjust these to achieve a realistic perception of depth and warmth.
When arranging furniture:
- Maintain clear walking paths.
- Avoid overcrowding small spaces—opt for multi-purpose furniture.
- Align major furniture pieces (sofa, bed, dining table) with natural light sources when possible.
Pro Tip: Use Picpee’s AI tools to test different furniture layouts and lighting presets instantly.
Step 6: Review and Adjust
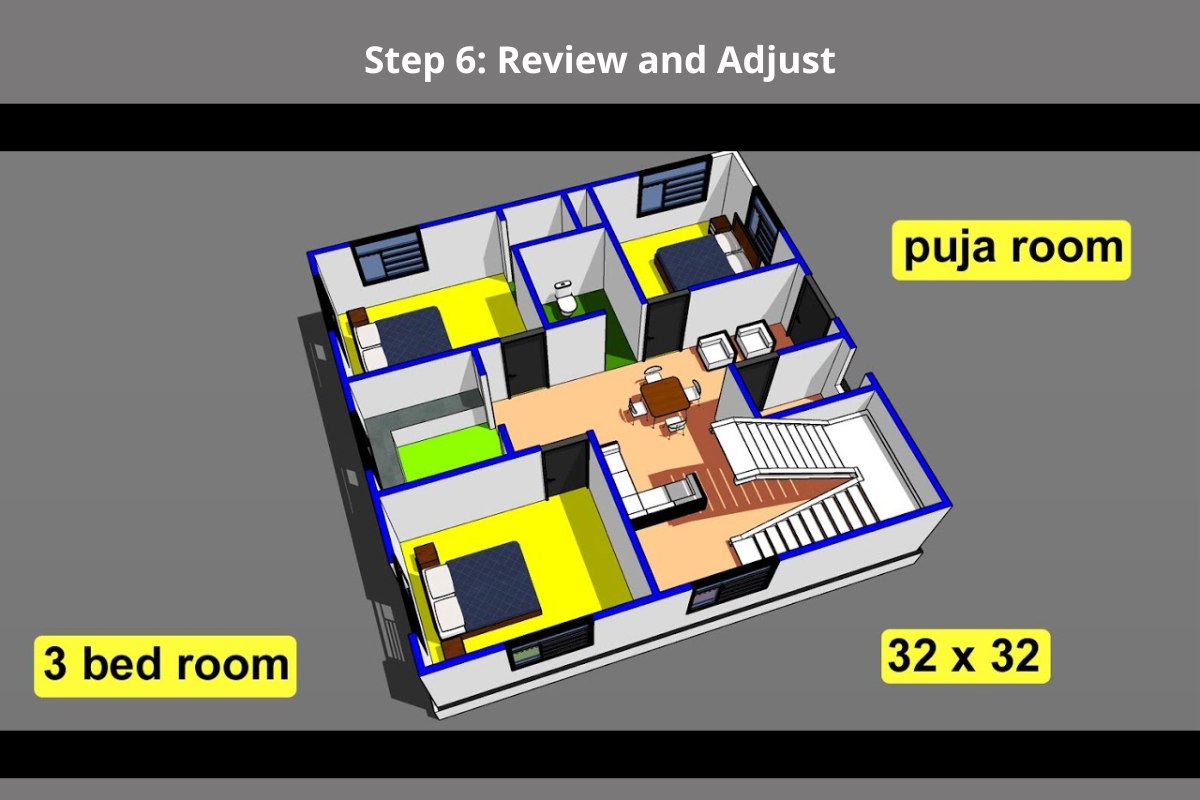
The final step is all about refinement. Walk through your 3D model virtually and evaluate:
- Are room sizes and proportions balanced?
- Does the furniture arrangement allow for easy movement?
- Do lighting and textures create the atmosphere you envisioned?
Make small but impactful adjustments—move a wall, swap materials, or slightly shift furniture for better flow.
Once satisfied, render your 3D plan to produce a photorealistic image or video walkthrough for presentation or client use.
Bonus: Why Choose 3D Over 2D for 32x32 House Plans
A 3D floor plan gives you a realistic, immersive experience that 2D drawings cannot. You can explore every corner, understand proportions, and visualize lighting—all before construction begins.
For homeowners, it minimizes costly redesigns later. For real estate professionals, it enhances marketing impact with visuals that captivate buyers instantly.
Conclusion
Designing a 32x32 3D floor plan is more than just a technical process — it’s the art of transforming ideas into livable spaces. By defining your needs, sketching an efficient layout, and refining it through 3D modeling tools, you can craft a floor plan that’s both functional and visually captivating.
Whether you’re presenting your concept to clients or preparing for construction, a well-executed 3D floor plan brings every detail to life — ensuring your design is clearly communicated, beautifully rendered, and ready to inspire.
 Single Exposure
 Room Cleaning
 Reels
Reels Blended Brackets (HDR)
 Changing Seasons
 Slideshows
 Flambient
 Water in Pool
 Individual
 360° Image Enhancement
 Lawn Replacement
 Team
Team Virtual Staging
 Rain to Shine
 Add Person
 Remodel
 Custom 2D
 Remove Person
 360° Image
 Custom 3D
 Background Replacement
 Day to Dusk
 Property Video
 Cut Outs
 Day to Twilight
 Walkthrough Video
 Change color
 1–4 Items
