Creating professional-quality real estate photos doesn’t always require expensive equipment or hiring a photographer. With the right approach, lighting, and editing, you can produce eye-catching property images yourself that attract buyers and boost your listing’s visibility. This complete guide reveals the best DIY real estate photography tips, covering everything from preparation and camera settings to lighting, composition, and editing — helping you turn simple shots into professional-looking property visuals.
Prepare the Property Before Shooting
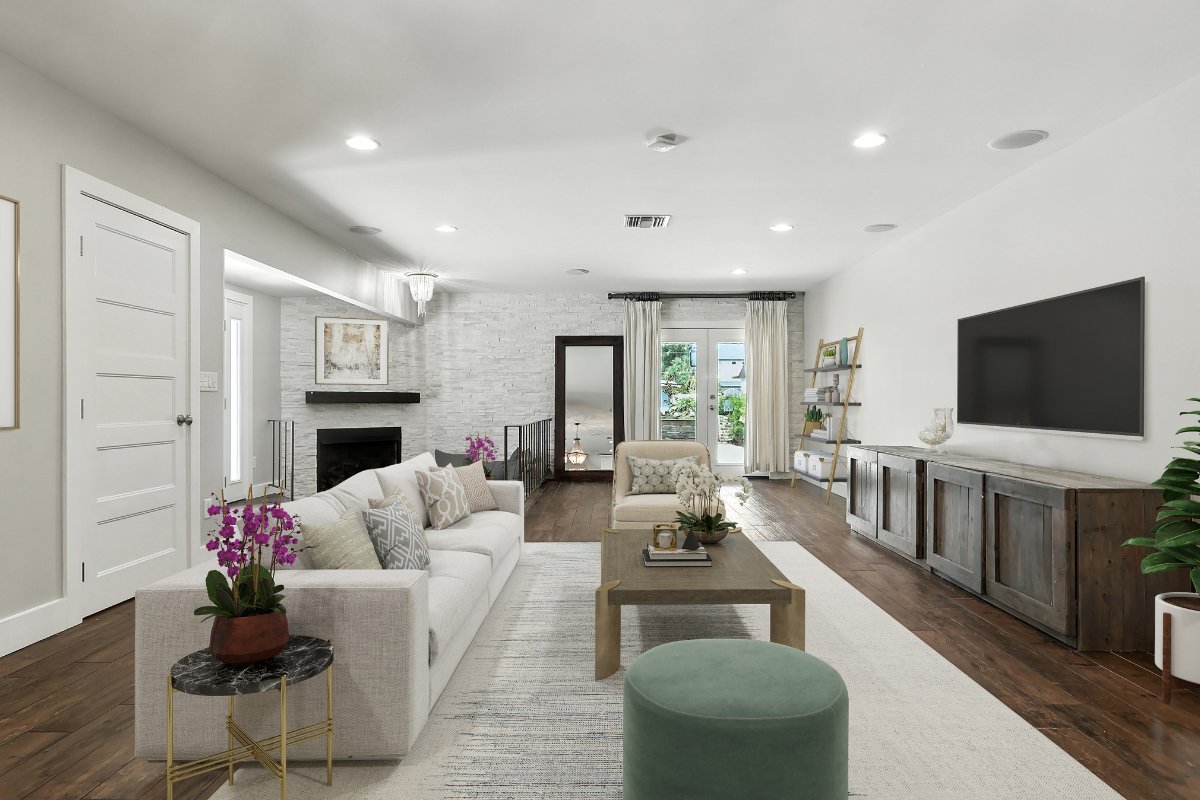
Before taking a single photo, proper preparation sets the foundation for excellent results. Clean, organized, and well-lit spaces look more appealing in photos and help potential buyers imagine living there.
Declutter and Clean Every Space
- Remove unnecessary objects, personal items, or clutter to make the rooms appear spacious.
- Clear countertops, tables, and floors — every surface should look neat and intentional.
- Deep clean mirrors, windows, and stainless steel to eliminate smudges or reflections.
Stage Furniture Thoughtfully
- Arrange furniture to enhance flow and balance in each room.
- Use neutral colors and add small decorative touches like plants or cushions for warmth.
- Avoid over-decoration — minimalism helps buyers focus on the space, not your belongings.
Adjust Lighting Conditions
- Open all curtains and blinds to let in natural light.
- Replace dim or mismatched bulbs with warm white ones for consistent tones.
- Turn on all lights, including lamps, to brighten the scene evenly.
Pro Tip: A well-prepared home saves time during shooting and editing, ensuring clean, professional results.
Choose the Right Equipment for DIY Shoots
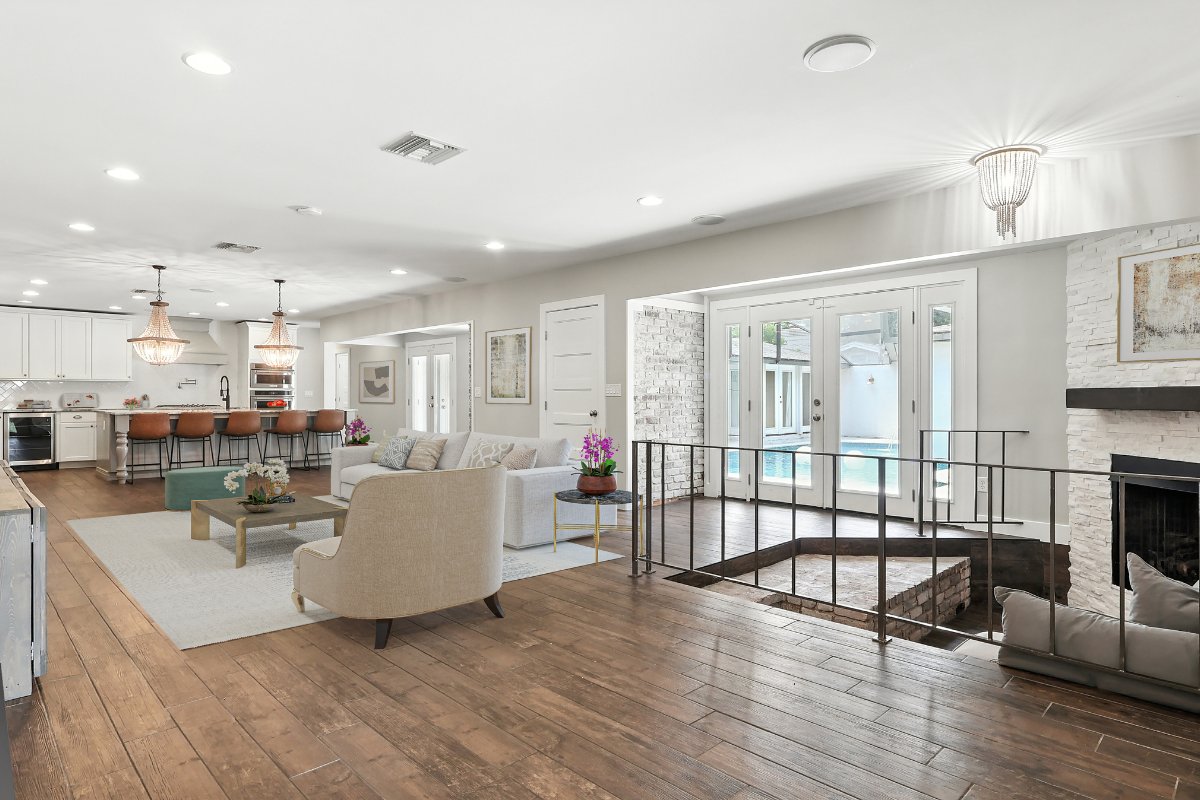
While you don’t need top-tier gear, using reliable tools can significantly enhance image quality.
Camera
- A DSLR or mirrorless camera is ideal, but high-end smartphones can also perform well.
- Use manual mode to control aperture, shutter speed, and ISO for more creative flexibility.
Lens
- A wide-angle lens (10–24mm for crop sensor or 16–35mm for full-frame) helps capture full rooms and spacious interiors.
- Avoid fisheye lenses — they distort lines and mislead buyers.
Tripod
- A sturdy tripod ensures sharp images, especially in low light or when bracketing exposures for HDR.
Accessories
- A remote shutter prevents camera shake.
- Use bubble levels to keep lines straight and horizons even.
Recommended Tool: For easy post-editing and color correction, try Picpee — a real estate photo editing platform that enhances clarity, removes imperfections, and balances exposure seamlessly.
Master Lighting for Natural and Balanced Results
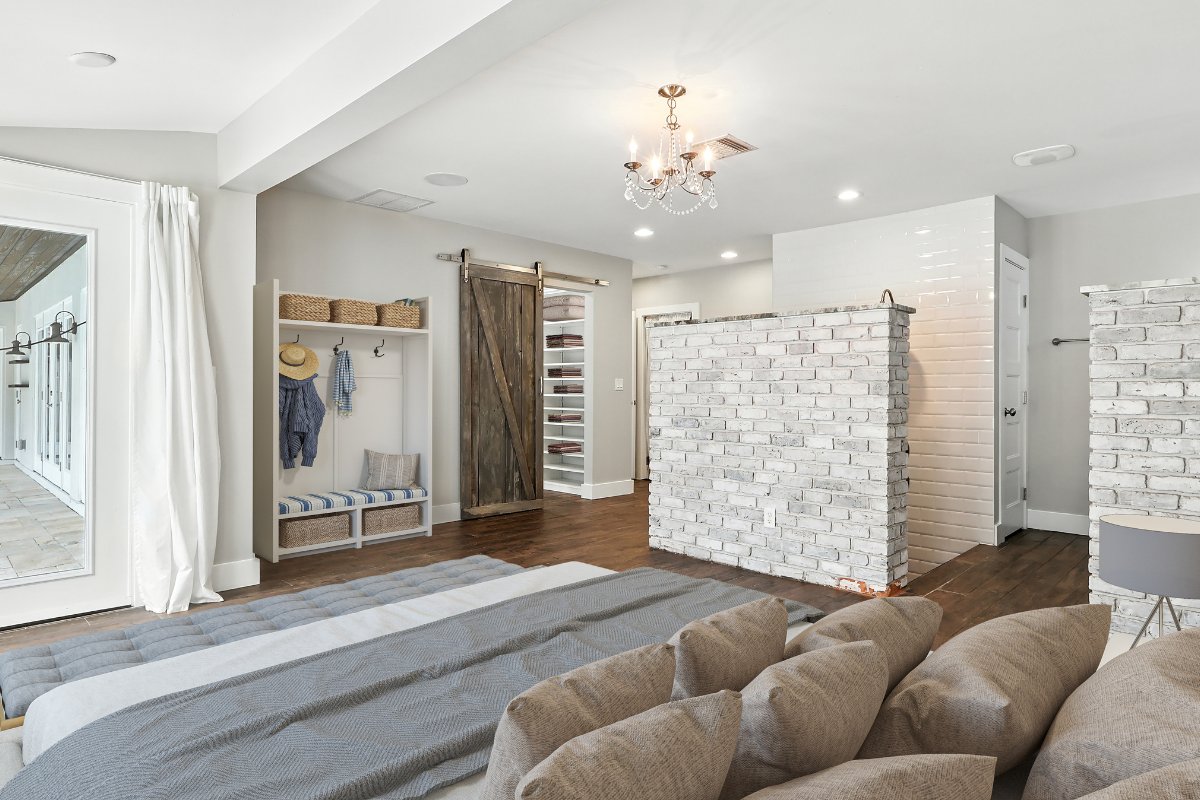
Lighting can make or break your photos. Even with good composition, poor lighting creates dull or uneven results.
Use Natural Light First
- Schedule your shoot during the daytime, ideally mid-morning or late afternoon, for soft natural light.
- Open windows and doors to create an even light flow.
Balance Ambient and Artificial Light
- Turn on indoor lights to fill shadows, but be mindful of color temperatures (avoid mixing warm and cool tones).
- Use bounce flash by directing it at the ceiling or wall to diffuse light naturally.
Avoid Harsh Shadows
- Avoid direct sunlight streaming through windows that create overexposed highlights.
- Use curtains to soften harsh beams if needed.
Pro Tip: Always check your exposure levels on your camera histogram to prevent blown-out highlights or dark corners.
Frame Each Shot with Precision
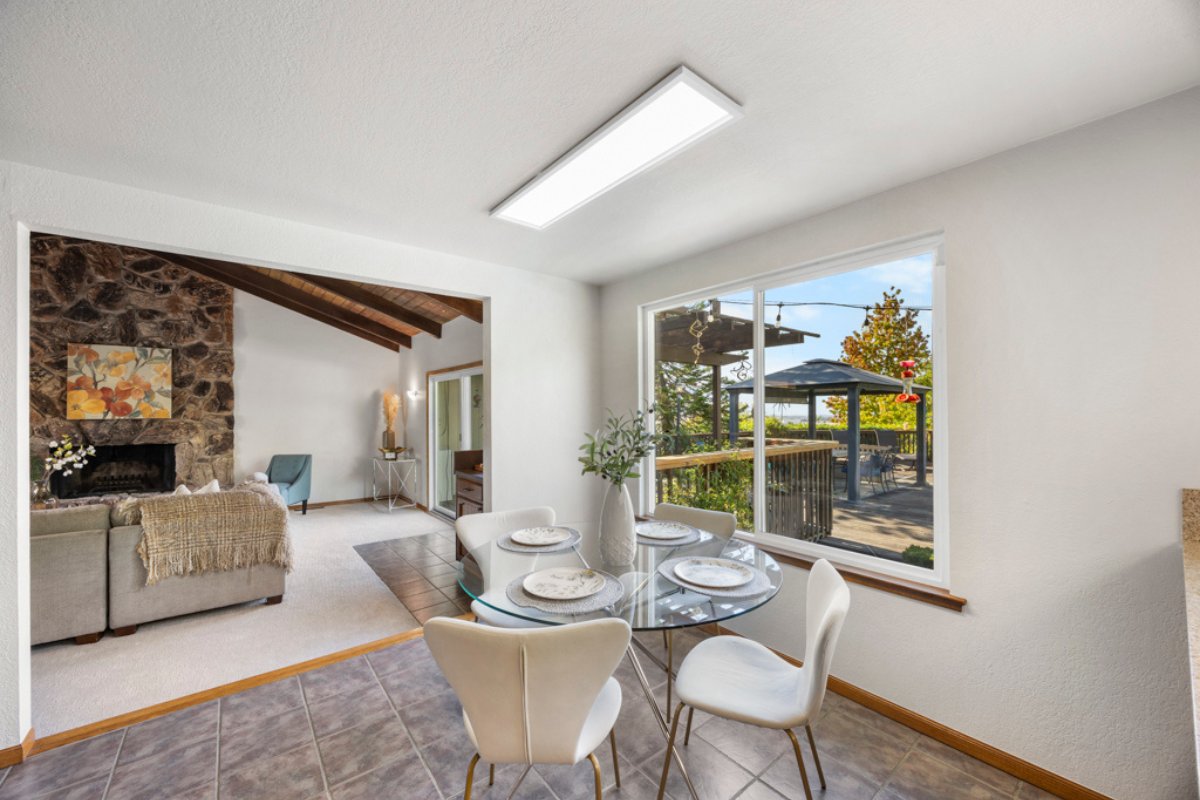
Composition determines how potential buyers experience the property visually.
Shoot from Chest Height
- Position the camera around 4–5 feet (1.2–1.5m) high to maintain natural proportions.
- Avoid shooting from too high or too low — it distorts perspective.
Use Leading Lines
- Incorporate lines from walls, furniture, or floors to guide the viewer’s eye naturally.
- Keep vertical and horizontal lines straight during framing or correct them later in editing.
Highlight Key Features
- Showcase the best aspects of each room — a cozy fireplace, spacious kitchen island, or panoramic window view.
- Shoot from corners or doorways to include depth and dimension.
Capture Multiple Angles
- Take wide shots for context and detail shots for emotion.
- Include at least 3–5 shots per room to tell a full visual story.
Pro Tip: Don’t rush. Review your images on the spot to ensure balance, focus, and lighting before moving to the next room.
Edit Like a Pro - Even If You’re a Beginner
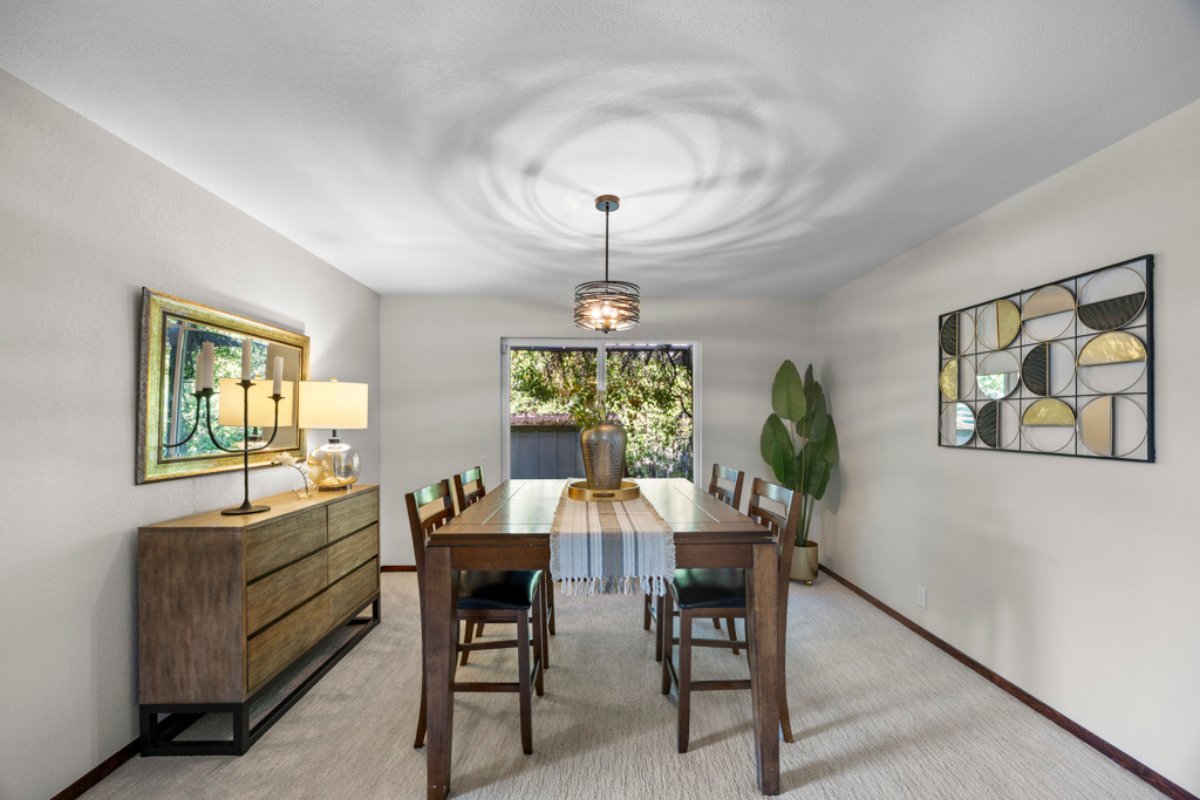
Editing transforms average images into polished, listing-ready visuals.
Basic Adjustments
- Correct exposure, contrast, and white balance to ensure consistent tones.
- Adjust highlights and shadows to add depth and detail.
Perspective Correction
- Use editing tools to fix tilted walls or uneven horizons.
- Straight lines make interiors appear professional and trustworthy.
Color Correction and Enhancement
- Avoid overly saturated colors — aim for realistic, balanced tones.
- Ensure whites appear clean, not yellow or blue.
Remove Distractions
- Clone out cords, reflections, or unwanted objects to maintain visual harmony.
Recommended Tool: Picpee offers real estate photo editing services that handle lighting corrections, window masking, and object removal professionally — perfect for DIY photographers wanting a polished finish.
Extra Pro Tips for DIY Real Estate Photography
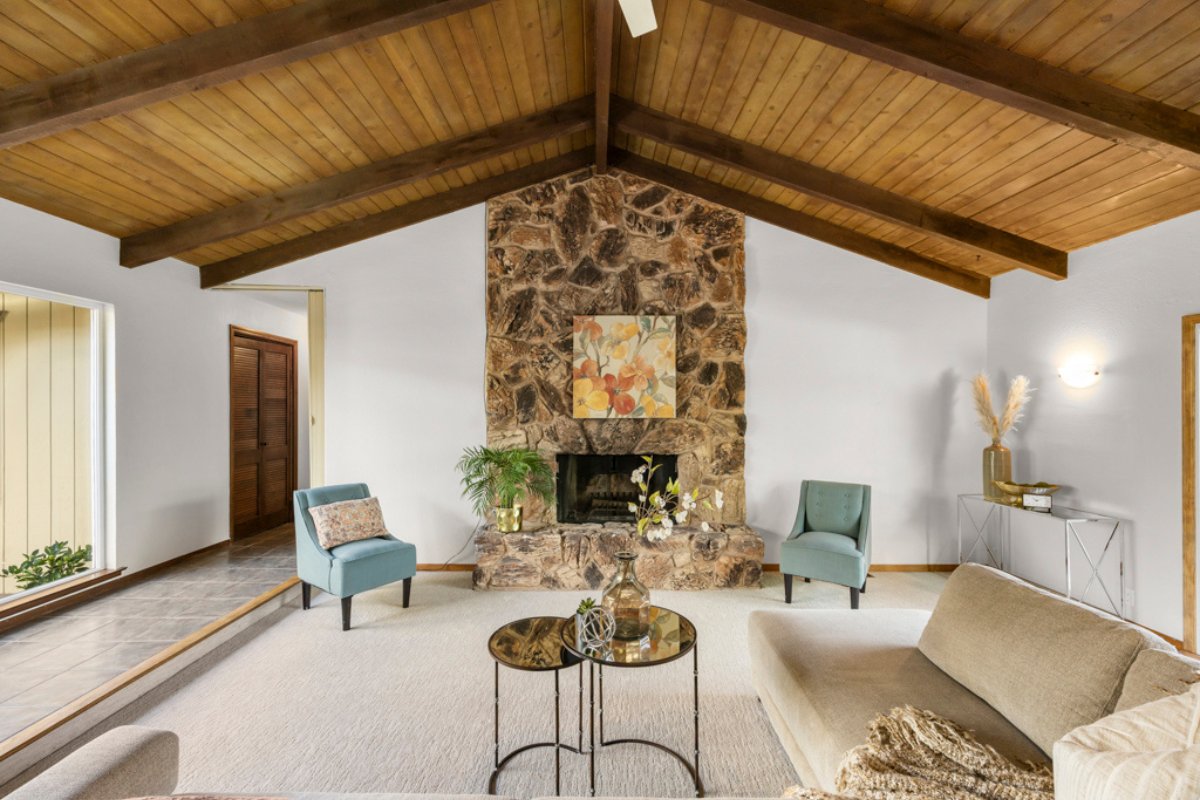
Even small habits can elevate your results from amateur to professional quality.
Plan Your Shoot with the Weather
- Cloudy days are ideal for even lighting and reduced glare.
- Avoid direct midday sunlight that creates contrast and harsh shadows.
Shoot RAW Instead of JPEG
- RAW files contain more data, allowing better post-editing flexibility and recovery of details.
Mind the Reflections
- Be careful near mirrors, glass, and shiny surfaces to avoid capturing your reflection or camera.
Consistency Is Key
- Keep lighting, angles, and tones consistent across all rooms for a cohesive listing presentation.
Add Twilight Shots
- Capture exterior photos during sunset or twilight for emotional impact — they add warmth and luxury appeal.
Conclusion
DIY real estate photography is achievable with preparation, attention to detail, and a thoughtful approach to lighting and composition. You don’t need to be a professional — just a keen eye, the right tools, and post-editing support.
By following these steps and refining your skills with each shoot, you’ll create bright, balanced, and market-ready property photos that captivate buyers and boost engagement. For final editing polish and color perfection, consider Picpee real estate photo editing, a trusted photo editing partner for real estate professionals and DIY enthusiasts alike.
 Single Exposure
 Room Cleaning
 Reels
Reels Blended Brackets (HDR)
 Changing Seasons
 Slideshows
 Flambient
 Water in Pool
 Individual
 360° Image Enhancement
 Lawn Replacement
 Team
Team Virtual Staging
 Rain to Shine
 Add Person
 Remodel
 Custom 2D
 Remove Person
 360° Image
 Custom 3D
 Background Replacement
 Day to Dusk
 Property Video
 Cut Outs
 Day to Twilight
 Walkthrough Video
 Change color
 1–4 Items


