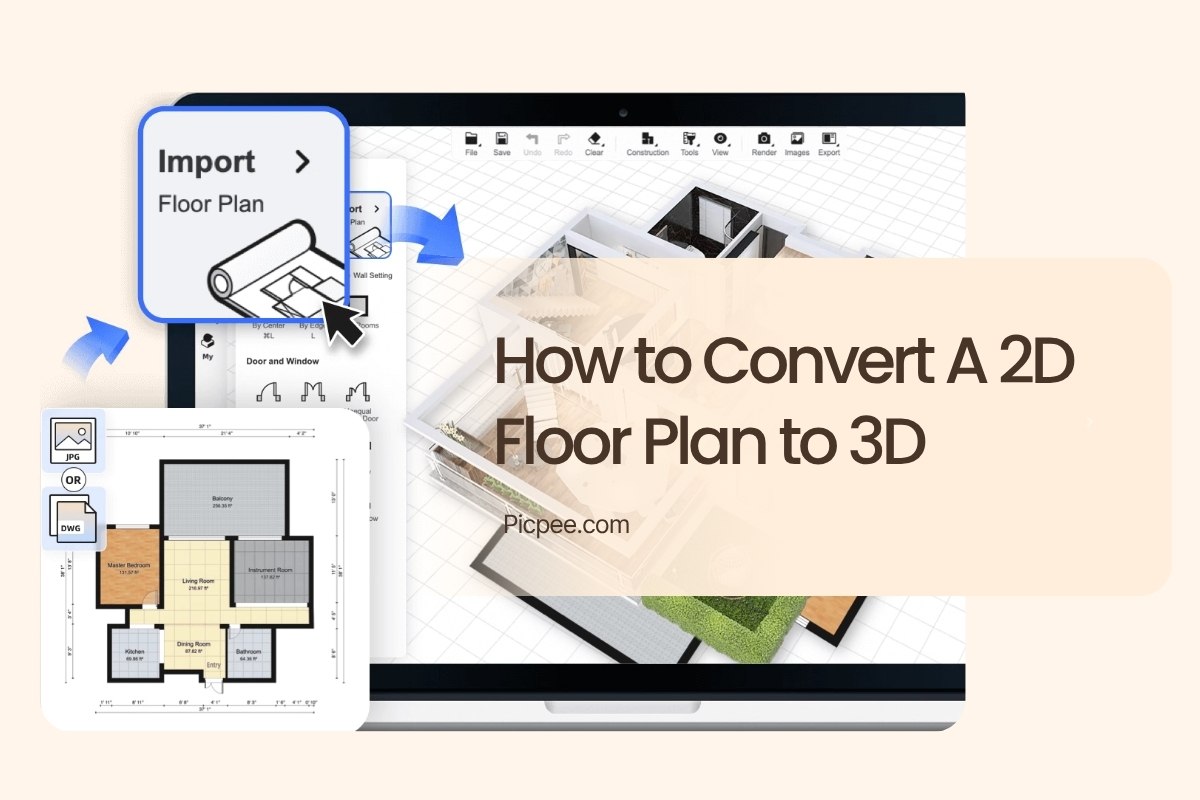
Converting a 2D floor plan into a 3D model through manual 3D modeling is a traditional yet highly precise approach. Using tools like SketchUp, Revit, or Blender, designers can manually build every architectural detail—from walls and doors to textures and lighting. Although this method requires technical skill and more time, it offers complete creative control and exceptional accuracy. Manual 3D modeling delivers realistic and detailed visualizations, making it an ideal choice for architectural presentations, design validation, and real estate marketing.
Step 1: Choose the Right 3D Floor Plan Software
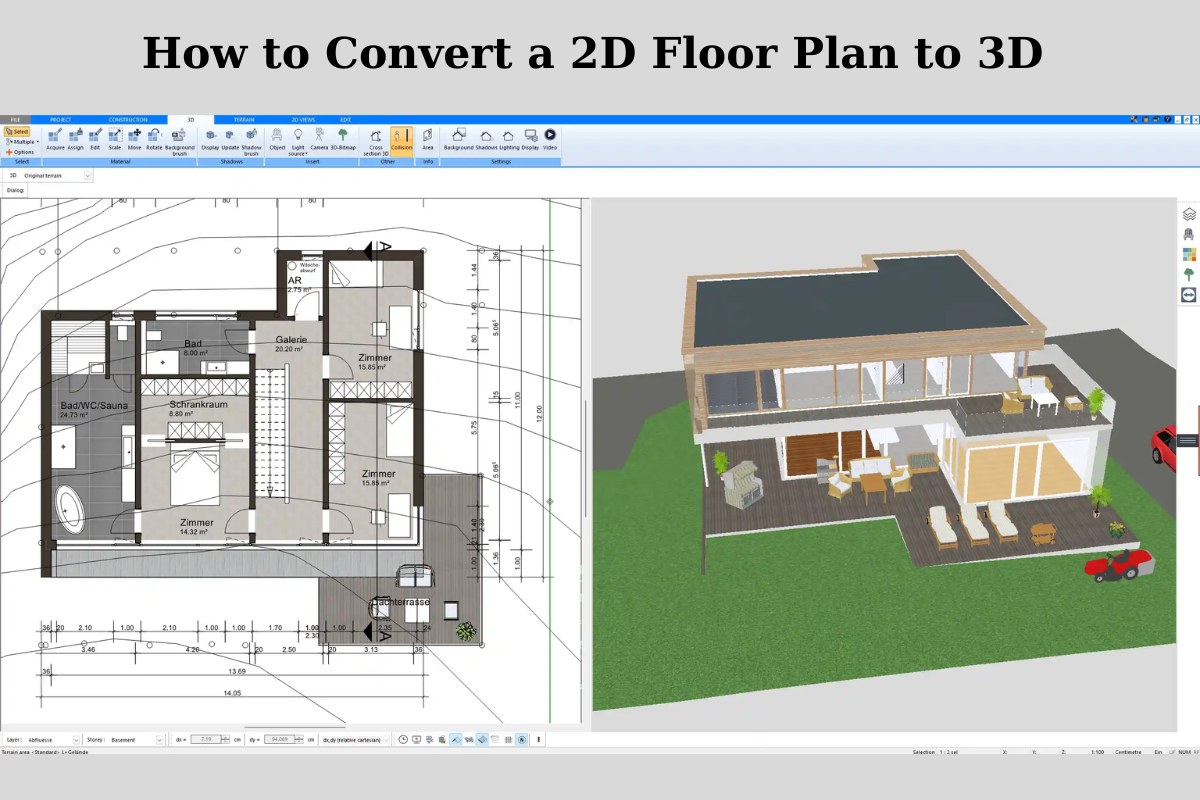
In a manual 3D-modelling workflow, you start with your 2D floor plan (for example a DWG, PDF, or image) and then open a dedicated 3D modelling application. You build the model “by hand” – you trace or import the plan, draw walls, define floors/ceilings, extrude geometry, insert doors/windows, add textures, lighting, etc. Tools like SketchUp, Revit and Blender are common choices for this.
- SketchUp offers an intuitive, push-pull style interface for quick geometry building.
- Revit provides a BIM-centric platform: walls, floors, roofs and so on carry metadata, and changes propagate.
- Blender is free and open-source, with extensive tools for modelling, sculpting, rendering – though typically steeper in learning curve.
Step 2: Import or Create Your 2D Floor Plan
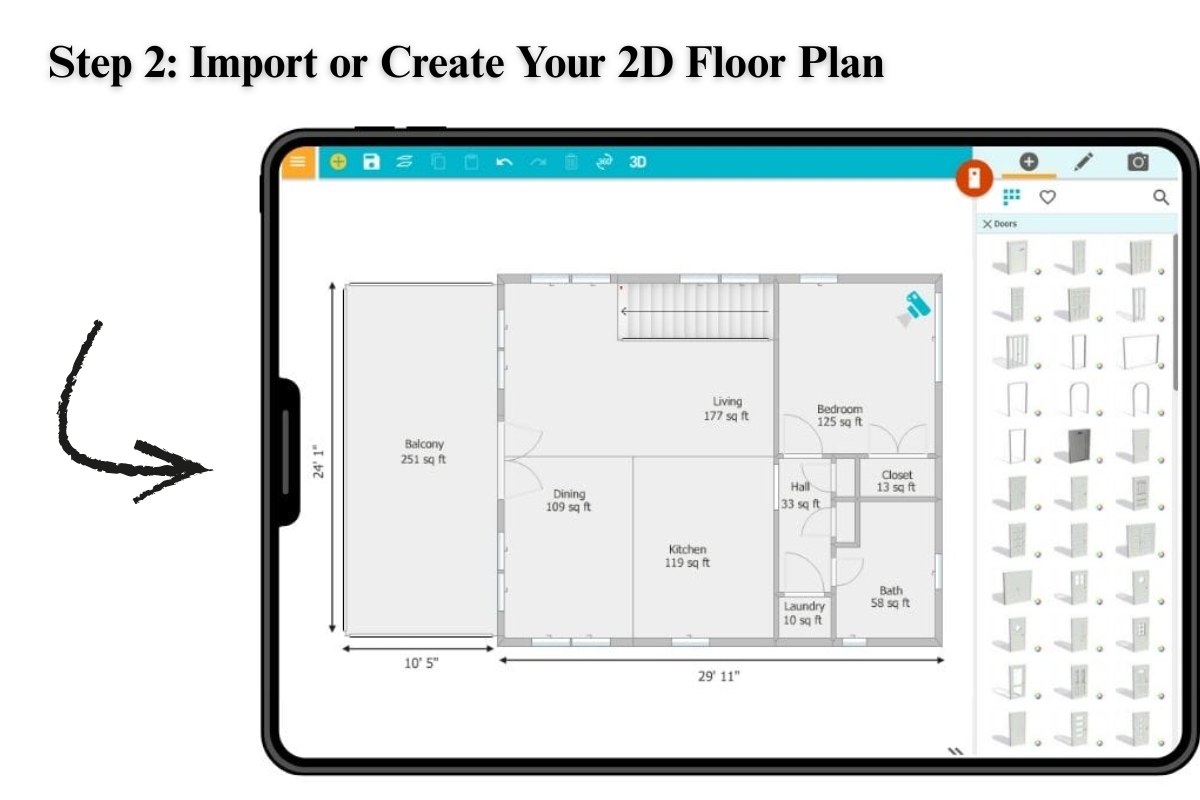
tools allows you to either import an existing 2D plan or draw one from scratch using intuitive tools.
Import Options
- Image files: JPG, PNG
- PDF layouts
- CAD drawings: DWG, DXF
Draw from Scratch
Use tools drag-and-drop interface to draw walls, define rooms, and set measurements precisely. You can easily toggle between feet/inches or meters/centimeters, depending on your project needs.
Step 3: Instantly Switch to 3D View
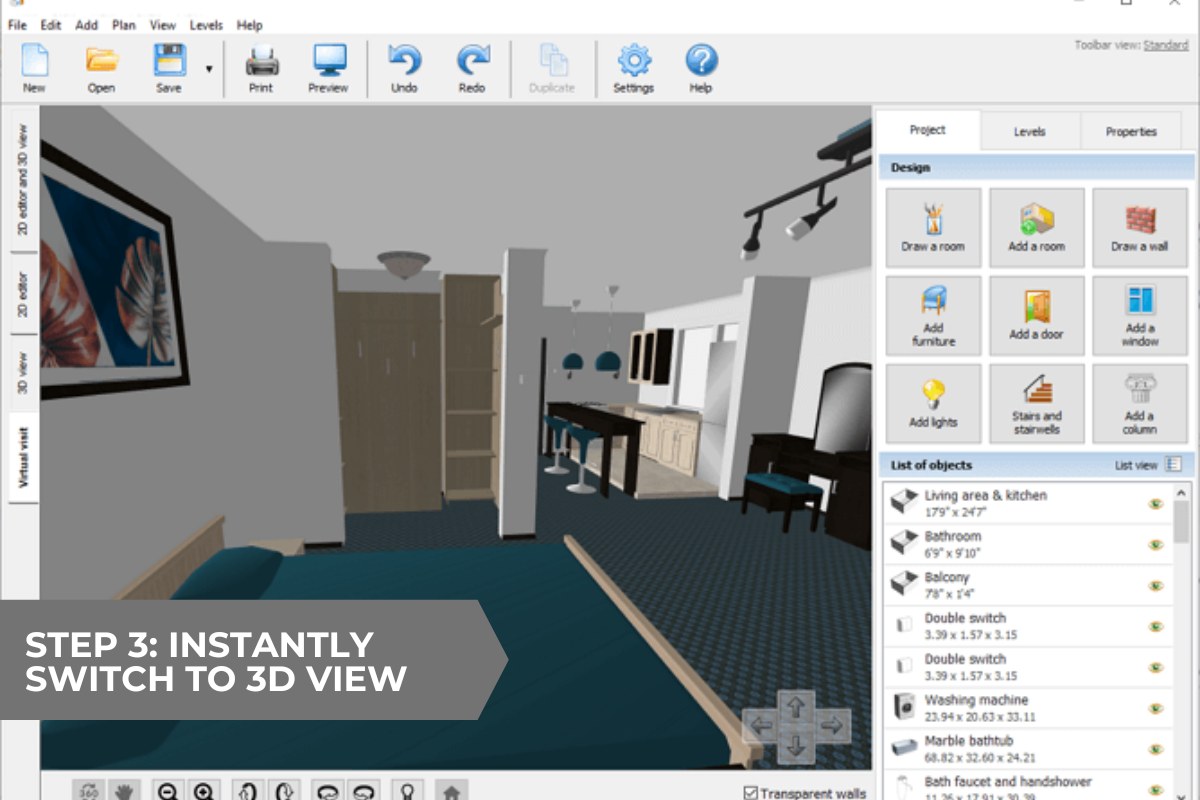
Once your 2D layout is ready, simply switch to 3D View with one click. tools real-time rendering engine immediately updates every change, giving you an accurate 3D visualization without delays.
This feature helps you review proportions, spacing, and structure effortlessly—saving time and avoiding design mistakes early on.
Step 4: Refine the 3D Structure
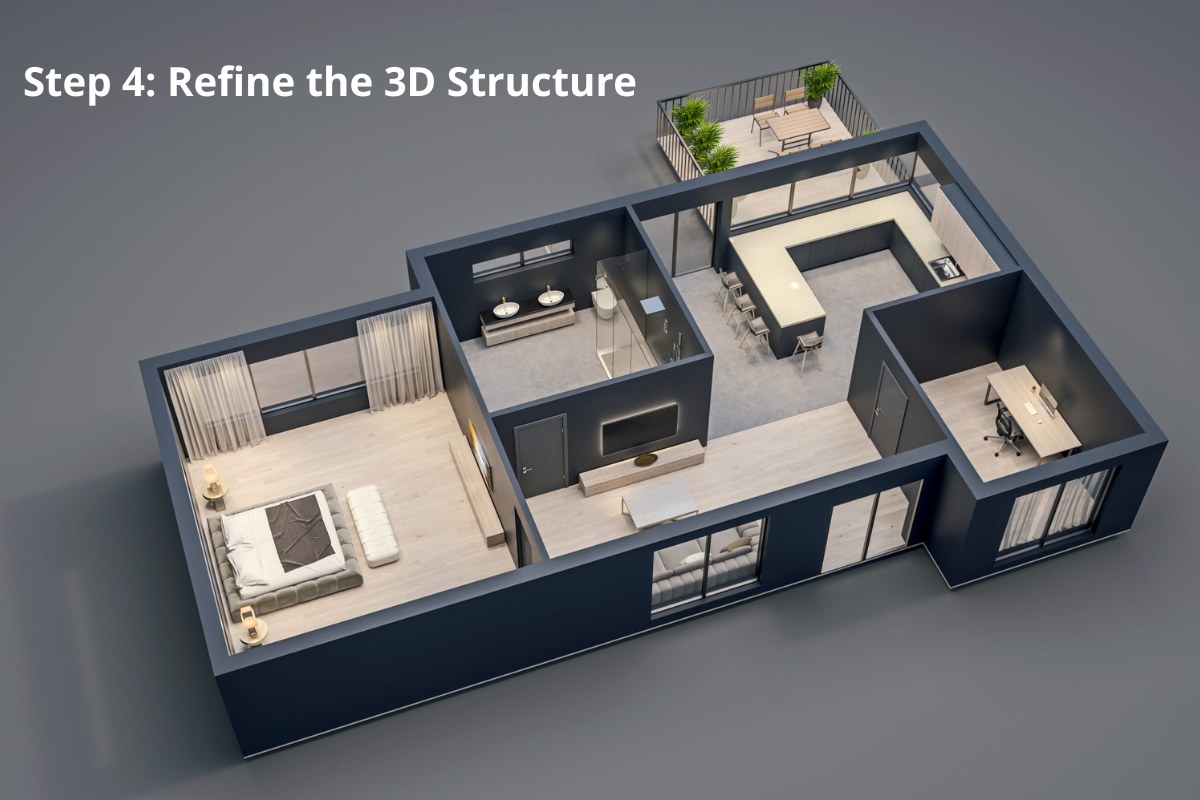
With your layout now in 3D, you can begin refining the structure. tools lets you add:
- Interior and exterior walls
- Windows, doors, and ceilings
- Staircases and split levels
- Roof structures and floor materials
You can work with any scale or unit system, ensuring precision whether it’s for a small apartment or a multi-story home.
Step 5: Add Interior and Exterior Details
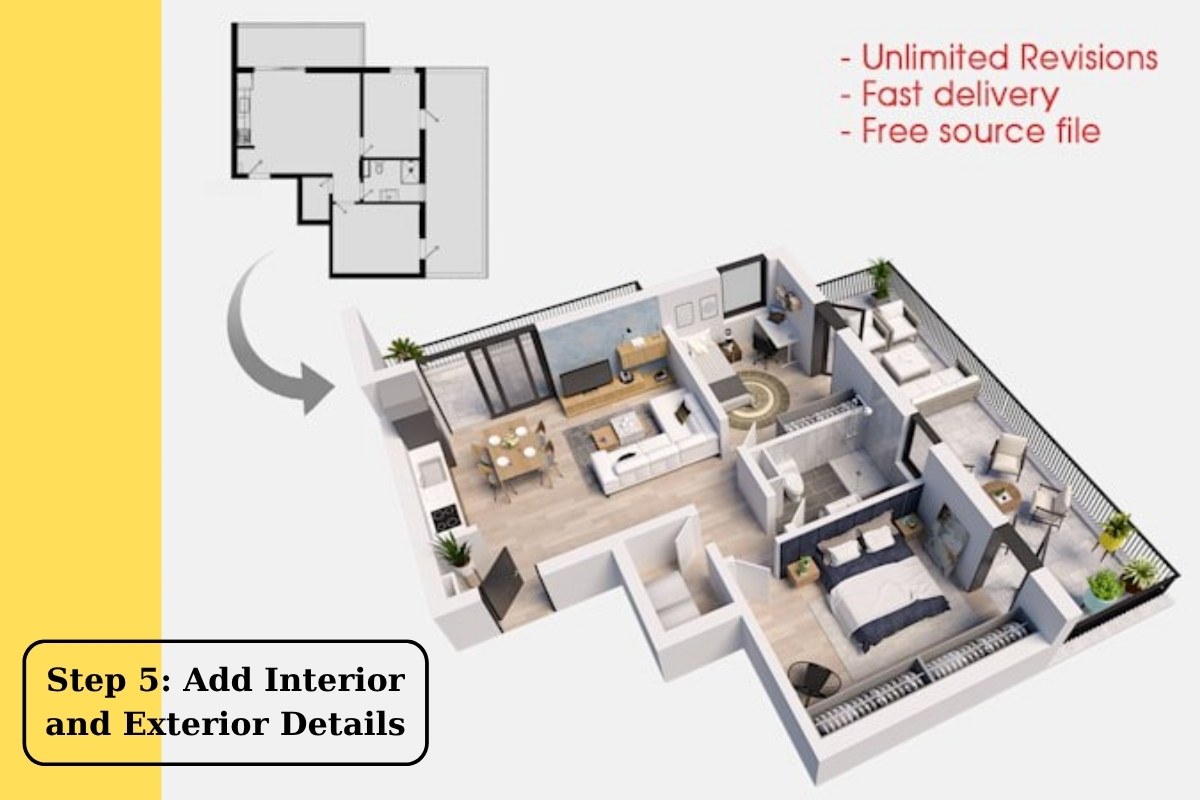
This is where your 3D model truly comes alive. Personalize your design by adding:
- Furniture (beds, desks, kitchens, etc.)
- Bathroom fixtures
- Floor textures and wall colors
- Outdoor landscaping (trees, fences, gardens)
Tools object library makes this effortless—just drag, drop, and adjust. You can also import your own 3D models for a custom touch.
Pro Tip: Use tools natural lighting simulation to preview how sunlight interacts with your design at different times of day.
Step 6: Export or Present Your 3D Plan
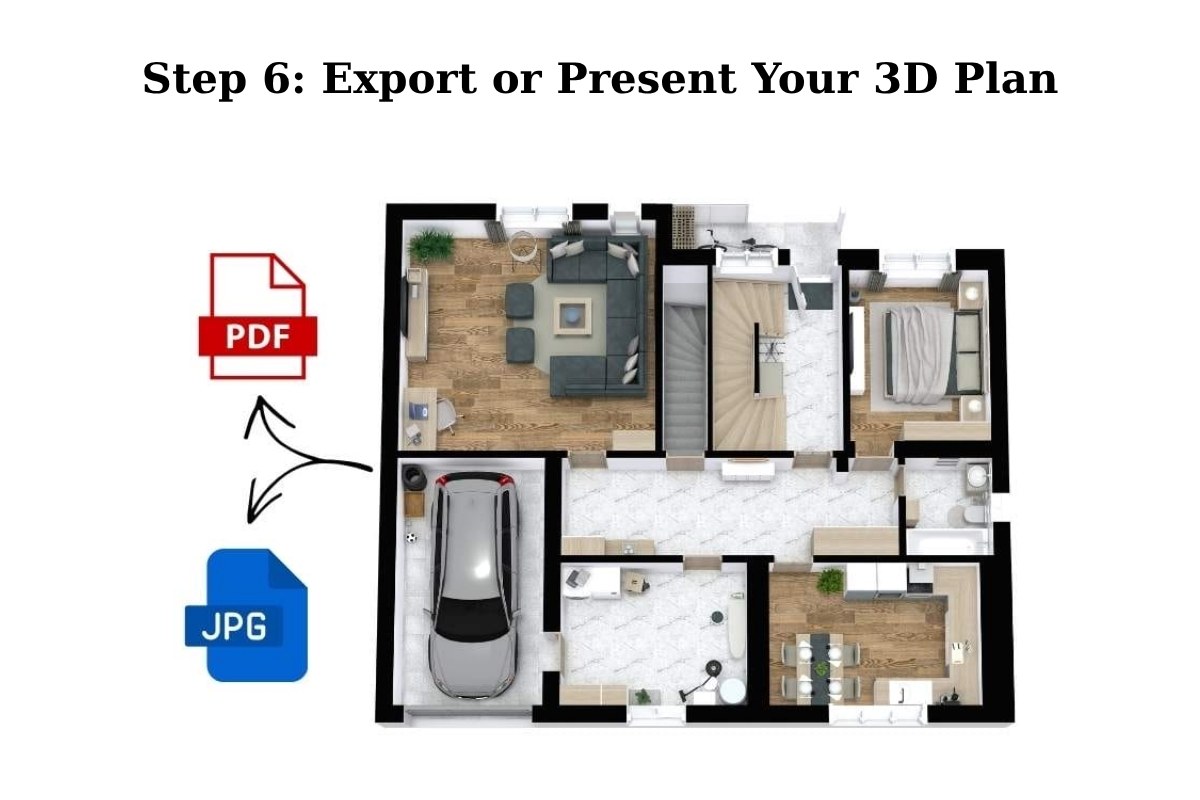
Once satisfied with your 3D plan, tools offers multiple export and presentation options:
- High-resolution renders for clients or portfolios
- 3D walkthroughs for immersive tours
- Printable PDF or image outputs for sharing or printing
Tools rendering engine also supports realistic shadows and reflections, helping you create professional-grade visuals instantly.
What Types of 2D Floor Plans Can Be Converted to 3D?
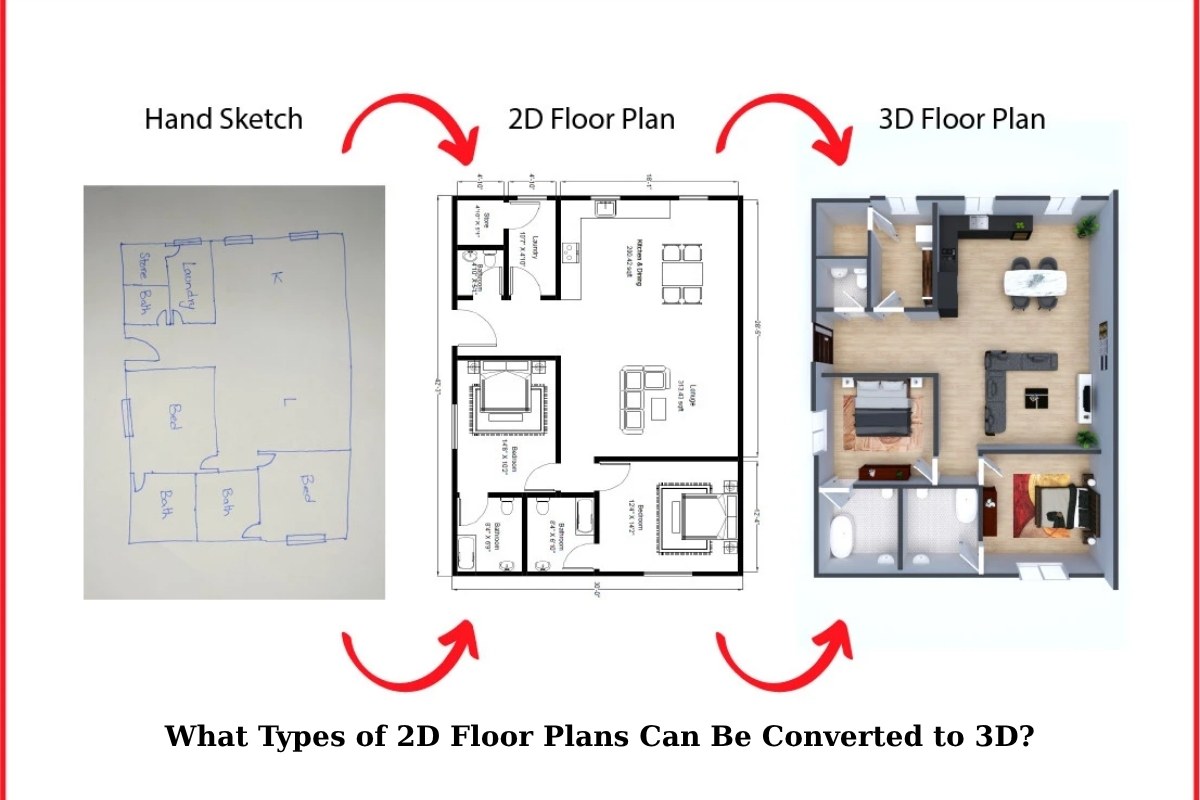
You don’t need to start with a perfect CAD drawing—Tools can handle many plan types:
- Scanned blueprints or photos
- Hand-drawn sketches
- AutoCAD files (DWG/DXF)
- PDF layouts
- New designs created directly within Tools
If your image isn’t perfectly scaled, simply calibrate one known measurement, and tools will automatically scale the entire layout accurately.
Conclusion
In summary, manual 3D modeling remains one of the most accurate and flexible methods for converting 2D floor plans into realistic 3D models. Despite requiring time and expertise, it provides unmatched control over design details, structure, and visualization quality. For professionals seeking precision and customization—especially in architecture, interior design, or real estate—this workflow ensures that every element reflects the true vision of the project. With the right tools and skills, Picpee helps transform simple blueprints into immersive, lifelike 3D spaces that elevate your property presentations.

 Single Exposure
 Room Cleaning
 Reels
Reels Blended Brackets (HDR)
 Changing Seasons
 Slideshows
 Flambient
 Water in Pool
 Individual
 360° Image Enhancement
 Lawn Replacement
 Team
Team Virtual Staging
 Rain to Shine
 Add Person
 Remodel
 Custom 2D
 Remove Person
 360° Image
 Custom 3D
 Background Replacement
 Day to Dusk
 Property Video
 Cut Outs
 Day to Twilight
 Walkthrough Video
 Change color