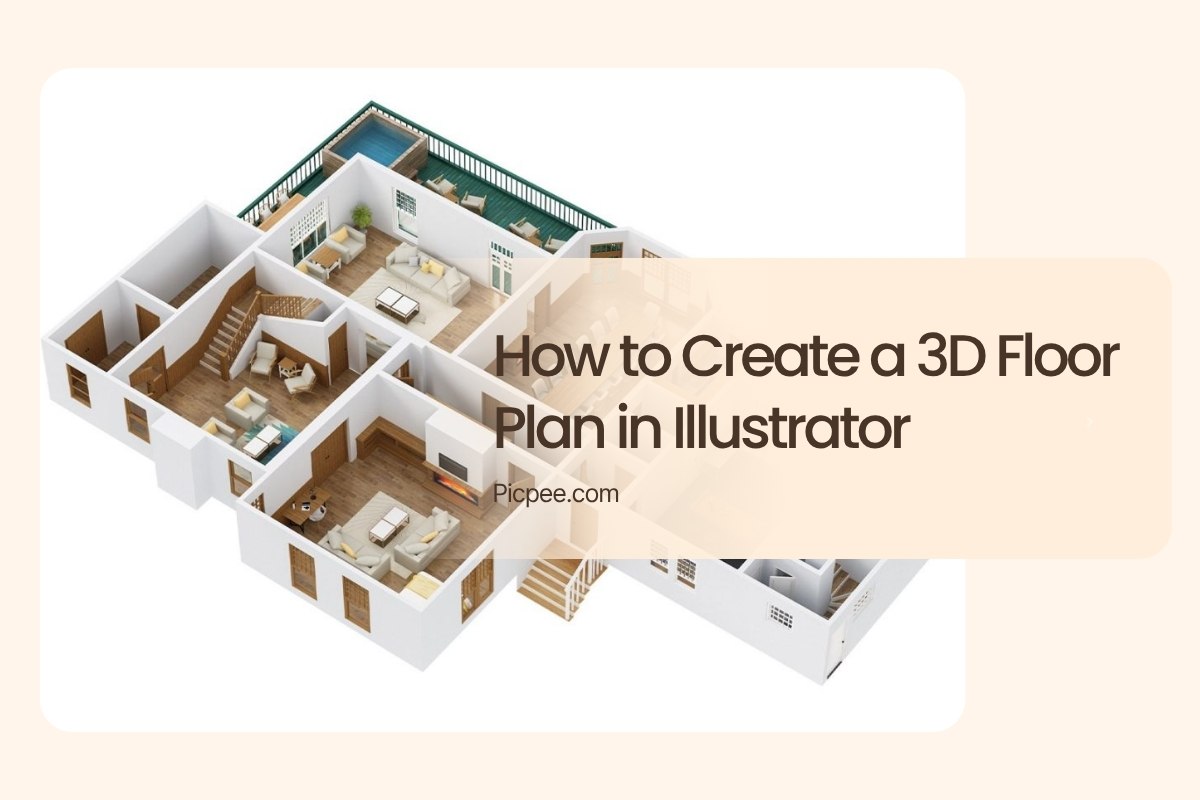
In this tutorial, I’ll show you the process I use for creating a 3D floor plan from scratch in six easy steps. This technique can be applied to infographics, escape plans, or architectural layouts that you want to showcase from a unique perspective.
Below is the final image we’ll be working toward.
Want access to full vector files, step-by-step design resources, and professional floor plan templates? Visit Picpee — a creative platform offering ready-made design tools, 3D models, and visual templates to help you elevate your projects effortlessly.
Tutorial Details
Difficulty: Beginner
Estimated Completion Time: 30–45 minutes
Step 1: Creating the Blueprint
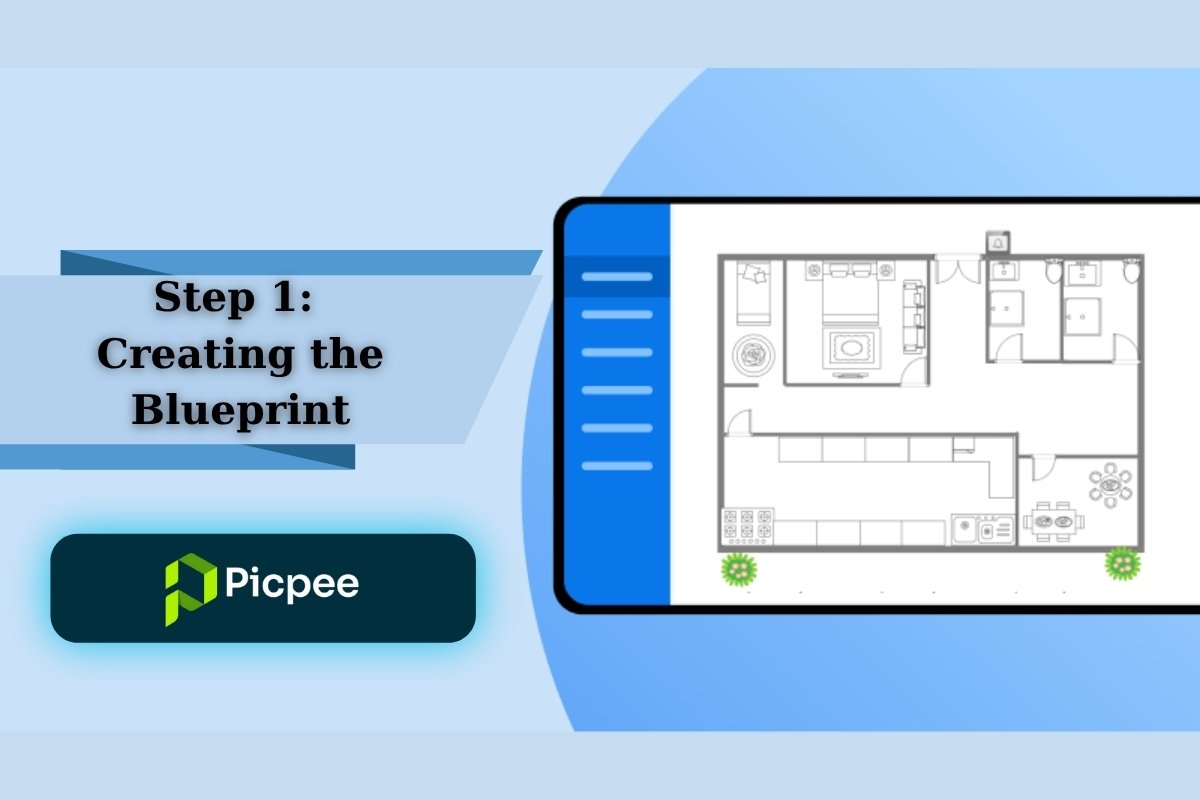
Draw a blueprint of the building you want to create using the Pen Tool or Line Segment Tool (hold Shift for straight lines). Don’t worry about doors or windows yet — focus only on the main structure.
Once the layout looks right, increase the stroke weight depending on your drawing scale to make the blueprint clearer.
Step 2: Expanding and Clean-Up
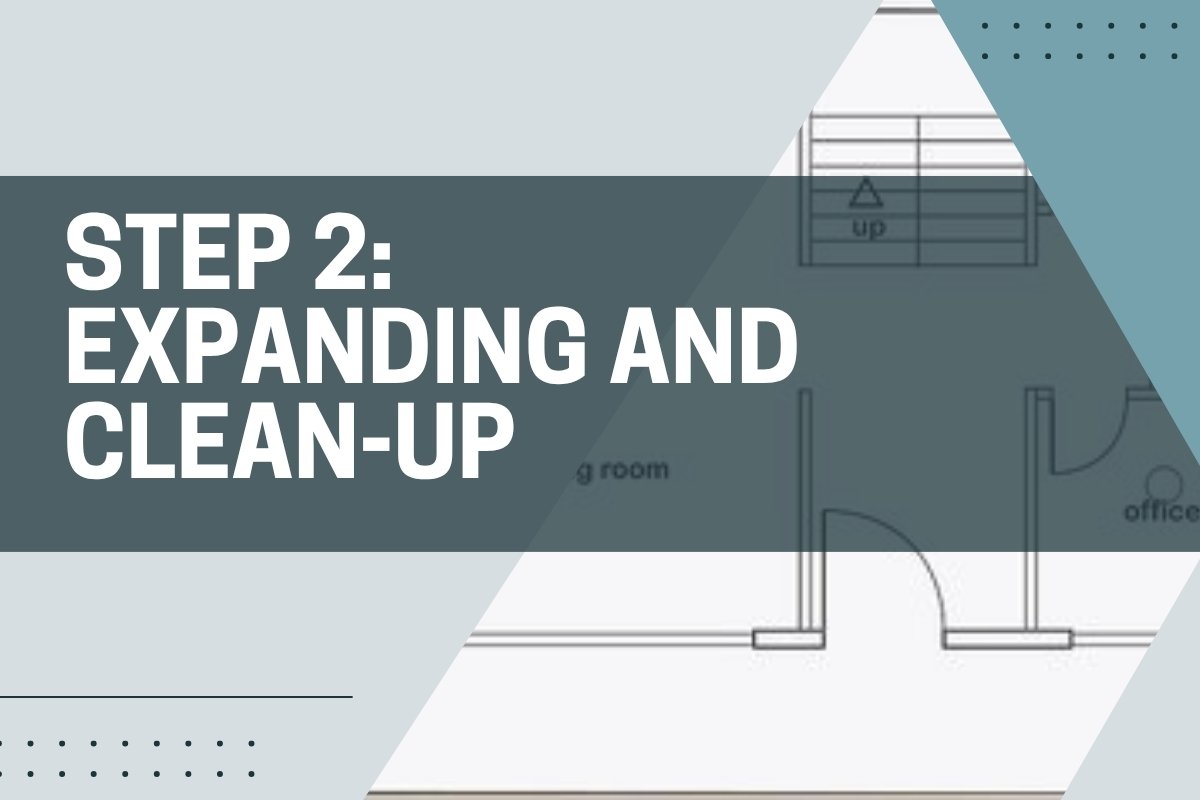
Select all the lines and go to Object > Expand to convert strokes into shapes.
With everything still selected, open the Pathfinder panel and click Unite to merge all the lines into a single solid shape. (Keep a copy of the original blueprint in case you need to make changes later.)
You may notice that some edges or corners need correction. Use the Pen Tool to fix and clean up those small imperfections.
Step 3: Windows and Doors
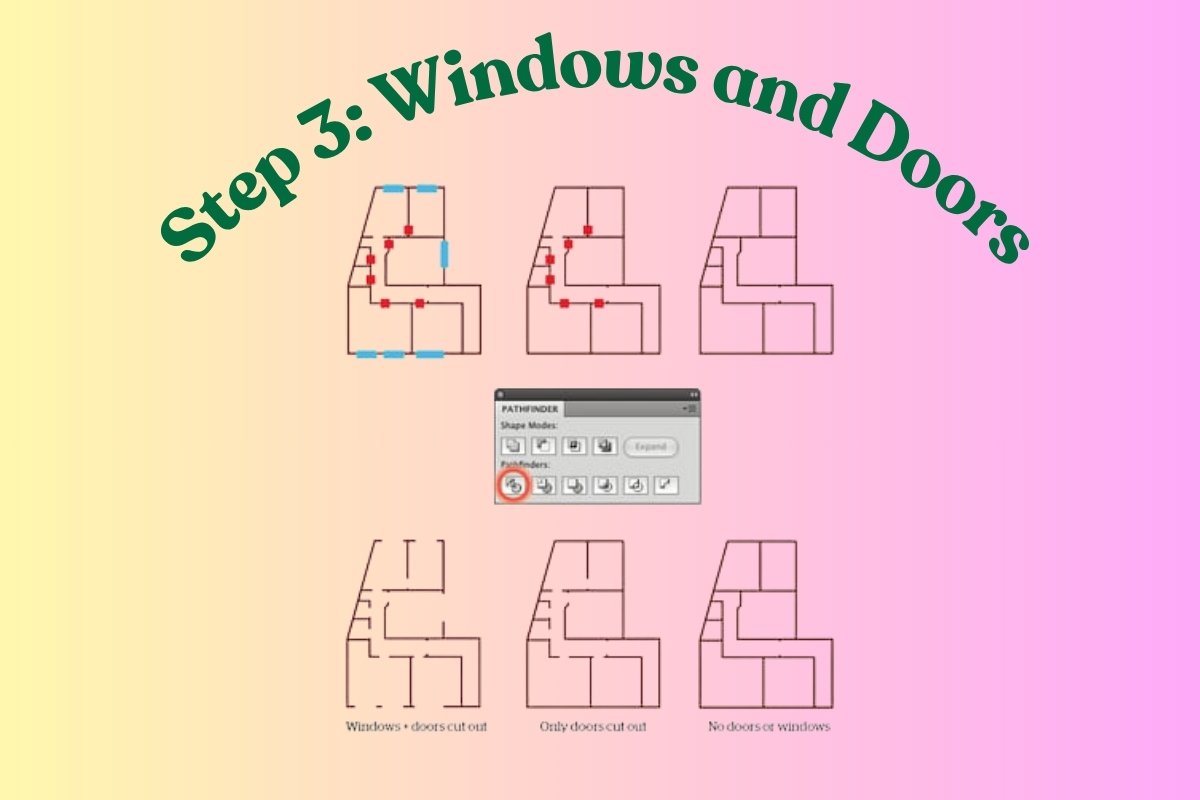
Now it’s time to place your windows and doors.
Create simple rectangular shapes and position them where each opening should be. To avoid confusion, use different colors — for example, blue for windows and red for doors.
Step 4: Creating Three Blueprint Versions
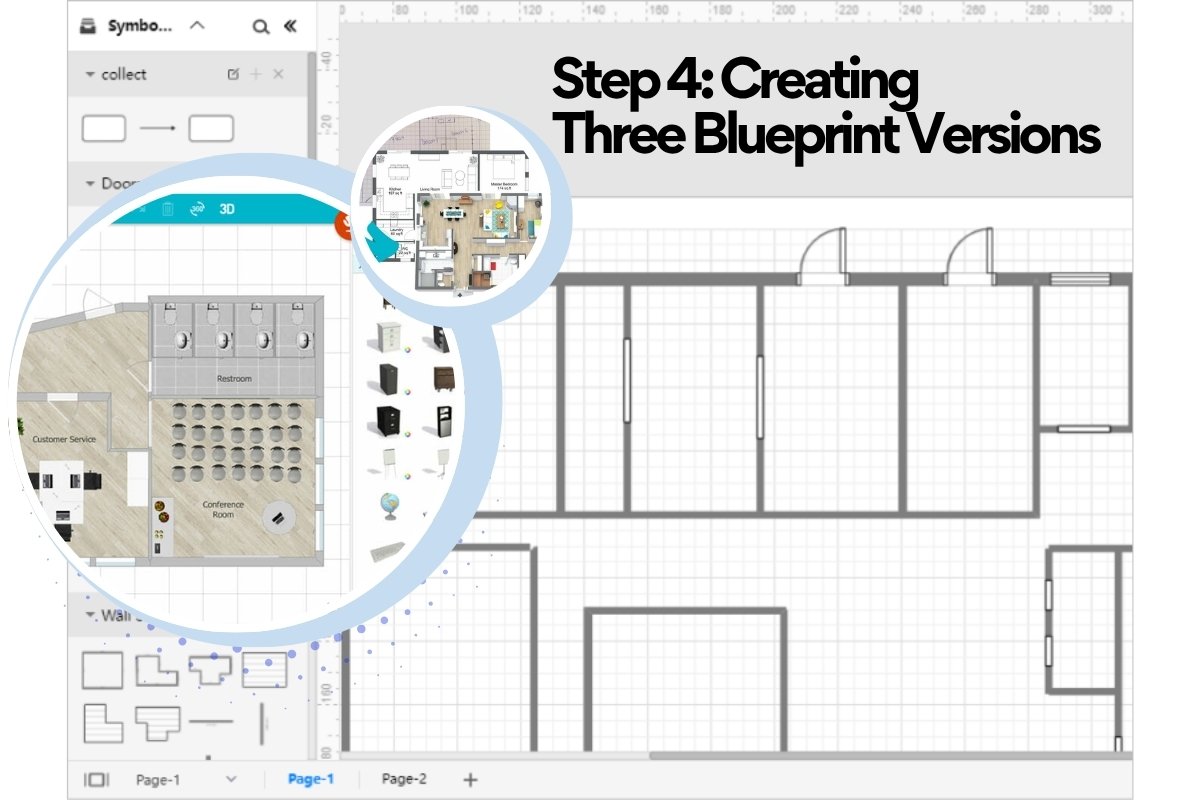
Next, select all the elements and make three copies of the blueprint, including the window and door shapes. Each copy will serve a different purpose for creating the 3D effect.
- On Blueprint 1, use the Divide option in the Pathfinder tools to cut out both doors and windows.
- On Blueprint 2, cut out only the doors.
- Keep Blueprint 3 as the version with no openings.
These three blueprints will become your stacked 3D layers.
Step 5: Applying the 3D Effect
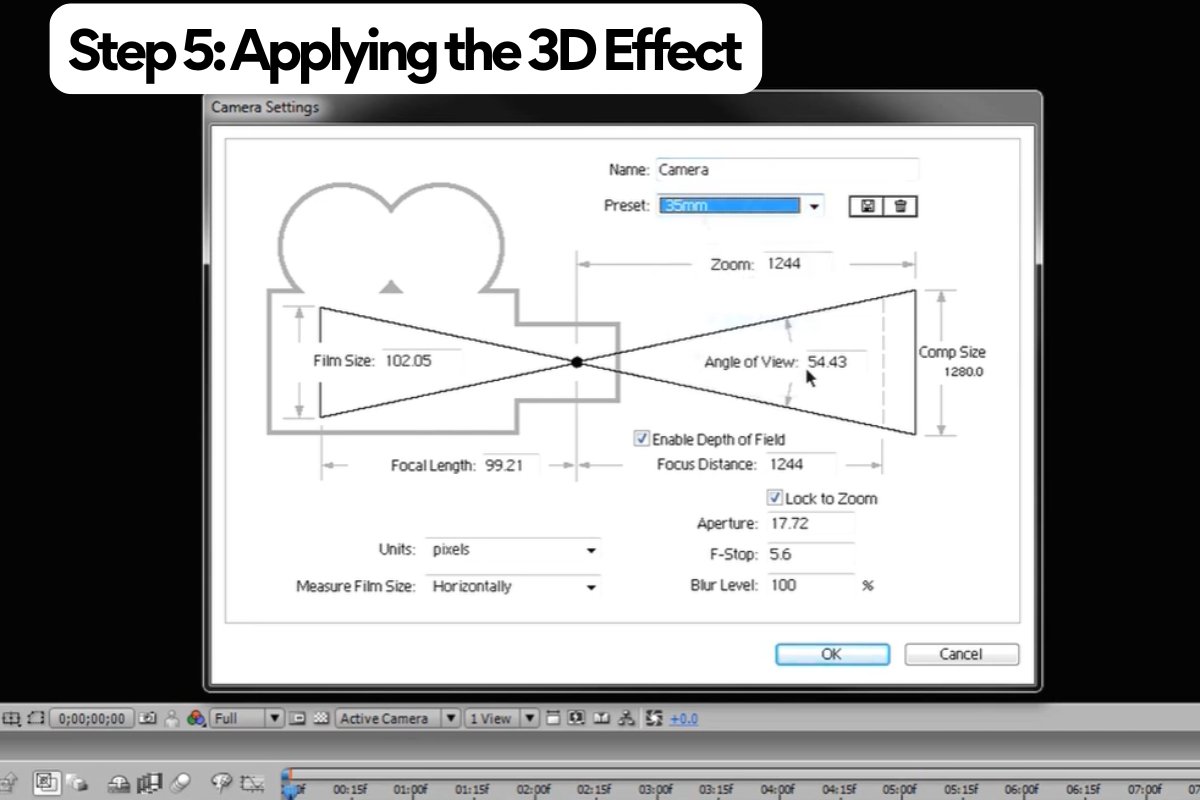
Select the first copy and go to Effect > 3D > Extrude & Bevel. Turn on Preview so you can adjust the perspective in real time.
Use the following rotation values as a guide: –40°, –25°, and 16°, with an Extrude Depth of about 15 pt.
Take note of these rotation parameters and apply the same ones to copies 2 and 3 — only adjust their extrusion depths.
- Copy 2: 20–23 pt
- Copy 3: 15 pt
This gives your design realistic depth and separation between floors or layers.
Step 6: Stacking and Final Touches
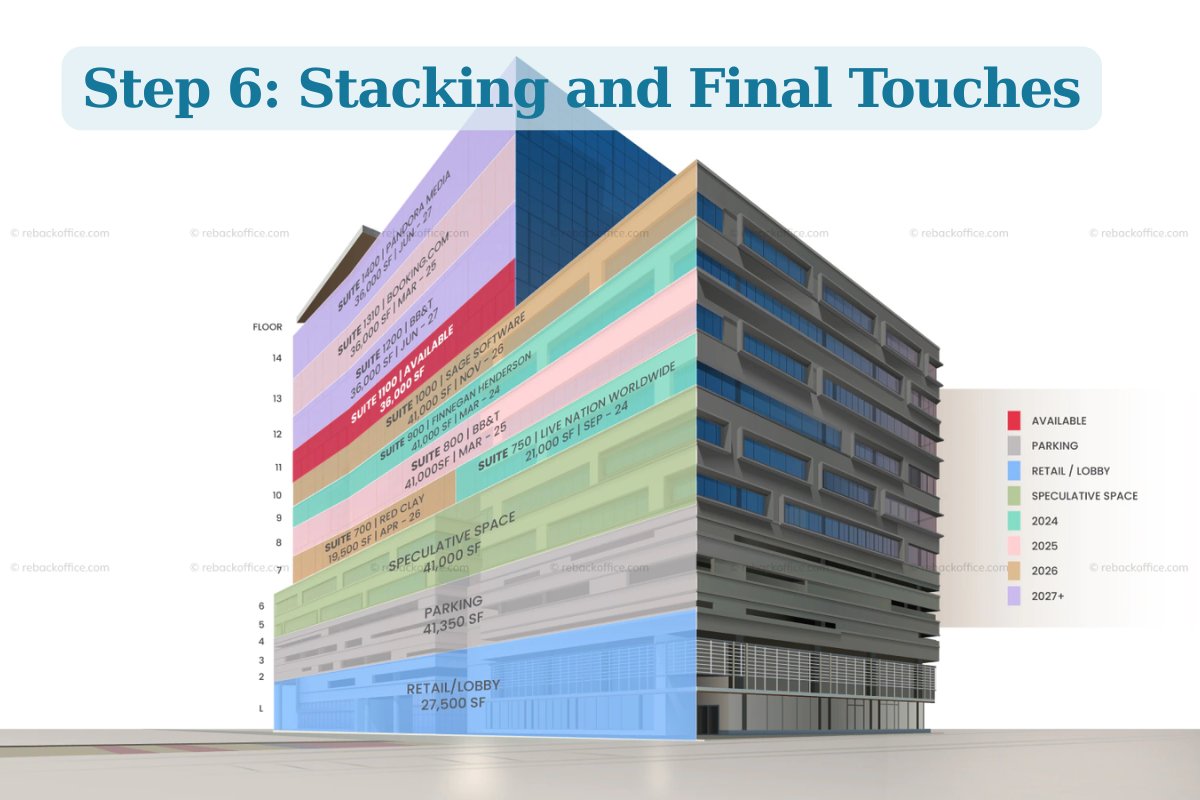
Stack your three 3D blueprints on top of each other to form the building’s structure. Change the colors of each layer to achieve the look you want — for example, #fddfd9 for the walls.
To refine the look:
- Select the whole building and go to Object > Expand Appearance.
- Add a floor with a soft tone (like #fff0d9).
- Color the wall tops or outlines with a darker shade (#606161) to add contrast.
- Insert simple shapes or textures to represent windows.
At this point, your 3D structure is ready. You can stop here for a clean infographic look or add more detail (like furniture, lighting, and textures) for a realistic architectural visualization.
Bring Your 3D Floor Plans to Life with Picpee
Once your 3D floor plan is complete, you can enhance it even further using Picpee — a powerful online platform for real estate visualization and photo editing.
With Picpee, you can:
- Add lighting effects and textures to make your floor plans pop.
- Use virtual staging tools to insert furniture or decor.
- Export your visuals in high-quality formats for property listings or presentations.
Whether you’re a designer, architect, or real estate professional, Picpee helps you transform your creative concepts into beautiful, realistic visuals quickly and efficiently.
Explore more tools and tutorials at www.picpee.com and start creating next-level 3D floor plans today!
Conclusion
Creating a 3D floor plan in Adobe Illustrator is an excellent way to visualize architectural designs with clarity and depth. With just a few basic tools and smart use of the 3D effects, you can build professional-looking layouts suitable for real estate, marketing, or presentation purposes.
If you want to speed up your workflow, Picpee offers an even simpler solution. You can generate 2D and 3D floor plans automatically, customize room colors and furniture, and export them for use in listings or brochures — no manual drawing required.
 Single Exposure
 Room Cleaning
 Reels
Reels Blended Brackets (HDR)
 Changing Seasons
 Slideshows
 Flambient
 Water in Pool
 Individual
 360° Image Enhancement
 Lawn Replacement
 Team
Team Virtual Staging
 Rain to Shine
 Add Person
 Remodel
 Custom 2D
 Remove Person
 360° Image
 Custom 3D
 Background Replacement
 Day to Dusk
 Property Video
 Cut Outs
 Day to Twilight
 Walkthrough Video
 Change color
 1–4 Items
