Capturing small spaces can be one of the biggest challenges in real estate photography. Whether you’re shooting a studio apartment, a compact bedroom, or a narrow kitchen, the goal remains the same — to make the room appear bright, spacious, and inviting. With the right photography techniques, composition, lighting, and editing tools, even the tiniest spaces can look large and appealing in photos.
This guide will walk you through everything you need to know to make small rooms look bigger in photos — from camera setup and lens choice to smart styling, lighting tricks, and post-production techniques.
Why Making Small Rooms Look Bigger Matters
First Impressions Count
In real estate, first impressions happen online. Most potential buyers or renters will decide within seconds whether a property is worth visiting — based solely on photos. If your images make small rooms look cramped, dark, or cluttered, viewers might skip your listing entirely.
Making small spaces appear larger:
- Attracts more views and inquiries
- Helps the property feel more valuable
- Creates emotional appeal and openness
Small Doesn’t Mean Unattractive
Even compact rooms can look luxurious with the right visual approach. The challenge isn’t hiding size — it’s highlighting functionality, light, and comfort. Professional photographers and editors use techniques that create visual balance and depth, turning limited space into a selling point.
Preparing the Room Before Shooting
Before you even pick up your camera, preparation makes all the difference.
Declutter the Space
Less is more. Remove unnecessary objects, personal items, and bulky furniture that block visual flow.
Tips:
- Clear countertops and bedside tables.
- Minimize décor — two or three accents are enough.
- Hide cords, trash bins, and small clutter.
Decluttering allows clean lines and visible floor space, which automatically make a room appear larger.
Use Light, Neutral Colors
Walls painted in white, cream, light gray, or beige reflect more light and open up the space visually. Dark or saturated tones tend to absorb light, making rooms feel smaller.
If repainting isn’t possible, use neutral-colored furniture covers, rugs, or curtains for balance.
Add Mirrors and Reflective Surfaces
Mirrors are a classic interior trick to expand perceived space. Position them opposite windows to double natural light and create a sense of depth. Reflective surfaces like glass tables or glossy tiles can also enhance spaciousness.
Arrange Furniture for Flow
Avoid pushing all furniture against the walls. Instead, create breathing space between objects to show openness. Choose low-profile or multifunctional furniture — such as ottomans with storage — to emphasize efficiency.
Camera Gear and Settings for Small Spaces
Use a Wide-Angle Lens
A wide-angle lens is essential for photographing small rooms. It allows you to capture more of the scene in a single frame, increasing perceived space and depth.
Recommended focal lengths:
- Full-frame camera: 14–24mm
- Crop sensor camera: 10–18mm
Be careful not to go too wide (below 12mm equivalent), as distortion can make the space look unnatural.
Maintain Proper Camera Height
Shoot at chest or tripod height (about 4–5 feet / 1.2–1.5m). This angle keeps vertical lines straight and makes rooms feel balanced. Shooting too high or too low exaggerates the perspective, making furniture appear awkward.
Keep Vertical Lines Straight
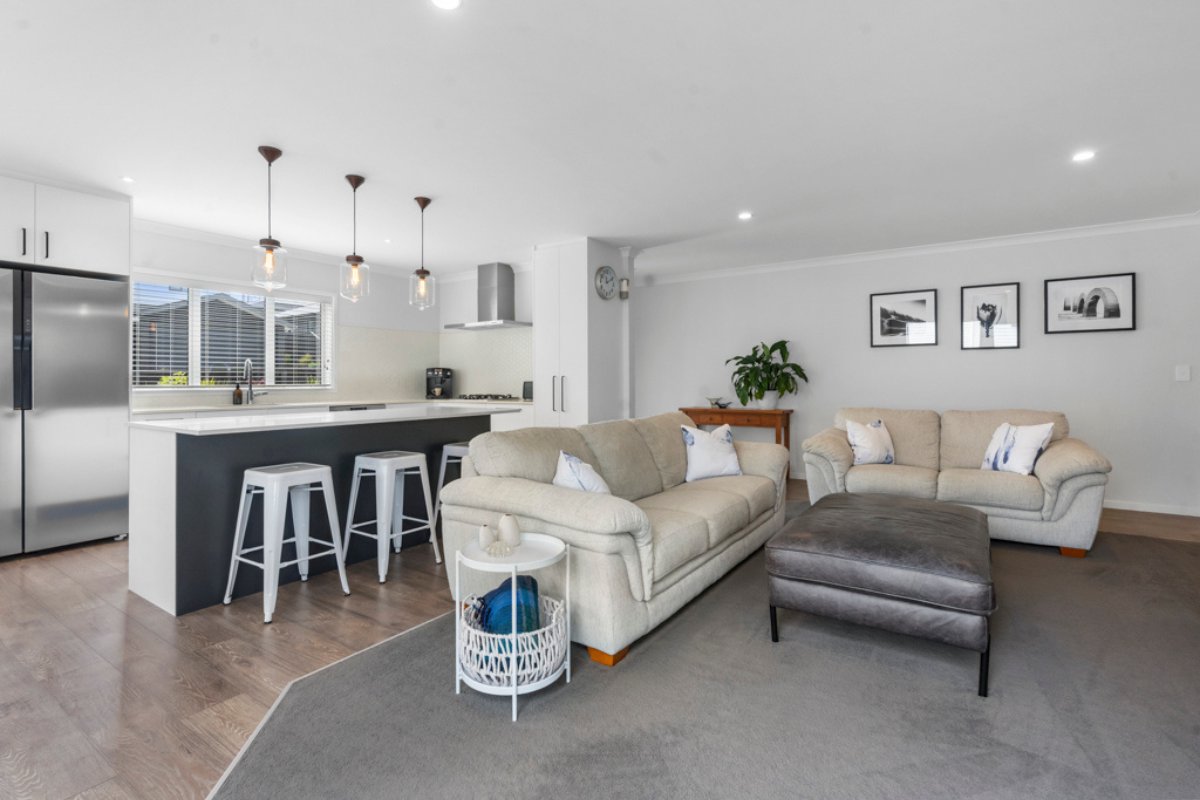
Use your camera’s grid lines or a bubble level to maintain straight verticals. Leaning walls or tilted horizons can make rooms feel off-balance and smaller.
Use a Tripod for Stability
Small rooms often require slower shutter speeds to capture enough light. A tripod ensures your photos remain sharp, even in low light conditions. It also allows consistent composition between multiple shots — useful for panoramas or HDR.
Adjust Camera Settings
- Aperture (f/8 – f/11): Ensures sharpness throughout the frame.
- ISO (100–400): Keeps images clean and noise-free.
- Shutter speed: Adjust based on lighting — longer exposures for dim rooms.
If possible, shoot in RAW format for greater flexibility during editing.
Lighting Techniques to Expand Visual Space
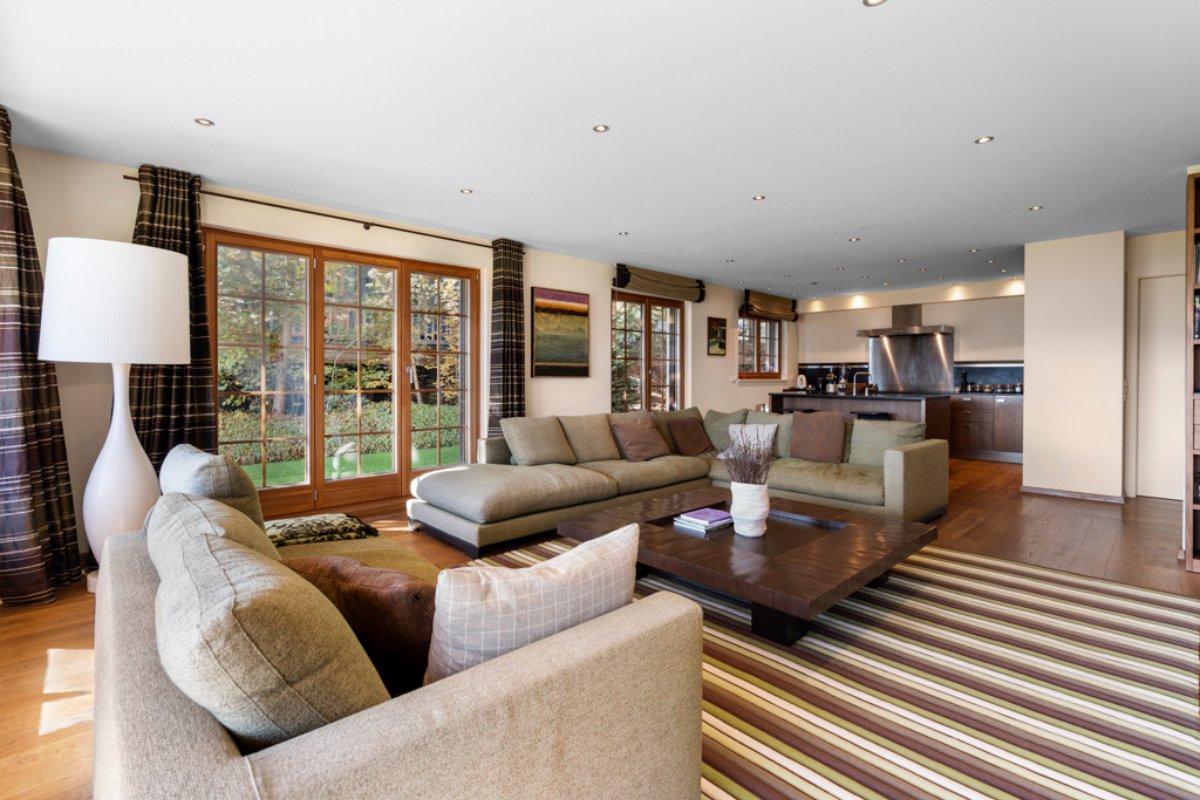
Use Natural Light Whenever Possible
Open all curtains and blinds to let sunlight flood in. Natural light creates softness, warmth, and brightness that make spaces feel larger and more inviting.
Tip: Avoid shooting at noon when sunlight is harsh. Late morning or early afternoon offers more diffused light.
Supplement with Artificial Lighting
Use a combination of ambient, task, and accent lighting to balance brightness. Add softbox lights or LED panels to fill dark corners, but avoid harsh overhead lights that cast shadows.
Bounce Flash Off Walls or Ceilings
If you use flash, don’t point it directly at the subject. Instead, bounce it off the ceiling or a nearby wall to spread light evenly and mimic natural illumination.
Balance Exposure Across the Room
In small spaces, windows can create extreme contrast. Use HDR (High Dynamic Range) bracketing — capturing multiple exposures and blending them in post-production — to balance indoor and outdoor brightness.
Composition and Angles for Spacious Photos
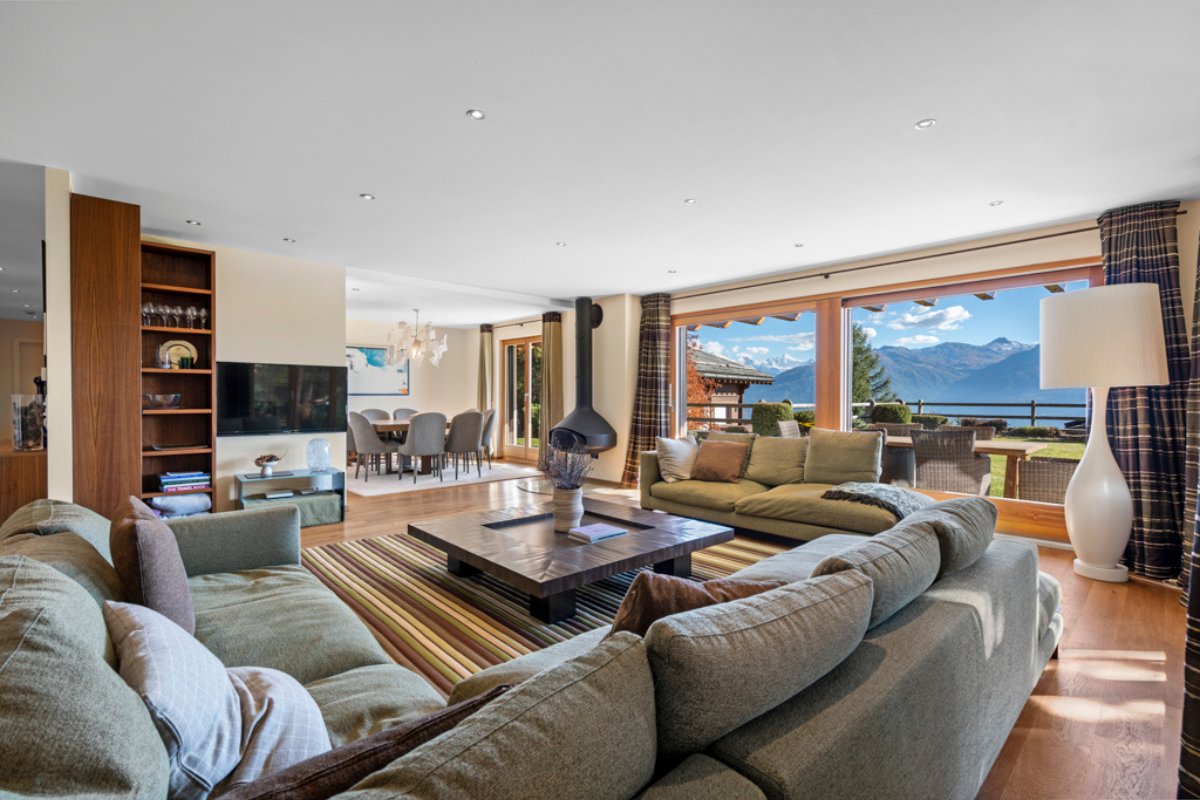
Shoot from the Corner
Shooting from a corner instead of straight-on captures more of the room in one frame. This technique adds depth, dimension, and visual balance, making the space feel more open.
Include Leading Lines
Lines from floors, countertops, or walls guide the viewer’s eyes through the space, creating a sense of movement and expansion.
Capture Multiple Angles
Take wide shots for overall layout and tighter shots for details. The combination helps potential buyers understand space flow without feeling confined.
Avoid Cluttered Foregrounds
Don’t let furniture or decorations dominate the front of your frame. Leave open foreground space to draw the viewer into the room naturally.
Post-Processing: Making Small Rooms Appear Larger
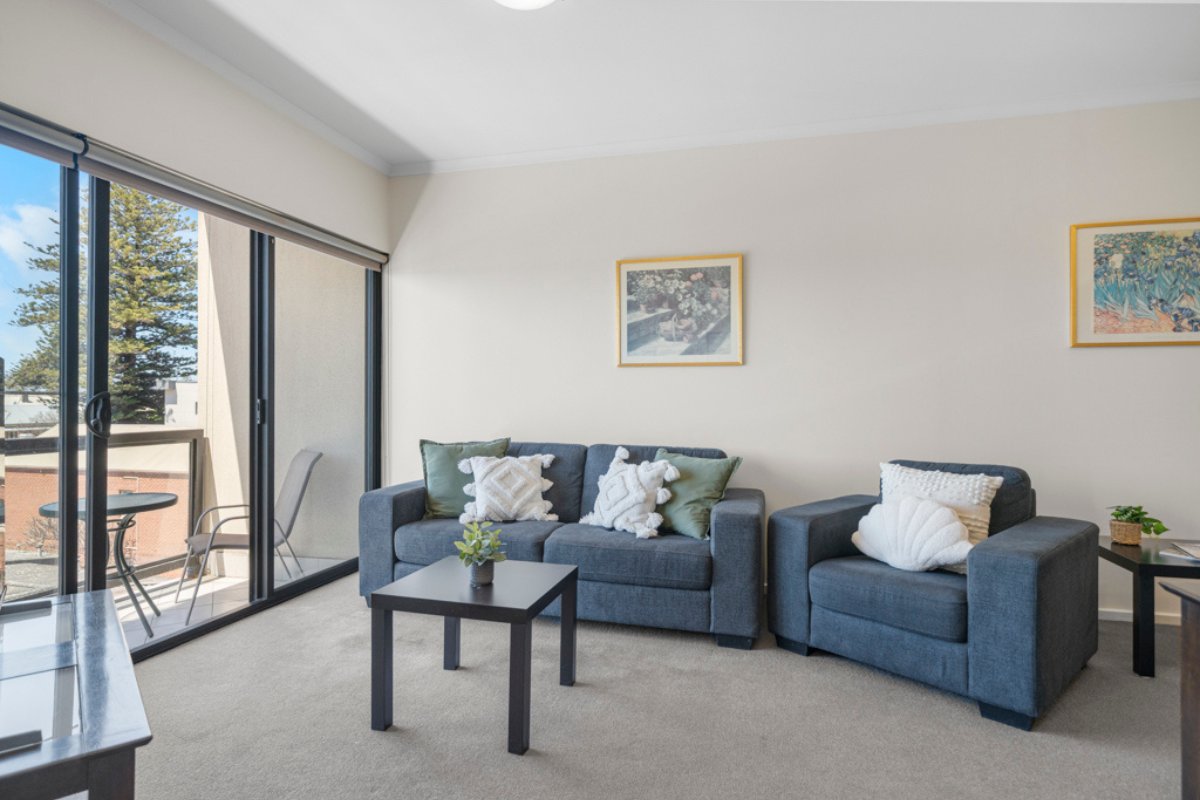
Photo editing is where small spaces can truly transform. AI-powered tools and precise adjustments help balance light, color, and composition for the perfect spacious look.
Correct Perspective and Distortion
Use software like Adobe Lightroom, Photoshop, or Picpee to straighten lines and remove lens distortion. Proper geometry keeps walls vertical and ceilings balanced.
Brighten Shadows and Midtones
Light tones expand perception. Increase brightness slightly and lift shadows to reveal details in darker corners. Avoid overexposure — keep natural contrast for realism.
Adjust White Balance
Ensure color temperature matches natural light — warm tones for cozy interiors, cooler tones for modern aesthetics. Balanced white balance enhances harmony and depth.
Enhance Clarity and Texture Carefully
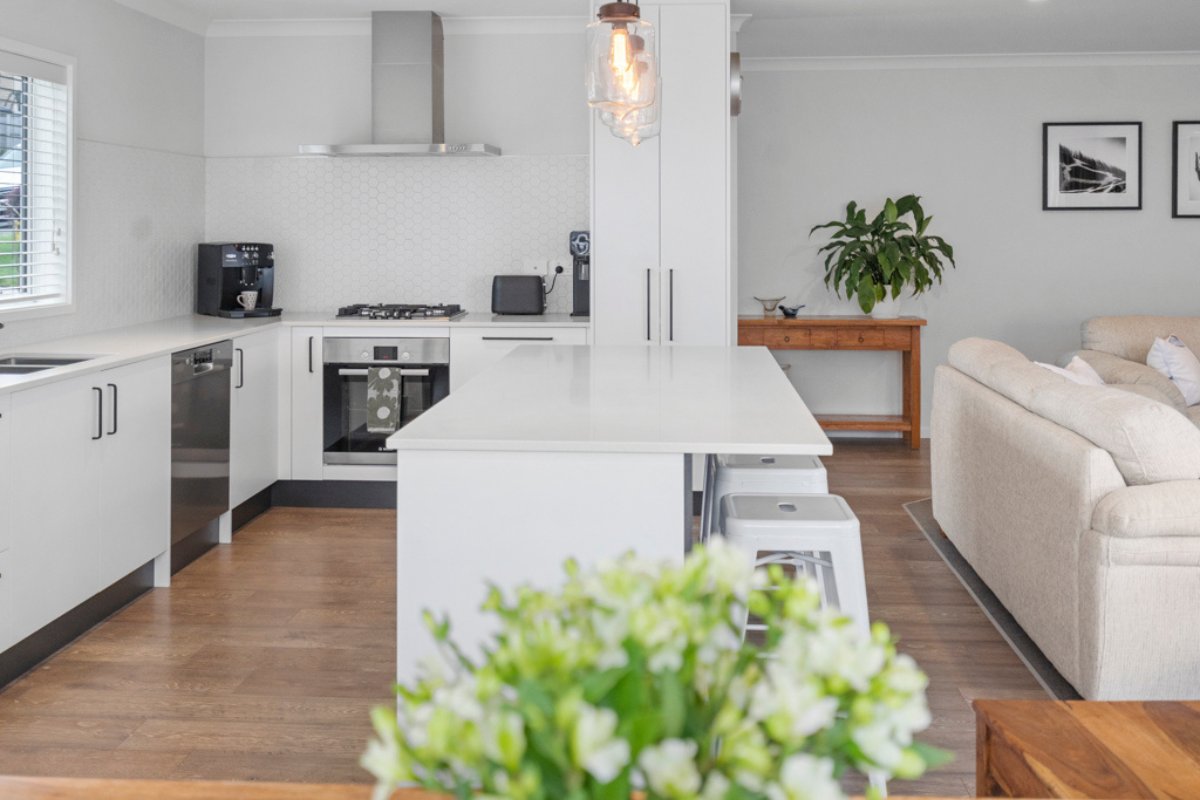
Too much sharpness can emphasize imperfections or make a space feel cramped. Apply gentle clarity and texture adjustments to maintain realism.
Use AI Tools for Refinement
Modern tools like Picpee AI Photo Editor can automatically:
- Brighten rooms evenly
- Replace dull skies seen through windows
- Fix lighting inconsistencies
- Virtually stage furniture for better visual flow
These AI-powered enhancements save time while ensuring a natural, spacious result
Virtual Staging for Small Spaces
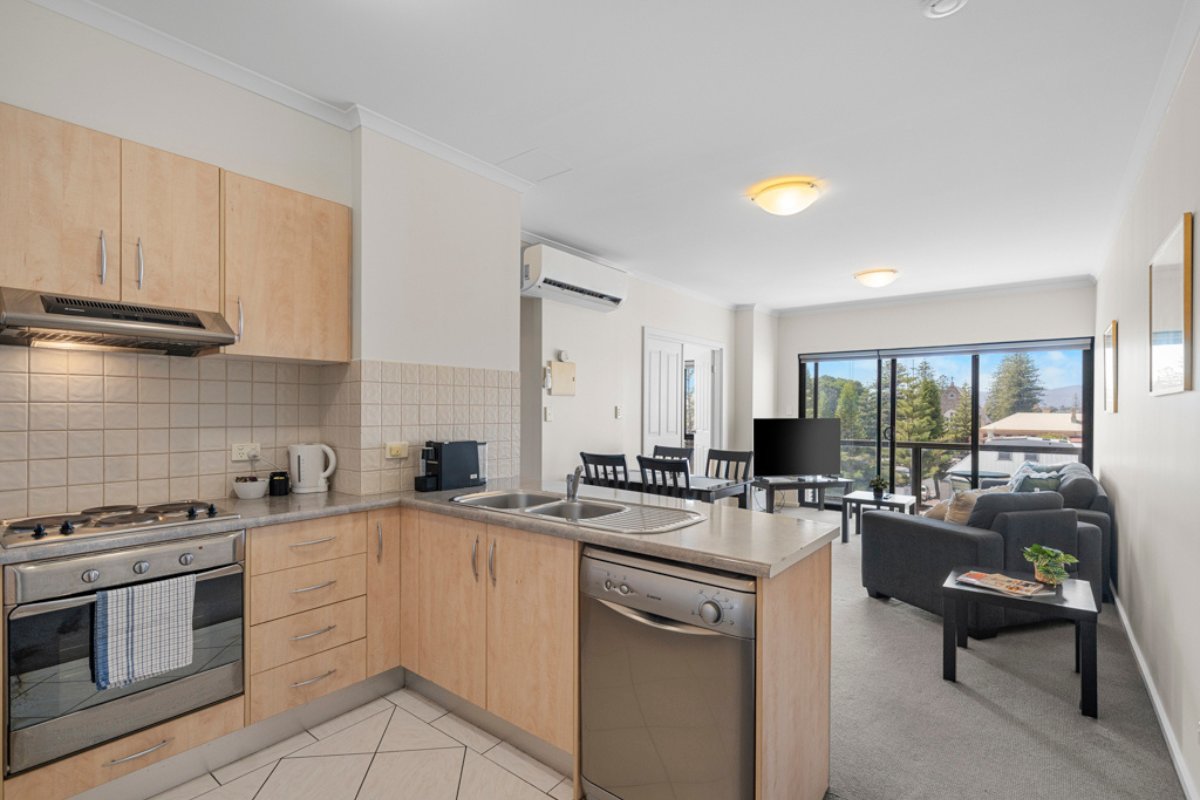
Virtual staging is a powerful way to make small rooms feel purposeful and larger. Using digital design tools, you can insert virtual furniture that fits scale, color, and layout perfectly — without physically staging the property.
Advantages:
- Visualizes potential without crowding the space
- Saves costs on physical staging
- Enables multiple layout variations
Tools like Picpee Virtual Staging provide professional, realistic results that help listings attract more engagement.
Common Mistakes to Avoid
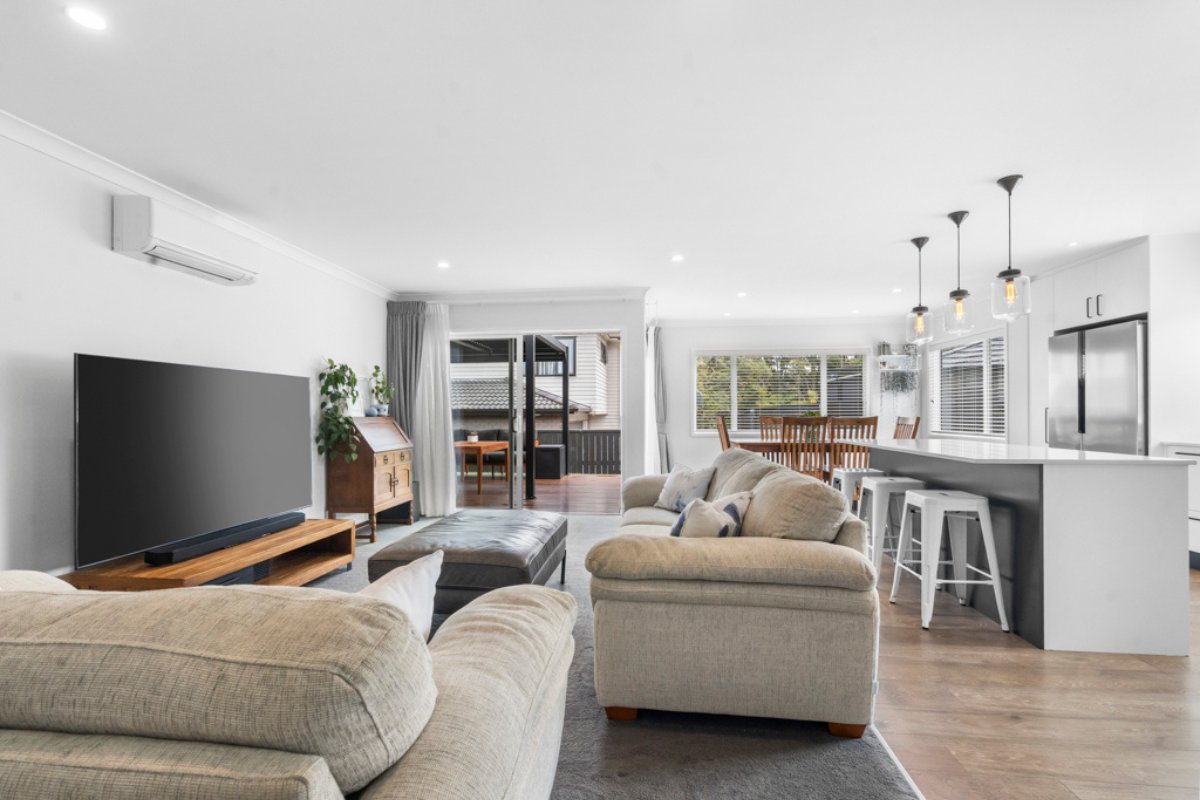
Even experienced photographers make small errors that shrink the perception of space.
Avoid:
- Over-saturating colors or using heavy filters
- Crooked vertical lines or tilted angles
- Blocking windows with furniture
- Ignoring reflections and clutter in mirrors
- Overusing wide angles that distort proportions
Clean, accurate, and balanced photos always feel more spacious and trustworthy.
Bonus: Tips for Real Estate Agents and Editors
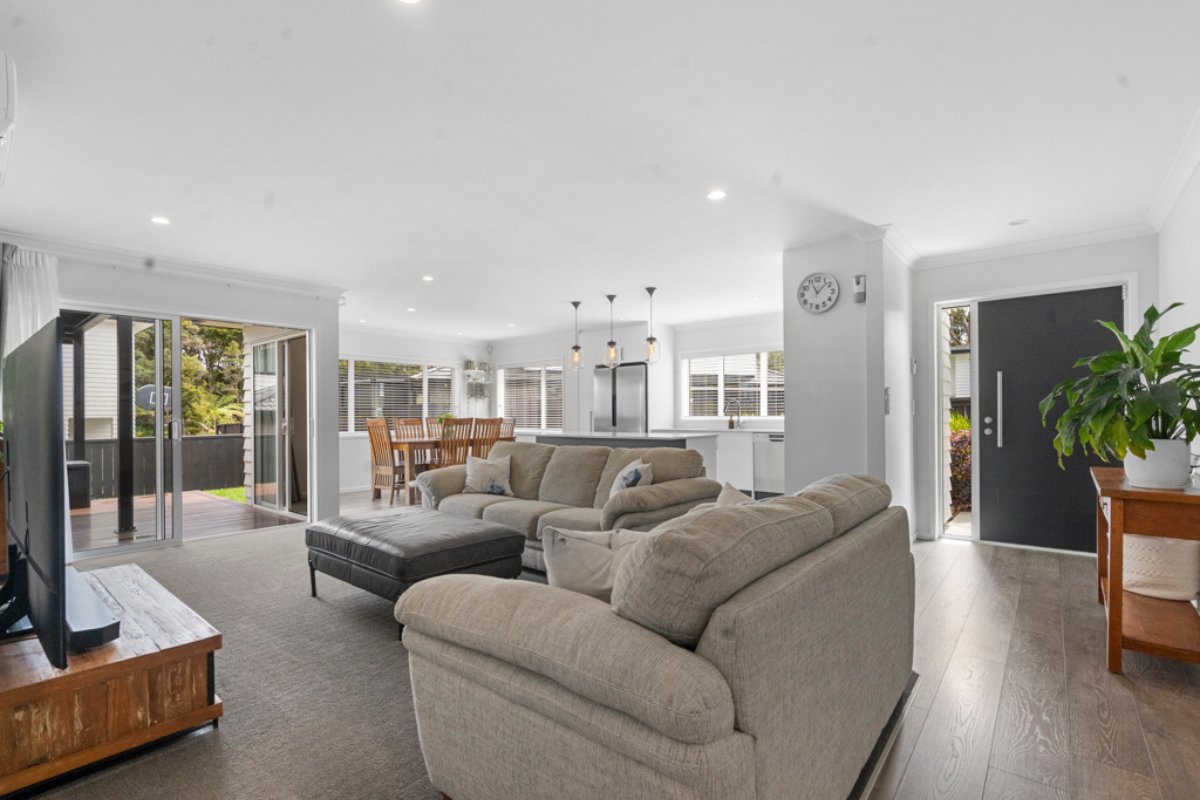
For Agents:
- Always choose photos that show open layouts and continuity.
- Avoid including personal clutter in listing photos.
- Use consistent lighting across all room shots.
For Editors:
- Apply subtle vignetting to direct focus inward.
- Ensure white balance is consistent across all photos.
- Optimize image size for fast web loading without losing detail.
Recommended Tool: Picpee
When it comes to post-production, Picpee stands out as a comprehensive AI photo editing solution for real estate.
Why photographers and agents love Picpee:
- AI-powered brightness and color correction
- Perspective adjustment and distortion fix
- Virtual staging and sky replacement
- Quick turnaround for large photo sets
Picpee’s automation combines speed, precision, and realism, helping professionals transform compact spaces into appealing visuals that convert views into leads.
Visit picpee.com to explore how AI editing can elevate your small-space photography.
Conclusion
Making small rooms look bigger in photos isn’t about tricking viewers — it’s about presenting space in its best light. With careful composition, good lighting, decluttering, and intelligent post-editing, even a small apartment can appear bright, welcoming, and full of possibility.
The secret lies in balance: every adjustment, from lens choice to final color grading, should serve the purpose of enhancing space perception naturally. Combine these methods with tools like Picpee to achieve consistent, professional, and eye-catching results that turn small rooms into big opportunities.
 Single Exposure
 Room Cleaning
 Reels
Reels Blended Brackets (HDR)
 Changing Seasons
 Slideshows
 Flambient
 Water in Pool
 Individual
 360° Image Enhancement
 Lawn Replacement
 Team
Team Virtual Staging
 Rain to Shine
 Add Person
 Remodel
 Custom 2D
 Remove Person
 360° Image
 Custom 3D
 Background Replacement
 Day to Dusk
 Property Video
 Cut Outs
 Day to Twilight
 Walkthrough Video
 Change color
 1–4 Items
