In real estate photography, first impressions can decide whether a property gets attention or gets ignored. A dull, patchy lawn can make even a luxury home look neglected, while a lush green yard instantly communicates care, freshness, and value.
Potential buyers often examine property photos in detail before deciding whether to visit in person. Since outdoor areas are the first thing they see, enhancing the grass color can significantly improve a photo’s appeal — without requiring expensive landscaping.
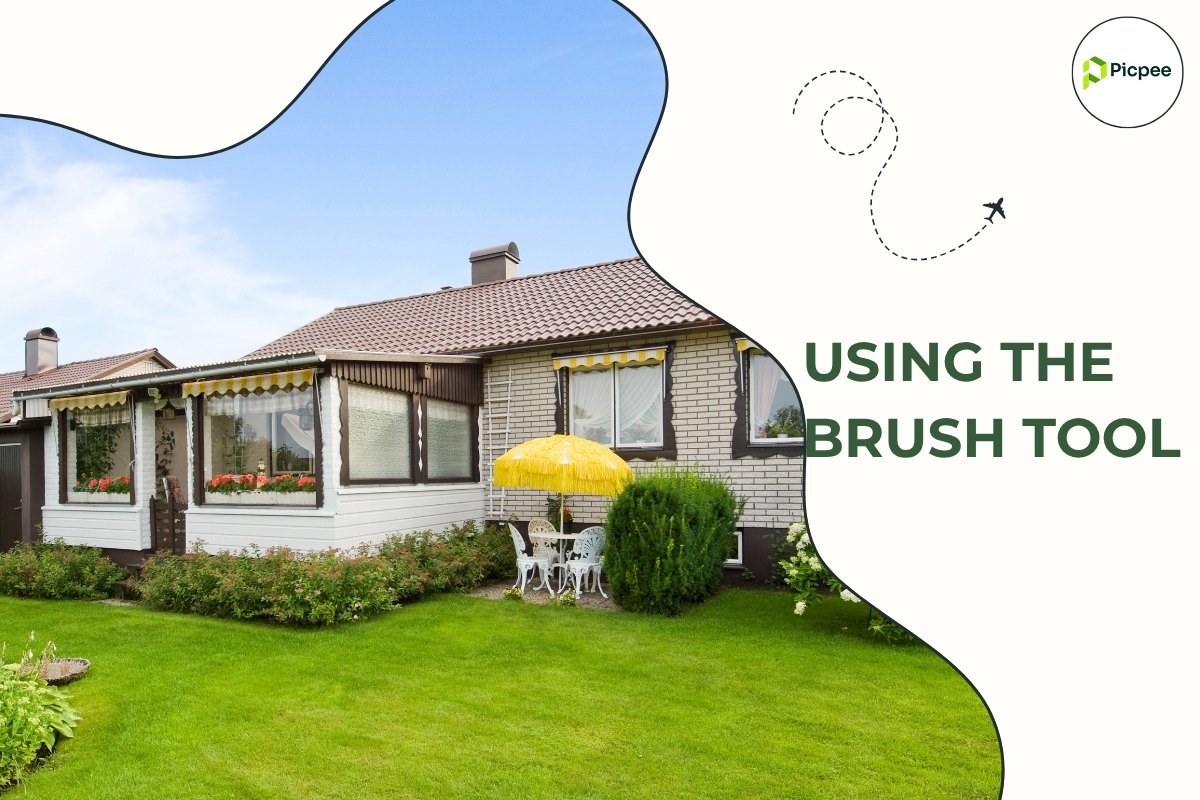
Method 1: Using the Brush Tool for Realistic Grass Enhancement

One of the easiest yet most flexible ways to replace or enhance grass is with the Brush Tool in Photoshop. This method works best for lawns without too many obstructions, such as walkways or garden decor.
Step-by-step process:
- Open your photo in Photoshop and create a new layer.
- Change the Blend Mode of this layer to Soft Light — this helps your new color blend naturally with the photo’s existing tones.
- Select a dark green paint color from the color picker. Avoid overly bright greens; darker, slightly desaturated tones look more realistic.
- Use a soft brush to carefully paint over the grass areas. The Soft Light blend keeps the grass texture intact while adjusting the hue.
- If you overpaint onto sidewalks, stones, or plants, use the Eraser Tool to clean up edges.
- For fine-tuning, press Ctrl + L (or Cmd + L on Mac) to adjust Levels and brighten or deepen the tones until the grass looks vibrant but not artificial.
- Adjust the Opacity of your painted layer (try around 60–70%) for the most natural look.
- Finally, flatten your layers to save the edited image.
Pro tip: You can also duplicate the grass layer and slightly blur it (using Gaussian Blur) to smooth uneven patches and simulate a freshly mowed look.
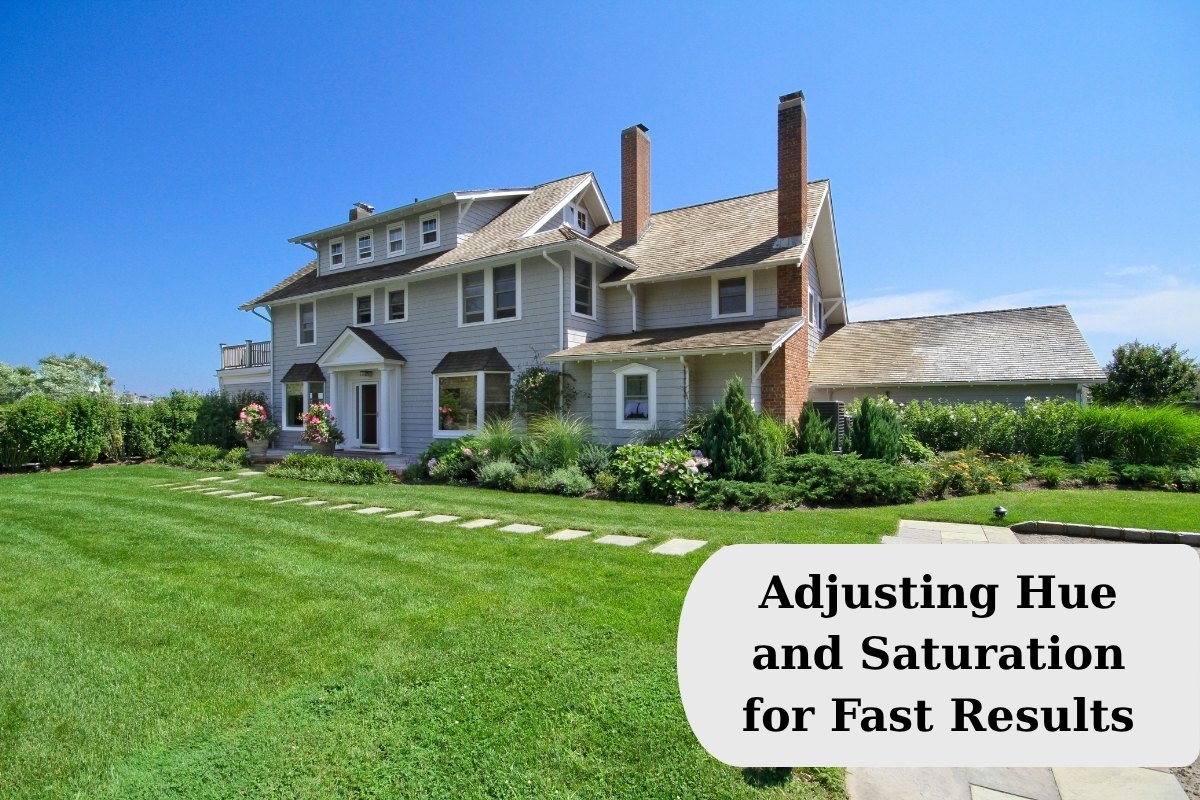
Method 2: Adjusting Hue and Saturation for Fast Results

If you’re new to Photoshop or need a quick edit, this method is your best friend. The Hue/Saturation adjustment is a fast way to replace dull, brownish grass with lush greens in seconds.
Steps:
- Open your image and create a Hue/Saturation Adjustment Layer.
- From the dropdown menu, switch from Master to Yellows — most grass tones fall into this range.
- Move the Hue slider slightly to the right to shift yellowish tones into greener hues.
- Adjust Saturation to make the greens pop, but avoid overdoing it to prevent a neon effect.
- Tweak Lightness if necessary to balance shadows and highlights.
- Review the entire photo: if other yellow elements (like walls or furniture) are affected, apply a layer mask to target only the grass area.
- Save your image — and that’s it!
This method is ideal for photographers who edit batches of listings quickly but still want clean, appealing results.
Additional Tools and Techniques to Try

While Photoshop remains the industry standard, there are other effective tools that can simplify grass replacement for real estate photos:
- Lightroom: Perfect for global color corrections and hue adjustments using the HSL panel.
- Luminar Neo: AI-based tool that can detect grass areas automatically and enhance colors naturally.
- Picpee: Professional editing services offering grass replacement and full exterior enhancement for consistent, high-volume results.
Tip: Always match the edited grass tone to the lighting conditions in the image. For example, twilight photos may require cooler, muted greens, while sunny day shots can handle warmer tones.
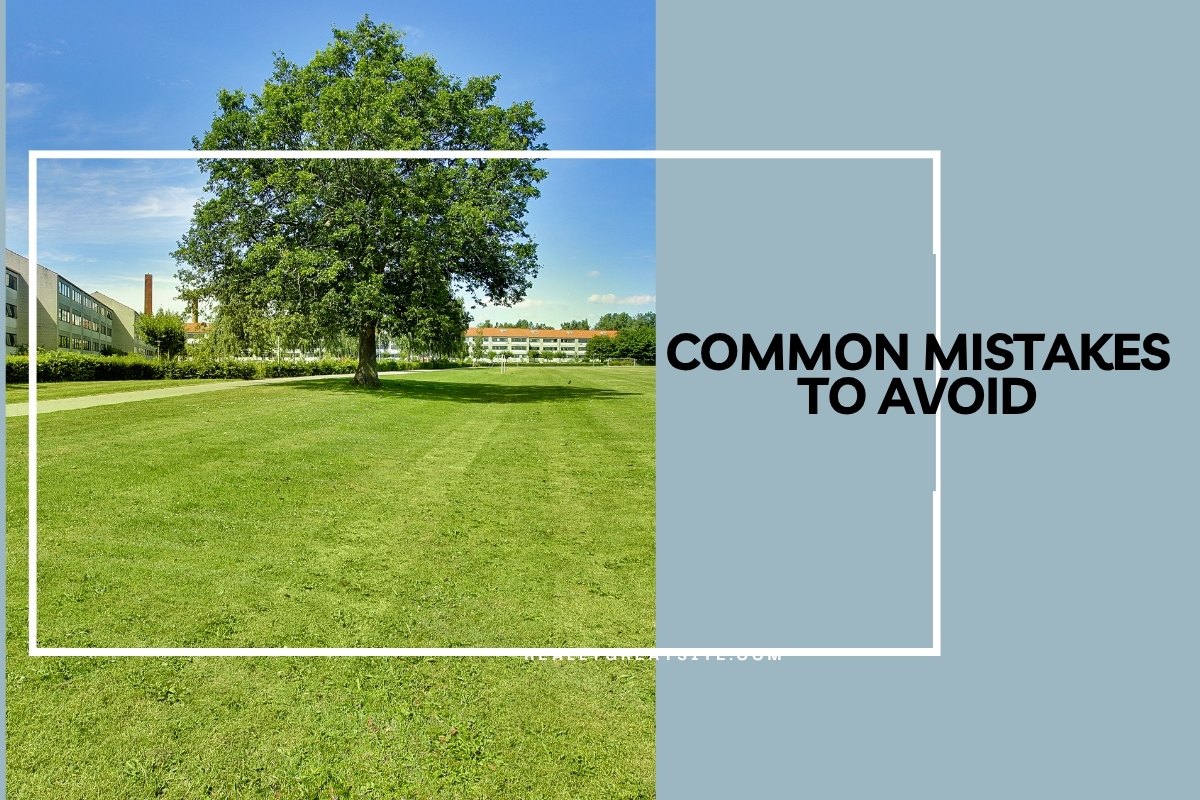
Common Mistakes to Avoid

Even simple edits can go wrong if you’re not careful. Here are mistakes that can make your grass look fake:
- Over-saturation: Too much green turns the photo cartoonish.
- Ignoring shadows: Keep the natural light direction in mind when brightening grass.
- Inconsistent tones: Don’t make one patch too dark or another too bright; keep hues uniform.
- Lack of texture: Avoid blurring the grass too much — realistic detail is key.
A professional finish lies in subtlety and balance. You want the grass to look alive, not digitally painted.
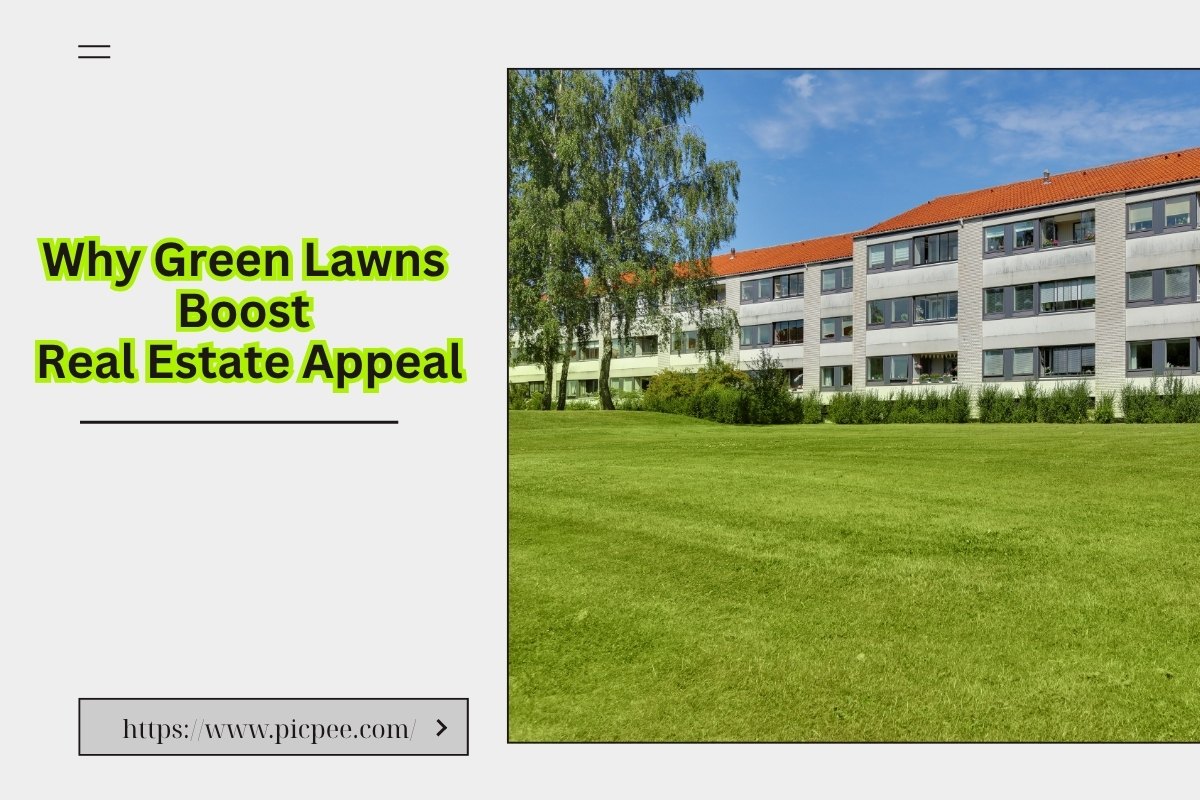
Why Green Lawns Boost Real Estate Appeal

A healthy-looking lawn signals care and quality — two traits buyers subconsciously associate with well-maintained homes. When buyers scroll through dozens of listings, that vibrant exterior can stop them mid-scroll.
A bright, balanced grass tone:
- Creates emotional warmth and visual comfort.
- Makes the property look move-in ready.
- Adds harmony to the overall composition of the photo.
Think of it as visual storytelling — you’re not just selling a home, but the lifestyle and pride of ownership that come with it.
Conclusion
In the competitive world of real estate, every detail counts. Learning how to replace or enhance grass in photos can be the difference between a listing that gets overlooked and one that sells fast.
Whether you handle editing yourself or rely on professional services like Picpee, achieving that lush, natural look is worth the effort. With the right tools, color balance, and a keen eye for realism, you can transform an ordinary lawn into a stunning green showcase that drives more buyer interest — and ultimately, more sales.
 Single Exposure
 Room Cleaning
 Reels
Reels Blended Brackets (HDR)
 Changing Seasons
 Slideshows
 Flambient
 Water in Pool
 Individual
 360° Image Enhancement
 Lawn Replacement
 Team
Team Virtual Staging
 Rain to Shine
 Add Person
 Remodel
 Custom 2D
 Remove Person
 360° Image
 Custom 3D
 Background Replacement
 Day to Dusk
 Property Video
 Cut Outs
 Day to Twilight
 Walkthrough Video
 Change color
 1–4 Items


