How to shoot a real estate video is an essential skill for modern real estate marketing. With the rise of digital platforms, property videos have become a vital component of selling homes quickly and effectively. This guide by Picpee dives deep into the techniques, gear, and strategies needed to produce professional-grade real estate videos that captivate potential buyers, showcase the property's best features, and elevate your real estate business. Whether you're just starting or looking to refine your craft, understanding the nuances of real estate videography will give you a distinct advantage in a competitive market.
Step-by-Step: How to Shoot a Real Estate Video with a Gimbal
Creating smooth, cinematic real estate videos requires more than just great gear — it’s about mastering movement, lighting, and composition. A gimbal helps you achieve professional-grade stability, but technique makes all the difference. Follow these steps to capture stunning, seamless footage that showcases every property beautifully.
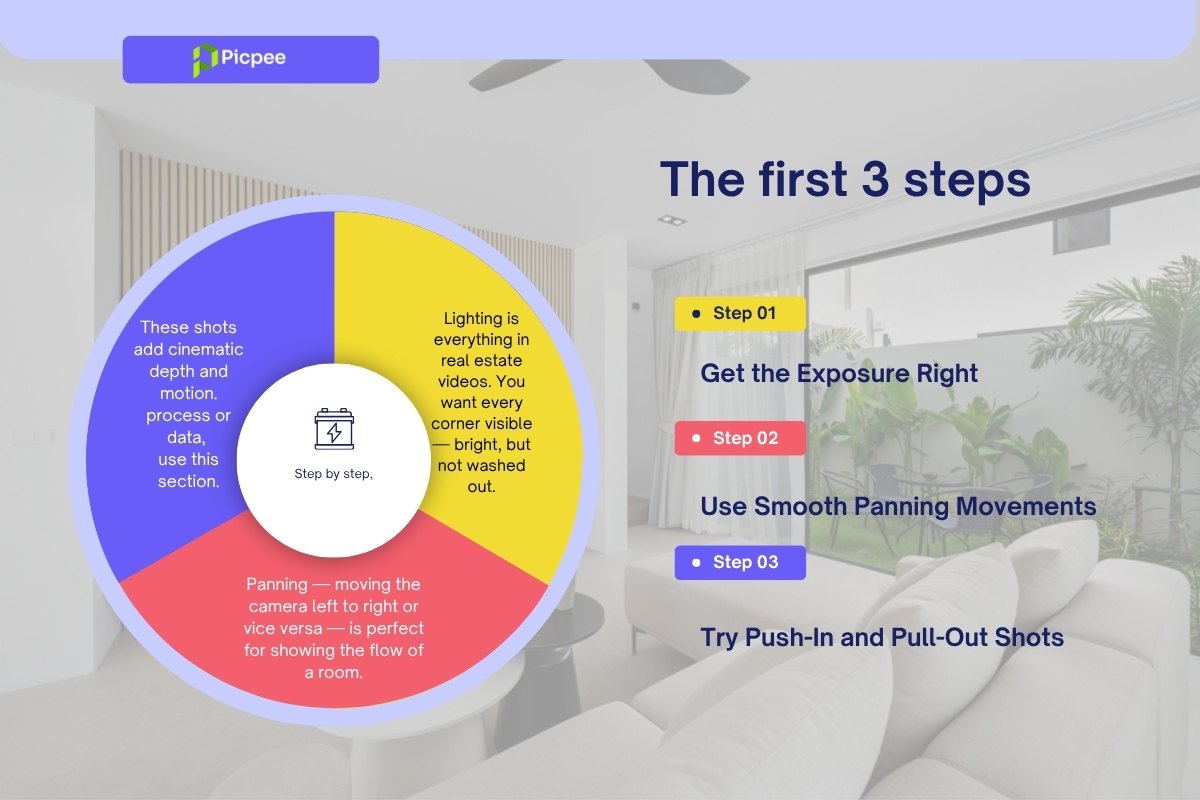
Get the Exposure Right
Lighting is everything in real estate videography. You want every corner visible — bright but never overexposed.
- Adjust your aperture (f-stop) and ISO according to the room’s lighting.
- Use your histogram to monitor brightness levels and prevent overexposure in sunlit areas.
- Avoid auto exposure, as it can cause unwanted flickering when transitioning between bright and dark spaces.
Pro tip: In mixed lighting conditions (e.g., bright windows and dim interiors), a smaller aperture (around f/22) paired with ISO 4000 can help balance highlights and shadows, creating an even exposure throughout the scene.
Use Smooth Panning Movements
Panning shots — moving the camera horizontally from left to right (or vice versa) — are perfect for revealing the flow and layout of a room.
- Hold your gimbal firmly with both hands for control.
- Move slowly and evenly, giving viewers time to absorb the space.
- Vary your pan direction between clips (left-to-right, right-to-left) to add flexibility in post-production.
Tip: Keep your horizon straight and avoid jerky starts or stops — smoothness sells luxury.
Try Push-In and Pull-Out Shots
Adding forward and backward motion brings cinematic depth to your footage and keeps viewers engaged.
- Use the “ninja walk” technique — bend your knees slightly and move smoothly to minimize bounce.
- Perform push-in shots (moving forward) to reveal new spaces or details.
- Use pull-out shots (moving backward) to transition between areas or show room connections.
- Add a gentle tilt-up or tilt-down to highlight key architectural features like chandeliers, windows, or staircases.
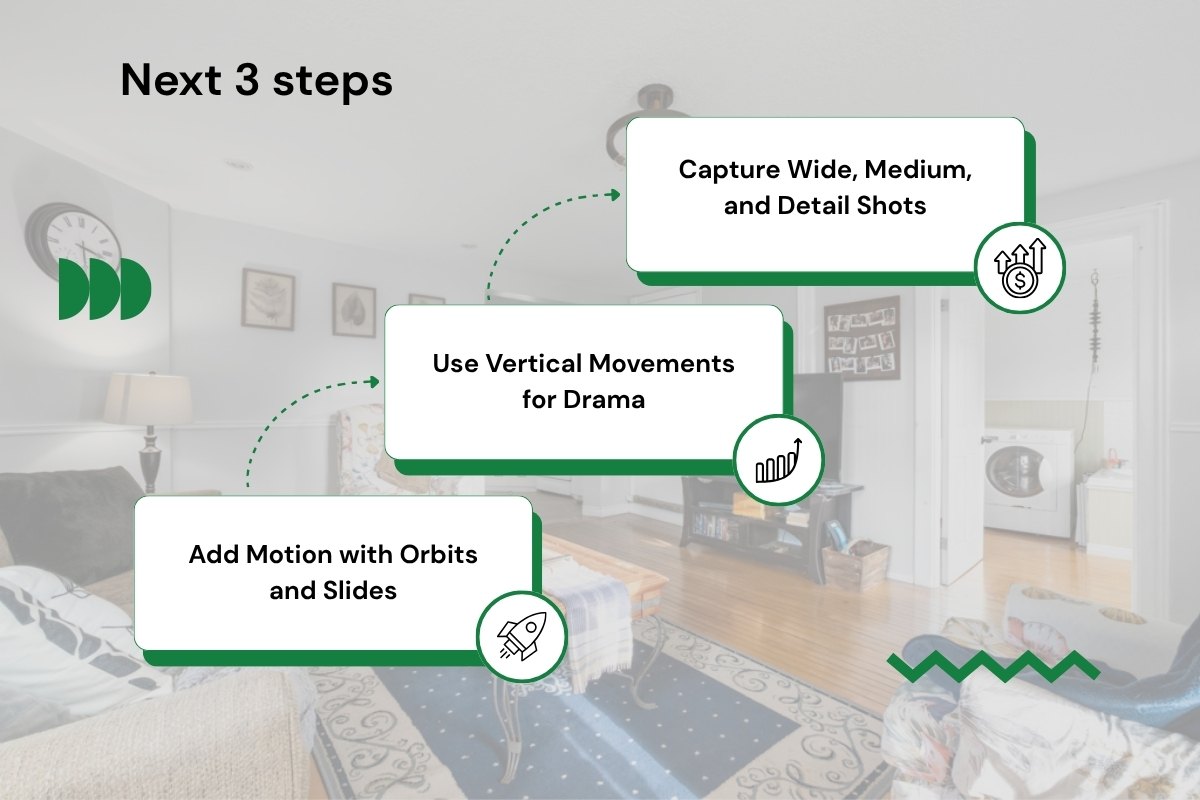
Add Motion with Orbits and Slides
Orbit and slider-style shots create elegant movement and a sense of dimension — ideal for highlighting focal points or symmetry.
- For orbit shots, circle around a subject (like a kitchen island or dining table) while keeping it centered in the frame. Maintain a consistent speed for a polished, professional look.
- For slider shots, mimic dolly movement by shifting your body weight side to side while walking parallel to your subject — this adds subtle, cinematic motion to wide shots or hallways.
Tip: Combine these moves with slow pans for a layered, immersive effect that feels cinematic yet natural.
Use Vertical Movements for Drama
Vertical reveals instantly add depth and grandeur to your real estate videos. They make ceilings look higher and spaces feel more expansive — perfect for luxury interiors or properties with striking architectural details.
- Start low and tilt upward to showcase ceiling height or decorative lighting fixtures.
- Switch your gimbal to Pan Tilt Follow (PTF) mode for smoother, more controlled vertical transitions.
- Move slowly to let the viewer fully experience the vertical reveal — a fast tilt can make the shot feel rushed or disorienting.
Pro tip: Combine vertical movement with a slight forward push-in for an elegant cinematic reveal.
Capture Wide, Medium, and Detail Shots
A professional real estate video tells a visual story — and variety is key. Capture different types of shots to keep viewers engaged and give editors flexibility in post-production.
- Wide Shots: Establish the layout and show how rooms connect. Ideal for open-plan living areas or large exteriors.
- Medium Shots: Highlight main furniture groupings or functional zones like dining areas, kitchen islands, or workspaces.
- Detail Shots: Zoom in on craftsmanship and texture — marble countertops, pendant lights, or elegant décor elements.
Mixing these perspectives creates a balanced visual rhythm and ensures your final video feels both cinematic and informative.
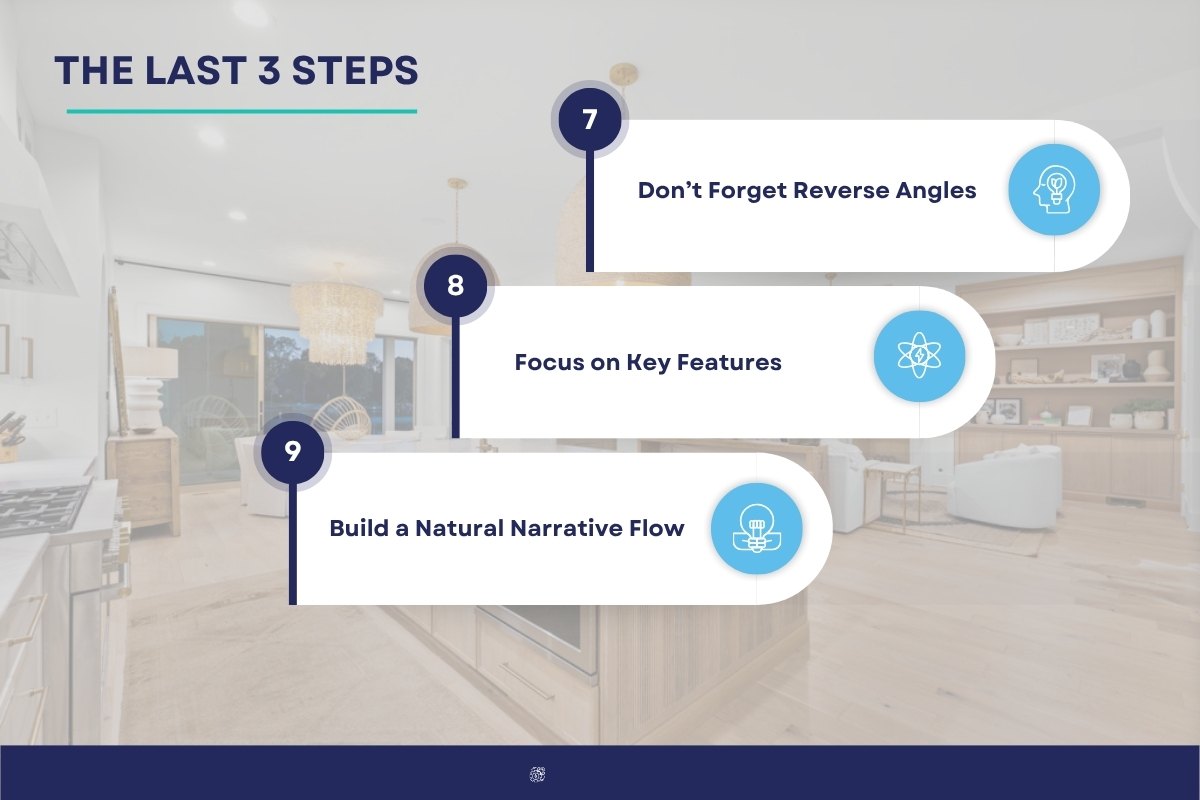
Don’t Forget Reverse Angles
Reverse angles help maintain continuity and create seamless transitions during editing.
- If you film a push-in toward the living room, follow it with a pull-out from the same position.
- These paired shots make it easier to create smooth transitions between scenes and avoid jarring cuts.
- They also enhance storytelling flow by showing both entry and exit perspectives of each space.
Tip: When shooting reverse angles, keep lighting and camera height consistent for natural-looking edits.
Focus on Key Features
Every property has signature selling points — panoramic windows, cozy fireplaces, or spacious open-concept kitchens. Use your gimbal’s movement to draw attention where it matters most.
- Use orbit or slow pan shots to showcase standout areas elegantly.
- Frame key elements at eye level to feel immersive and realistic.
- Avoid excessive movement or clutter in the frame — simplicity keeps the viewer focused on design and detail.
Think of each feature as a visual “chapter” in the property’s story.
Build a Natural Narrative Flow
A great real estate video feels like a guided tour, not just a collection of shots. Structure your sequence to mimic how someone would actually walk through the property.
- Start with the exterior — set the scene with establishing shots of the home and surroundings.
- Move through common spaces — living rooms, dining areas, and kitchens to show lifestyle flow.
- End with private areas — bedrooms, bathrooms, and outdoor amenities for a complete tour.
Keep your transitions smooth and logical, using consistent lighting and pacing to maintain immersion from start to finish.
Key Takeaways
- Variety Wins: Combine wide, medium, and close-up shots for a dynamic, engaging video.
- Smooth Equals Professional: Use pans, slides, orbits, and vertical reveals for cinematic motion.
- Manual Lighting Control: Keep exposure consistent to avoid distracting brightness shifts.
- Shoot Reverse Angles: Essential for seamless transitions and editing flexibility.
- Highlight What Matters: Use composition and movement to emphasize property highlights.
- Follow the Viewer’s Journey: Guide the audience naturally through the space, from exterior to interior.
Conclusion
Learning to shoot real estate videos requires understanding equipment, techniques, and planning to create captivating property visuals. From choosing the right camera and lenses to mastering lighting, angles, and smooth motion, each detail enhances appeal and professionalism. Strategic video distribution on platforms like YouTube and social media boosts reach and helps close deals faster. With consistent practice, creativity, and awareness of trends, you can master real estate videography—producing stunning, story-driven videos that attract buyers and strengthen your reputation in the competitive property market.

 Single Exposure
 Room Cleaning
 Reels
Reels Blended Brackets (HDR)
 Changing Seasons
 Slideshows
 Flambient
 Water in Pool
 Individual
 360° Image Enhancement
 Lawn Replacement
 Team
Team Virtual Staging
 Rain to Shine
 Add Person
 Remodel
 Custom 2D
 Remove Person
 360° Image
 Custom 3D
 Background Replacement
 Day to Dusk
 Property Video
 Cut Outs
 Day to Twilight
 Walkthrough Video
 Change color