To take great real estate photos, you need to pay attention to the elements of composition, lighting, mood, detail, and lifestyle. A good photo will attract viewers and sell your property faster. Whether you are a real estate agent or a photographer, mastering a few key real estate photography tips can significantly enhance your work. Let’s explore the essential real estate photography tips below.
Why Real Estate Photography Matters?
Understanding why real estate photography matters sets the stage for exploring how first impressions and buyer psychology influence property sales, and why high-quality images can turn casual viewers into serious buyers.
First Impressions and Buyer Psychology
Today, 95% of homebuyers start their search journey online, so real estate photography is crucial. High-quality photos attract attention from the first glance.
Statistics show that properties that are professionally photographed tend to:
- Get 61% more online views
- Sell 32% faster on average
- Can close on a 1–3% higher price
- Get more inquiries and interest
In a context where buyers have to scroll through dozens, even hundreds of listings, professional real estate photography is the factor that makes the difference. Not only is it “beautiful”, photos that are skillfully staged in terms of composition, color, and lifestyle evoke emotions, turning viewers from passive spectators into excited potential customers.
Faster Sales and Higher Prices
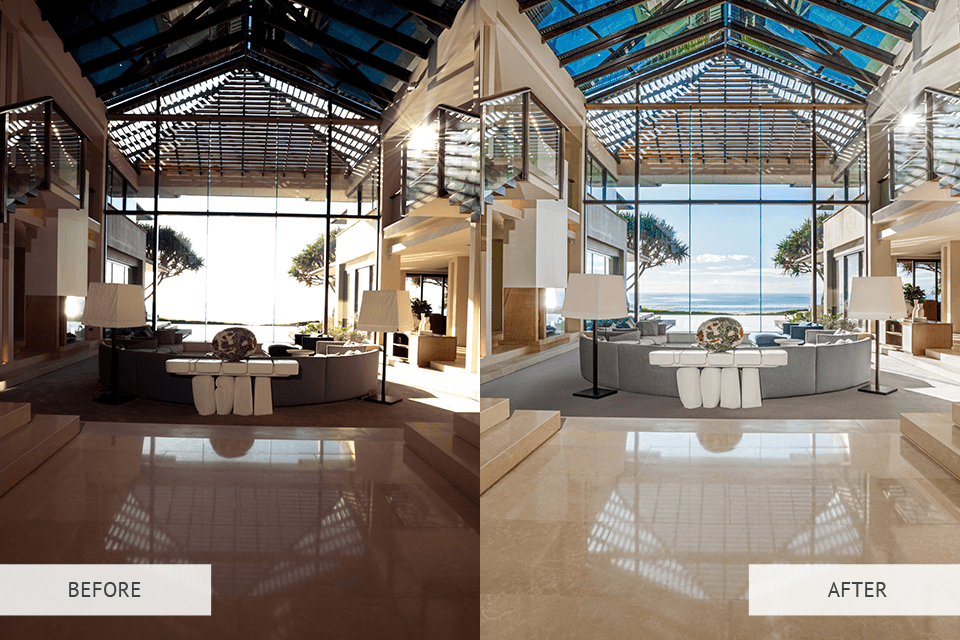
A professionally edited photo not only makes a home more attractive, but also creates a sense of luxury and value. In fact, high-quality real estate photos can increase the perceived value of a home, even increasing the selling price per square meter by up to 47%. When buyers see sharp, well-lit photos, they often associate the home with care, quality and a worthy price.
Impressive statistics:
- Properties with professionally edited photos sell 50% faster than those without. (According to IMOTO Photo)
- Listings using HDR photos also sell 50% faster, while homes with flycam/aerial photos sell 68% faster.
- On average, homes with high-quality photos take only 89 days to sell, compared to 123 days for listings with poor quality photos.
“When we used real estate photography, our closing rates were significantly higher and our days on market decreased by 20%.” (A Canadian real estate agent shared)
Professional vs DIY: What’s the Difference?
As high-quality cameras become more common, many homeowners and real estate agents are considering taking their own photos instead of hiring a professional photographer. However, to make the right decision, you need to understand the following key differences:
Photography equipment
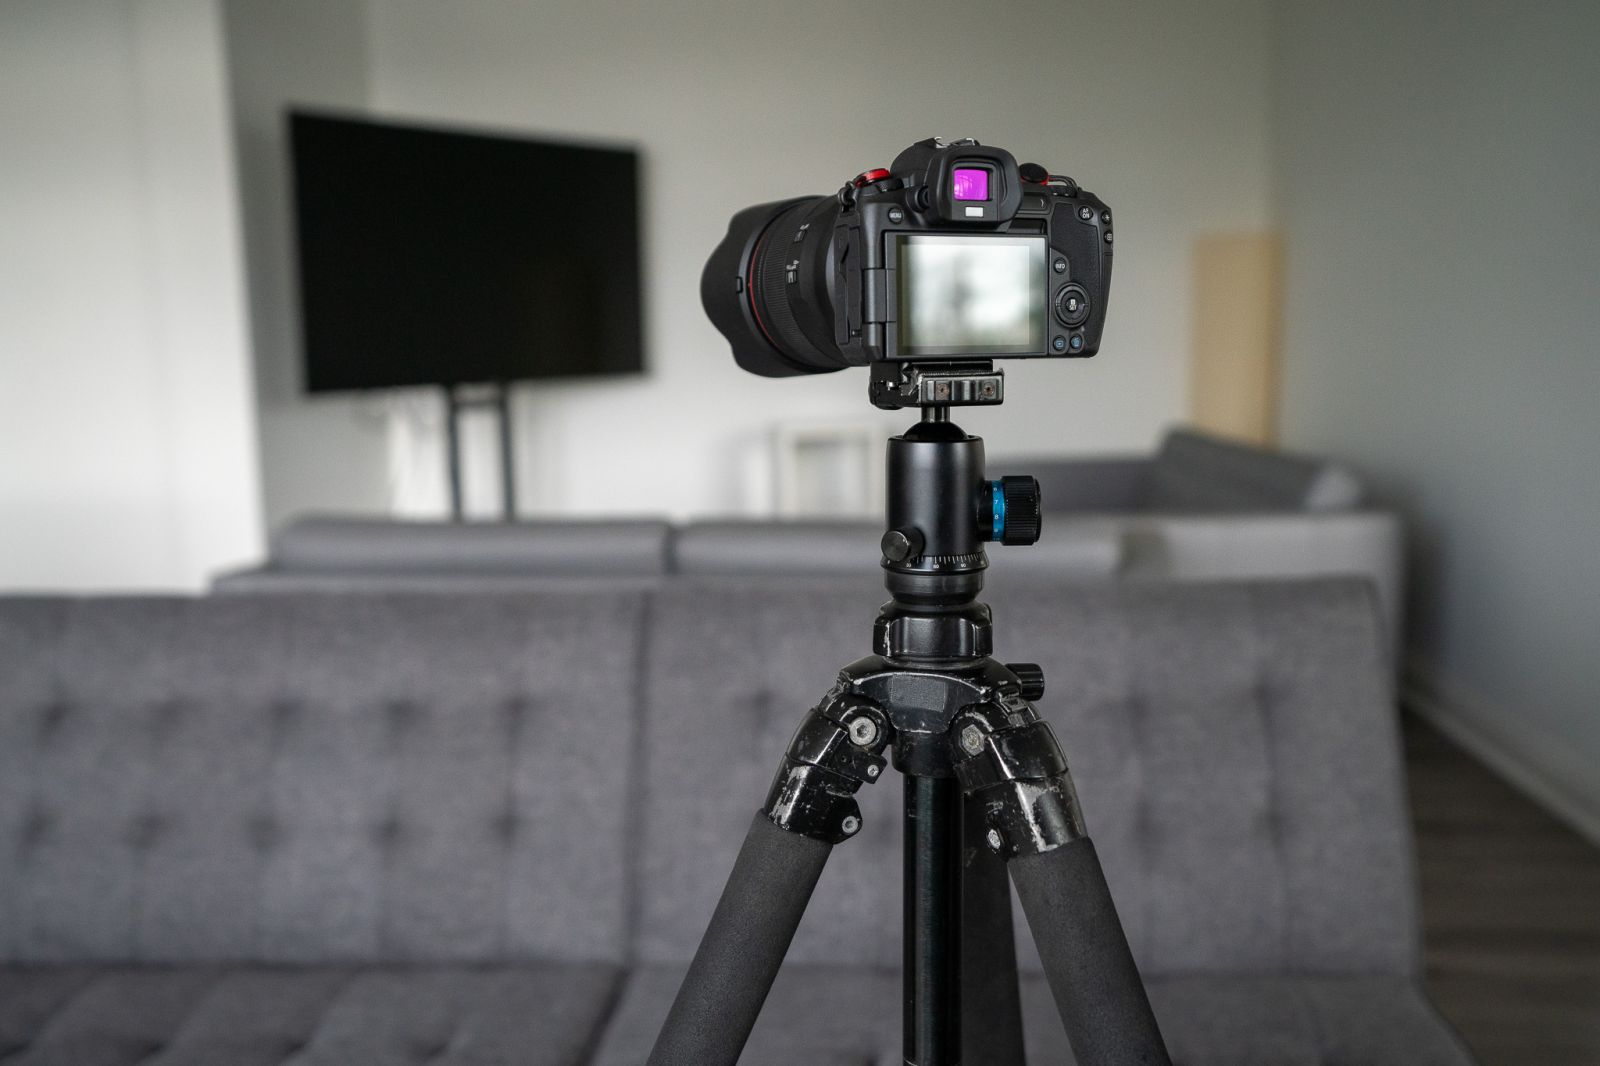
A good camera is not enough to create outstanding real estate photos. Professional photographers often invest in specialized wide-angle lenses, lighting equipment, tripods, and post-production software. These tools help handle situations that may arise when shooting real estate such as flare, dark areas, etc.
Technical knowledge
It's not just about picking up the camera and taking pictures. You also need to understand and skillfully apply composition, light balance, and perspective distortion. These require a photographer with expertise and experience.
Time and efficiency
Professional photographers have an optimized workflow that saves time and ensures consistent quality. In contrast, doing it yourself is often labor-intensive, while the results may not meet expectations.
Objective view
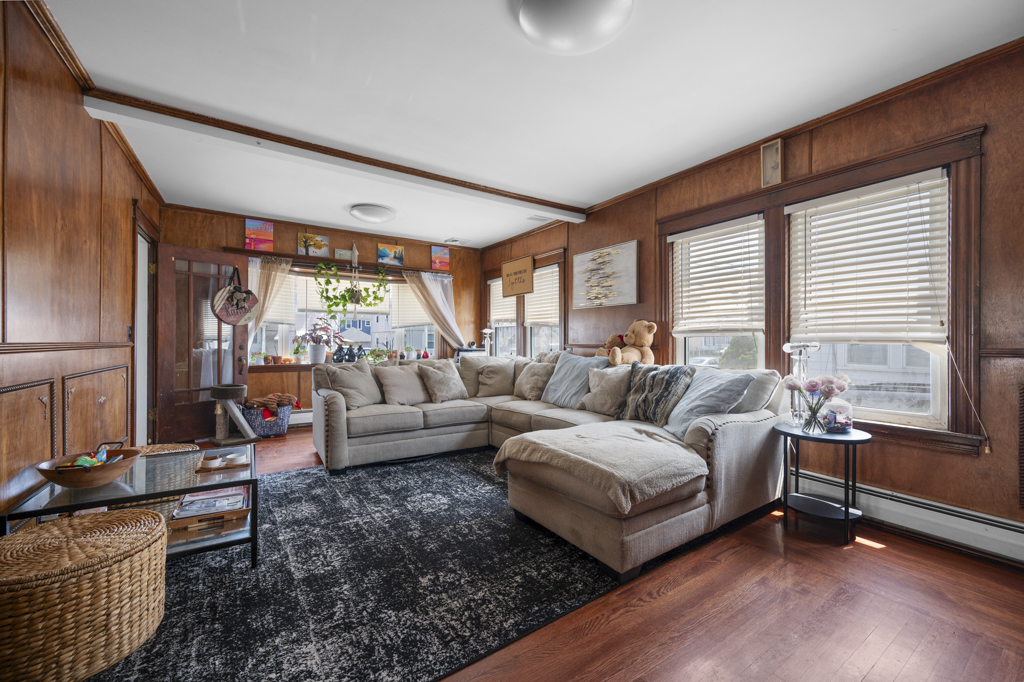
Another advantage of professional photography is an objective view. While homeowners or agents are sometimes too familiar with the property and can easily overlook important details, professionals will know how to highlight the pros and minimize the cons.
Real estate consultant Derrick Smith once shared: “The question is not whether agents can take their own photos. The question is whether it is the most efficient use of their time and skills, and whether the results are comparable to professional photography. For most people, the answer becomes very clear when they analyze the practical benefits.”
Essential Real Estate Photography Tips for Stunning Results
Preparing the Property Before Shooting
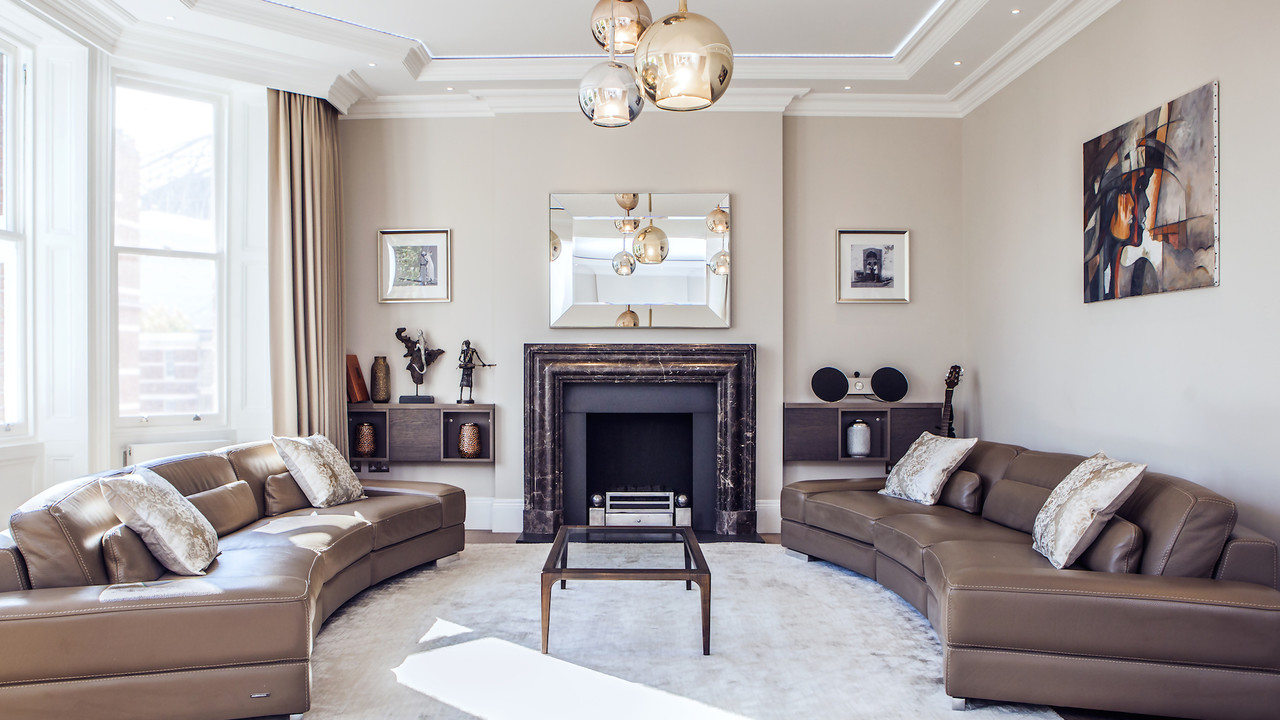
One of the most important tips for real estate photography is to make sure the home appears clean. Clutter can distract viewers and cause them to miss out on the home’s strengths.
Why clean before taking photos?
- A clean space makes the home look more spacious and attractive.
- Minimalist furniture helps potential buyers visualize the home as their future “home”.
- Small details like dusting, vacuuming, and tidying up the interior can make a big difference in the photos.
Things to do before the photoshoot
- Remove personal items and unnecessary furniture.
- Clean outdoor areas such as the yard, porch, or garden to create a fresh and airy feel.
- Clean all windows to maximize natural light, making the space brighter and more lively.
Choosing the right equipment
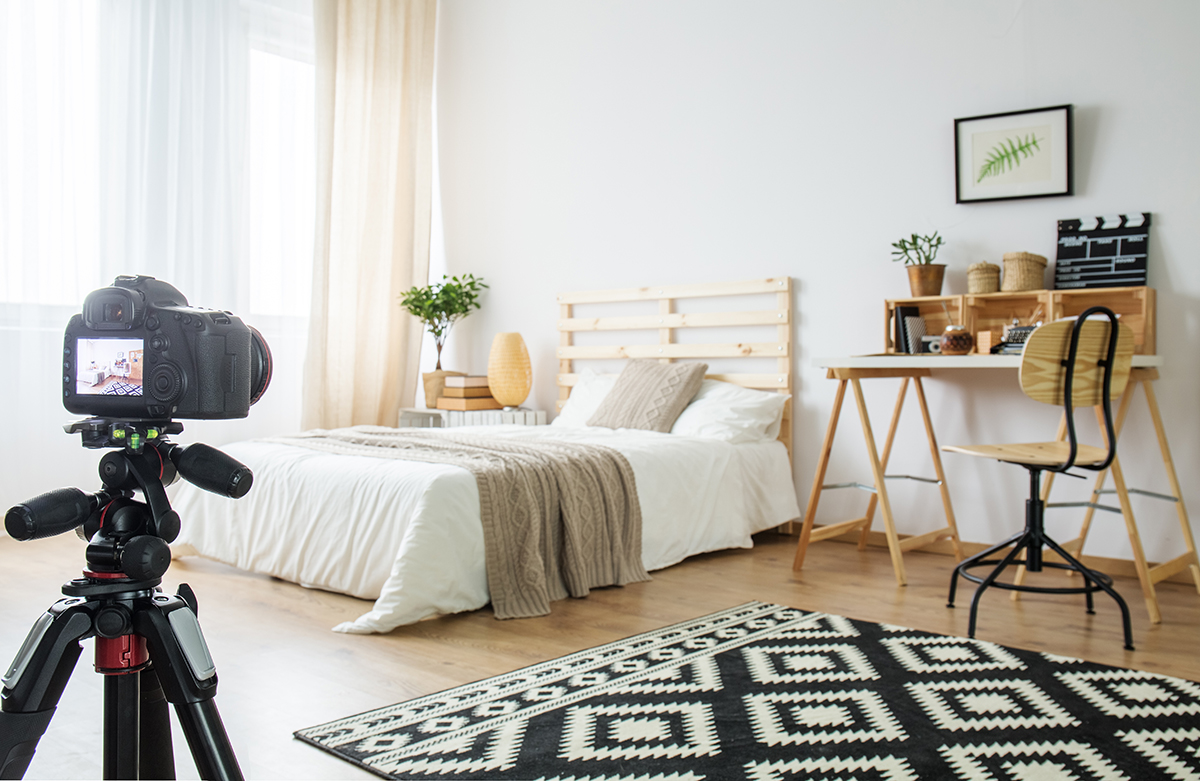
When it comes to real estate photography equipment, mirrorless or DSLR cameras are always the top choice. They offer high resolution, many advanced features, far beyond phone cameras. An essential piece of equipment that photographers should invest in is a detachable lens.
Being able to change lenses when shooting helps you easily adapt to each scene:
- Wide angle lens: Perfect for showing the spaciousness and luxury of the house, with low detail.
- Macro lens: Captures subtle details in the design, creating a unique highlight.
Vibration when taking photos is an unavoidable factor. Therefore, a tripod is an indispensable item as it reduces you to minimize vibration, blur and in low light conditions.
Mastering lighting techniques
Natural light best practices
Lighting plays a decisive role in creating impressive real estate photos. Natural light is always the ideal choice to bring authenticity and comfort to the space. However, how to make the most of the light. Here are some tips:
- Place windows on the side or at a 45-degree angle to create soft, harmonious light. Avoid placing windows directly in front of or behind the camera, as this will cause glare or darken the frame.
- Adjust curtains or blinds when there is too much difference between the light inside the room and outside.
- Turn off the lights in the house when possible to avoid mixing different color temperatures, which is unnatural.
- When taking exterior photos, choose a time when the light shines directly on the facade of the house to have a bright, prominent and attractive photo.
- Schedule your photo shoot during golden hour: Choose a time 1-2 hours after sunrise or before sunset.
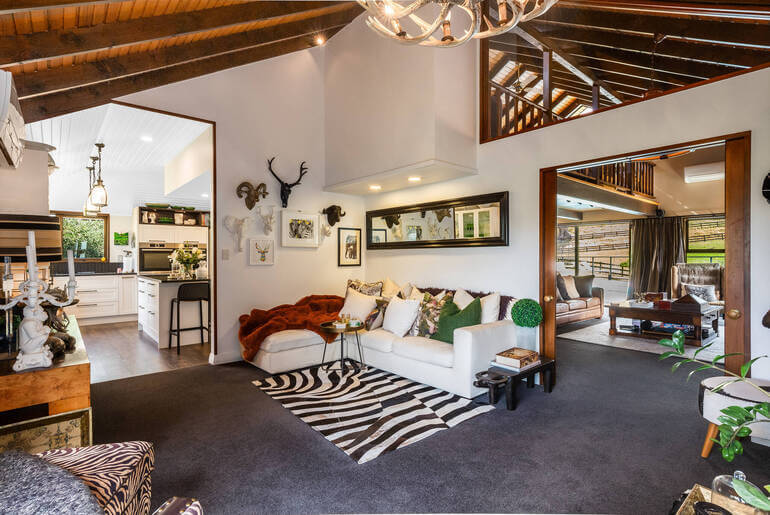
While natural light is always the ideal choice to create a soft and realistic space, flash plays an important role in adding light, filling in shadows and ensuring the photo is perfectly exposed. Knowing how to use flash properly will help you create professional, bright and balanced real estate photos.
There are 3 main tips when using Flash:
- Flash reflection technique: Instead of aiming the flash directly at the subject, bounce the light off the ceiling, wall or reflector. This helps diffuse the light more evenly, reducing harsh shadows and glare.
- Use a separate flash, flexible in adjusting the direction and intensity of light, highlighting the space as desired.
- One of the big challenges when using flash is unwanted shadows and reflections on glass and metal surfaces. To limit this, you should place the light in a corner, use a diffuser or softbox to make the light soft and natural.
HDR & exposure blending basics
HDR blending is the “secret weapon” in real estate photography, helping you clarify details in both bright and dark areas. It is especially useful in interior photos with bright windows and dark rooms at the same time.
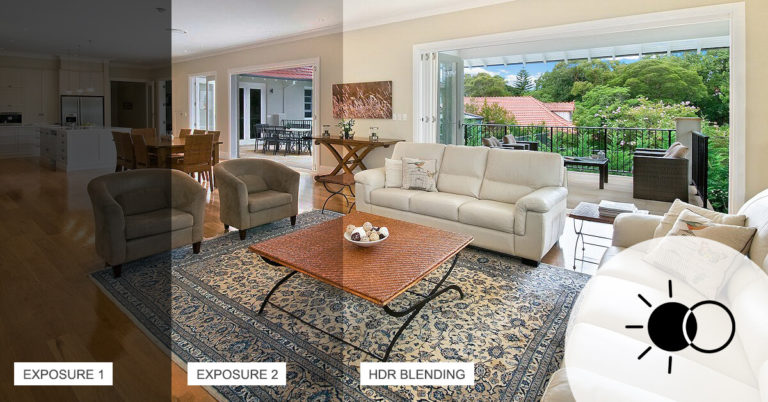
Tips for successful HDR photography
- Use a tripod: Helps the exposures match perfectly.
- Take 3–7 photos with different exposures (about 2 stops apart).
- Use a remote to avoid camera shake when pressing the shutter.
- Edit in specialized software such as Photomatix, Aurora HDR, Lightroom.
- Keep the image natural: Avoid over-editing that makes the photo look “fake” or too harsh.
Choosing real estate photography angles
Living room
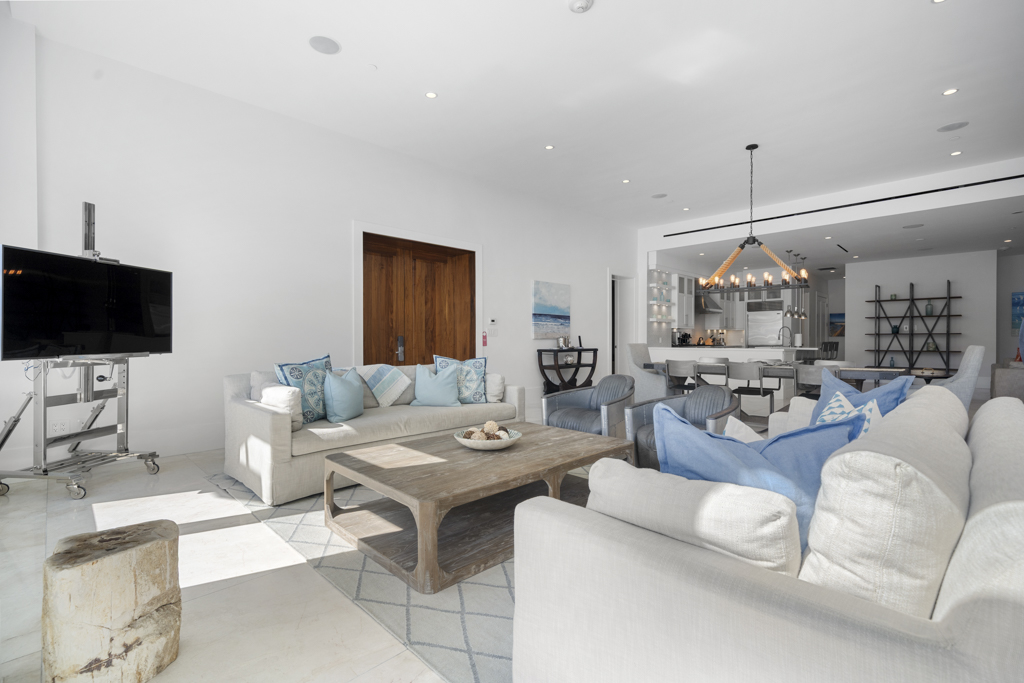
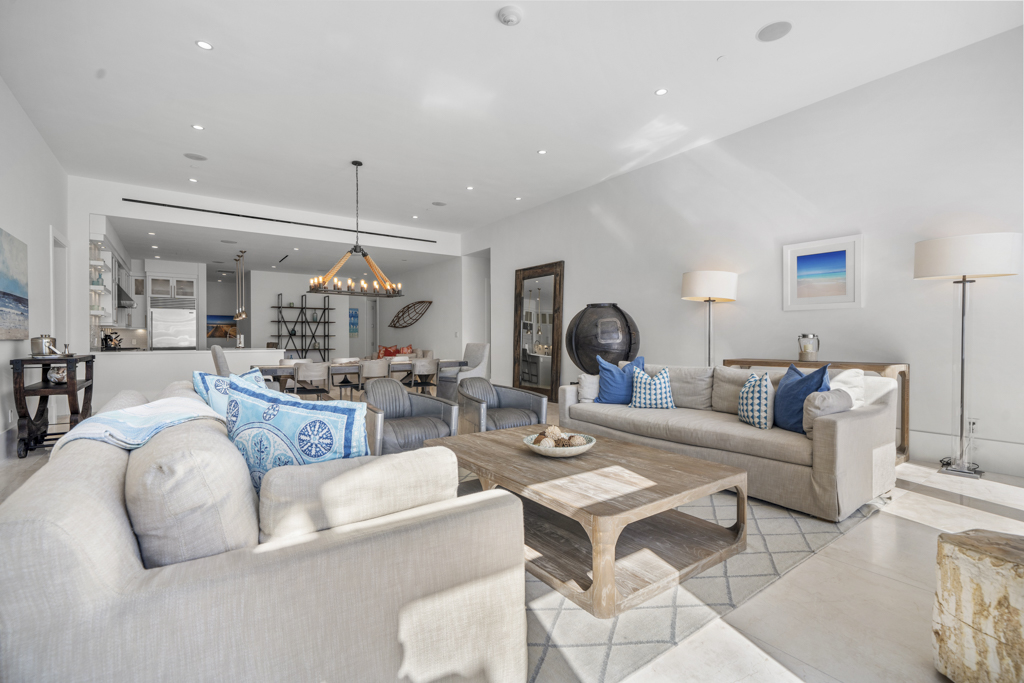
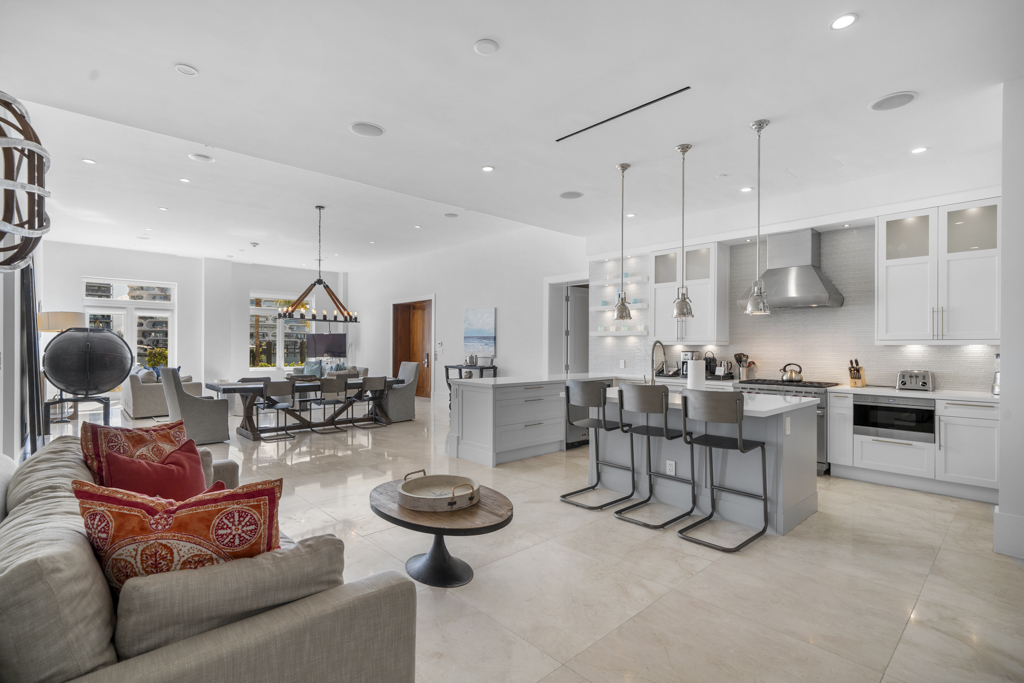
The living room is the heart of every home, reflecting both style and lifestyle. To highlight the space and design of the living room, shoot with a wide angle, covering the entire layout.
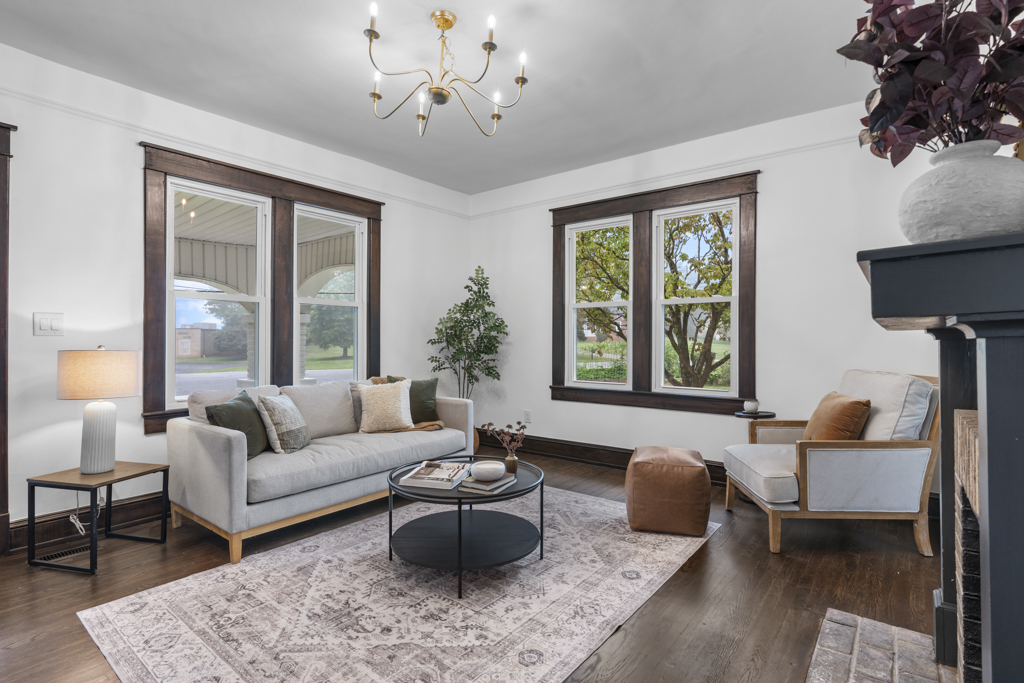
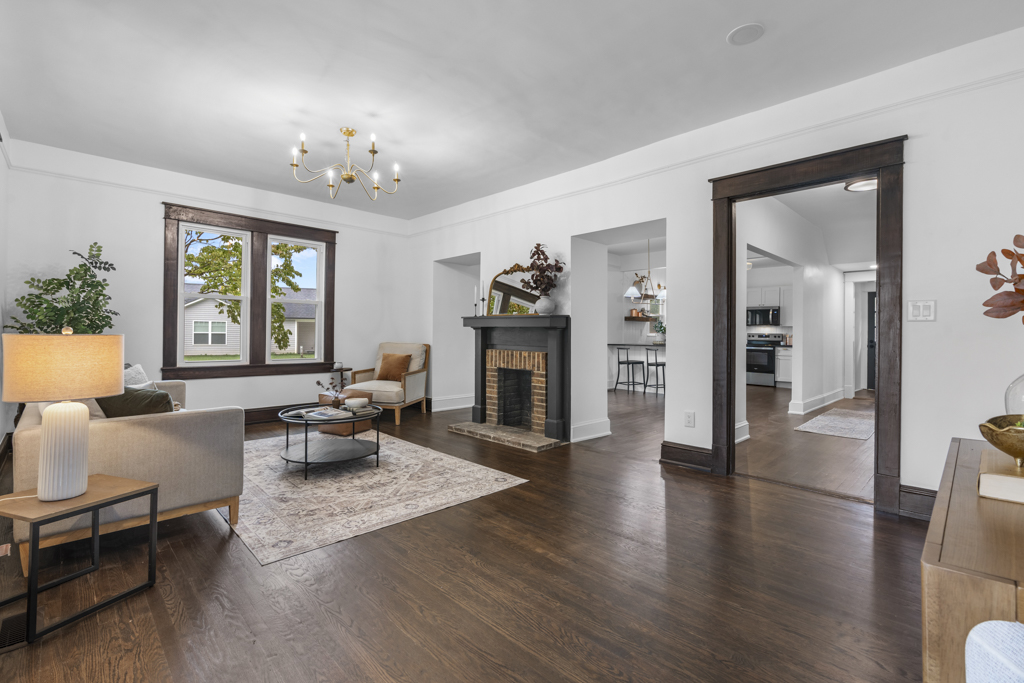
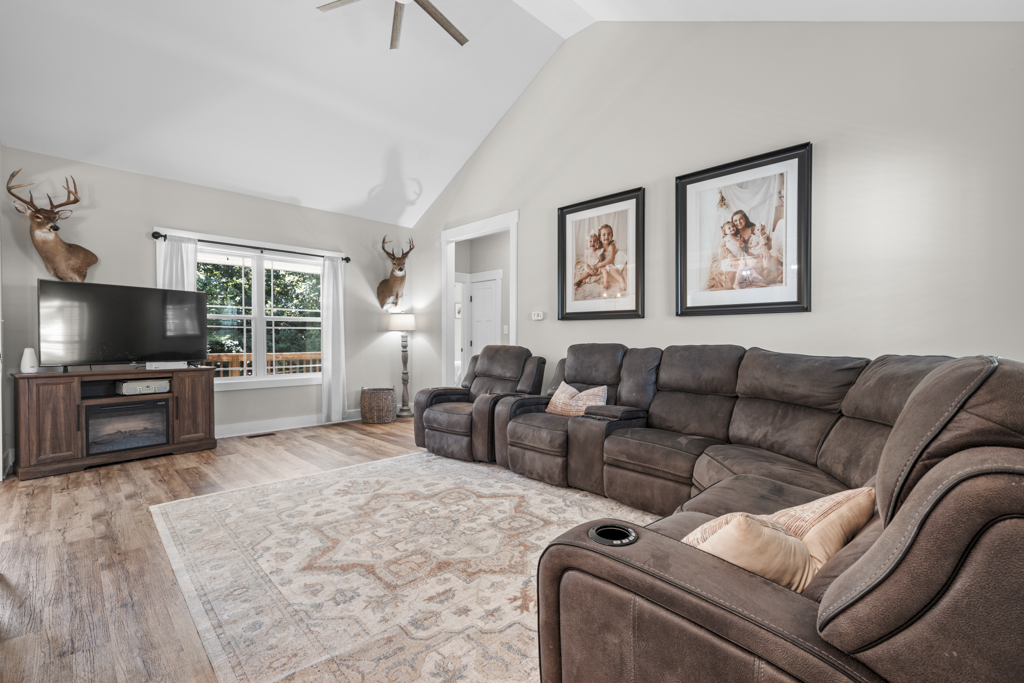
Kitchen
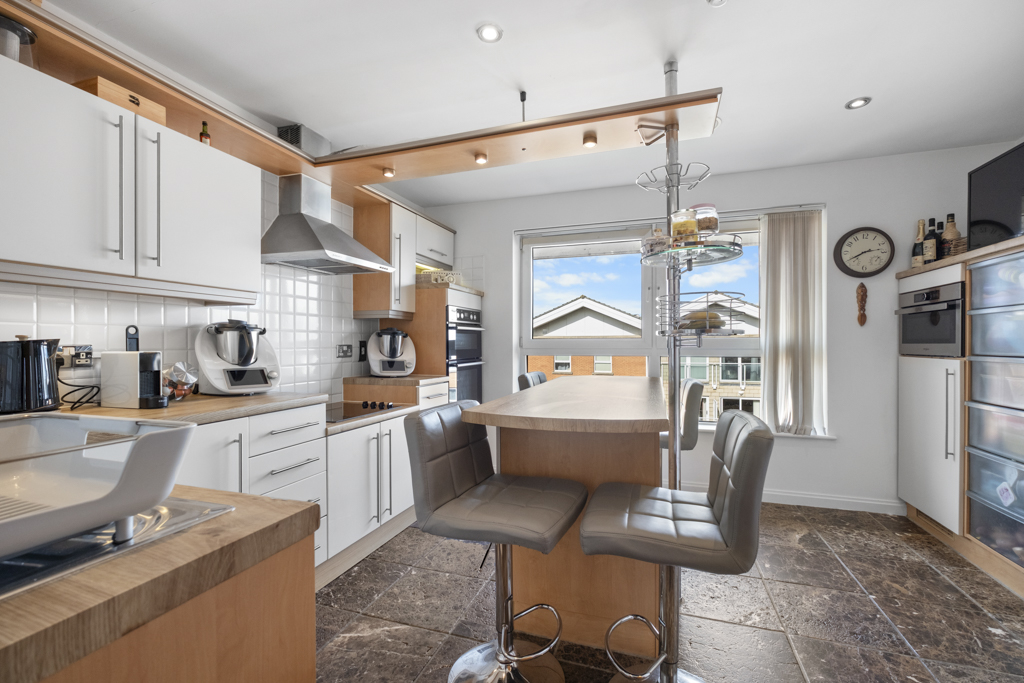
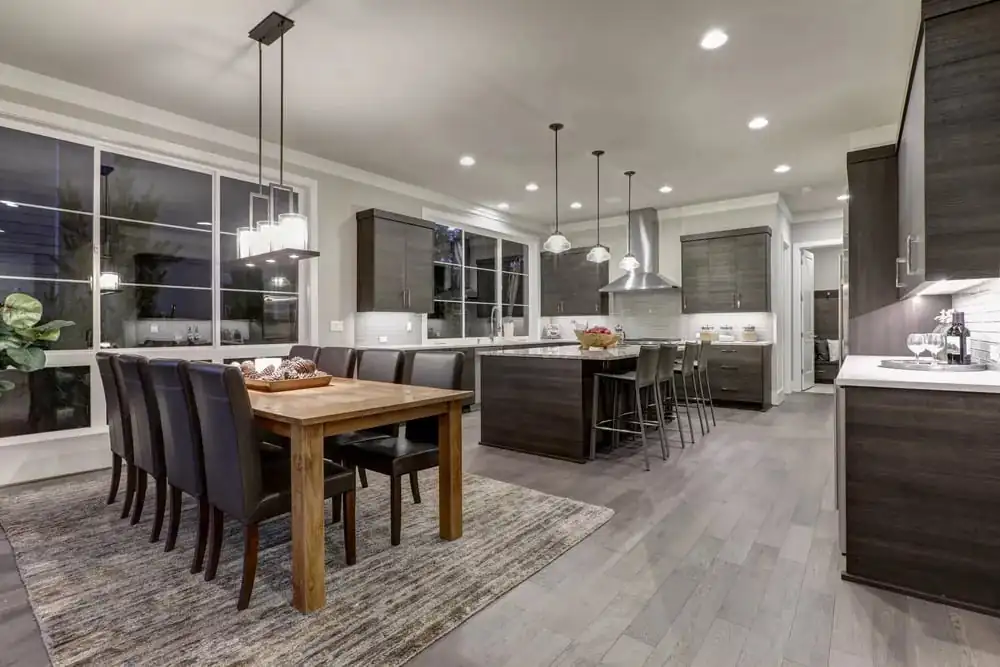
Always keep things neat and clean, and show off attractive accents like a coffee maker, breakfast bar, or dining table to create a cozy, homey feel. For the kitchen, choose an angled or straight design.
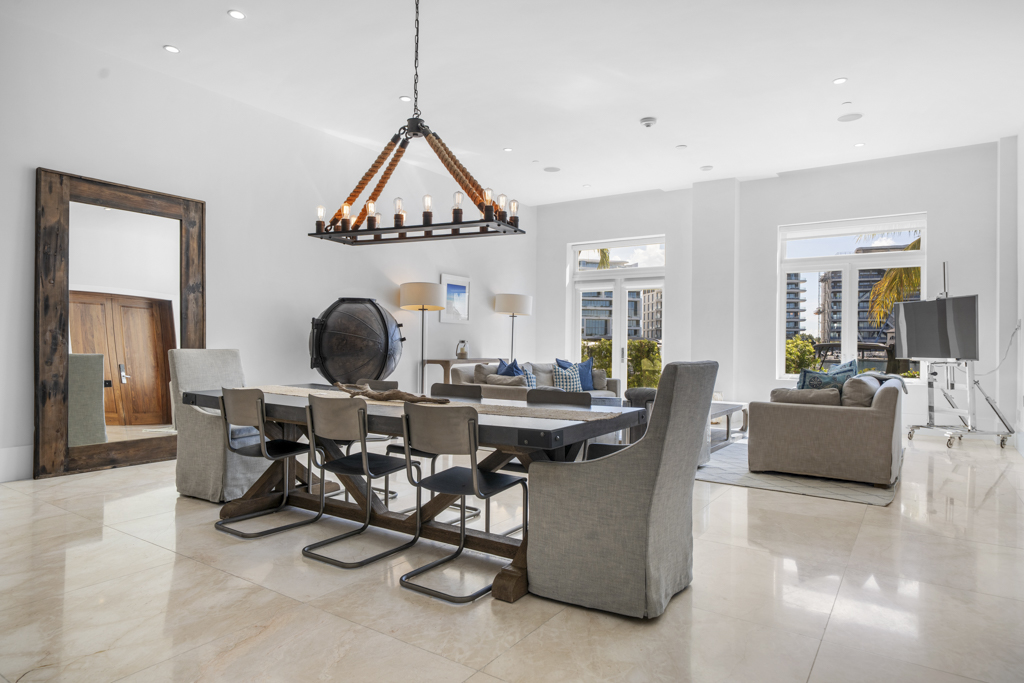


Bedroom
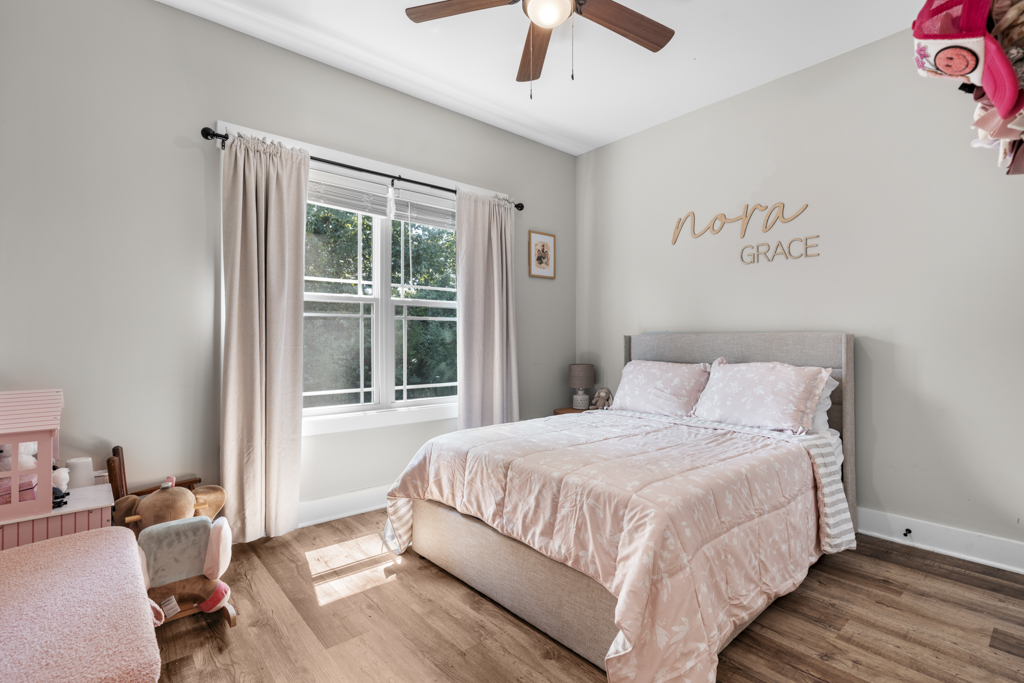
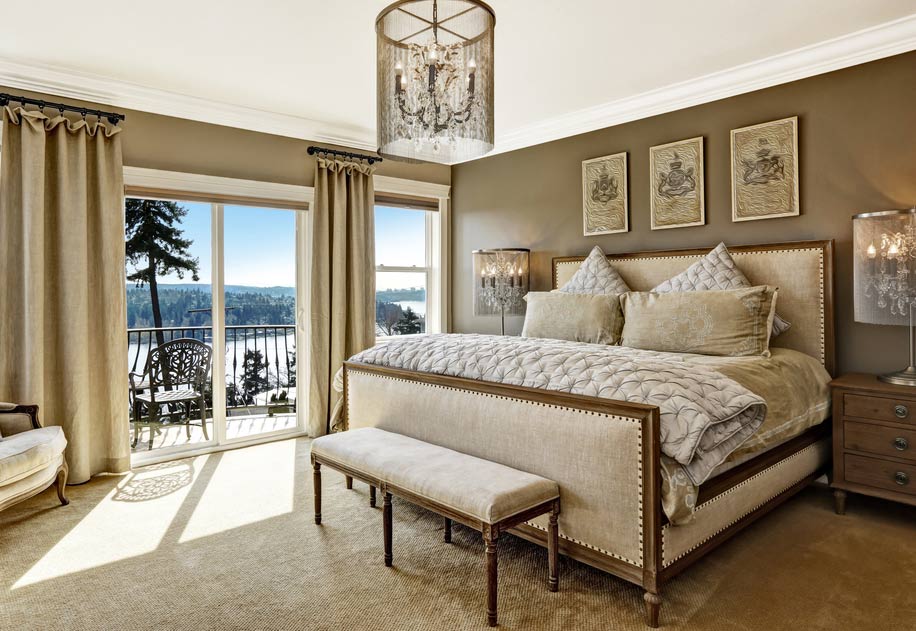
The bedroom should evoke a sense of peace and comfort. Use a wide-angle shot to capture the entire space, highlighting its cozy and relaxing atmosphere.
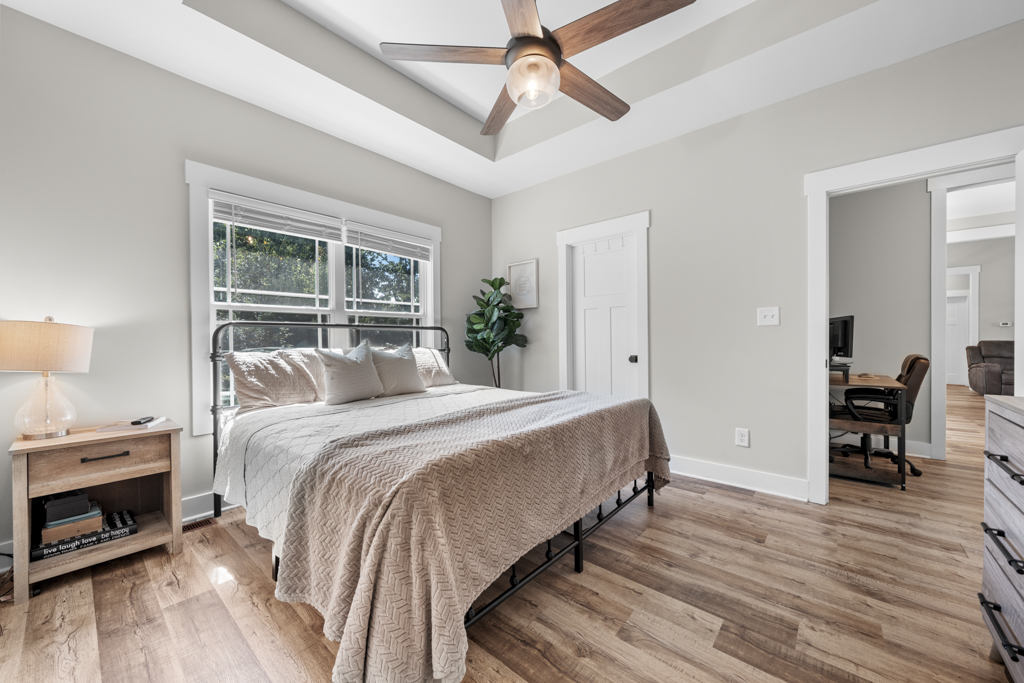

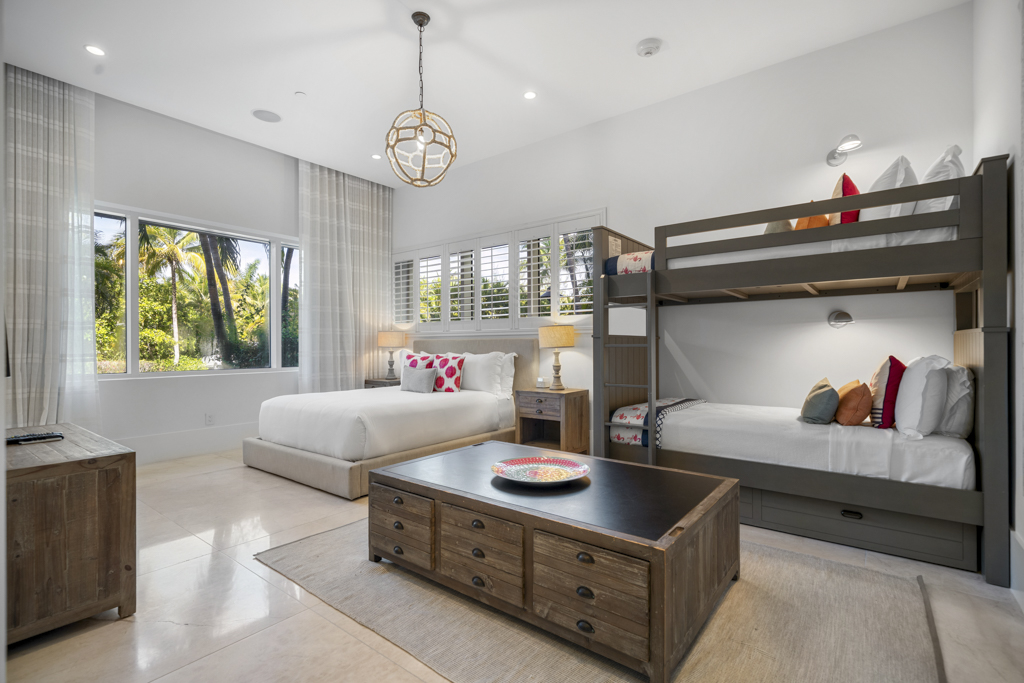
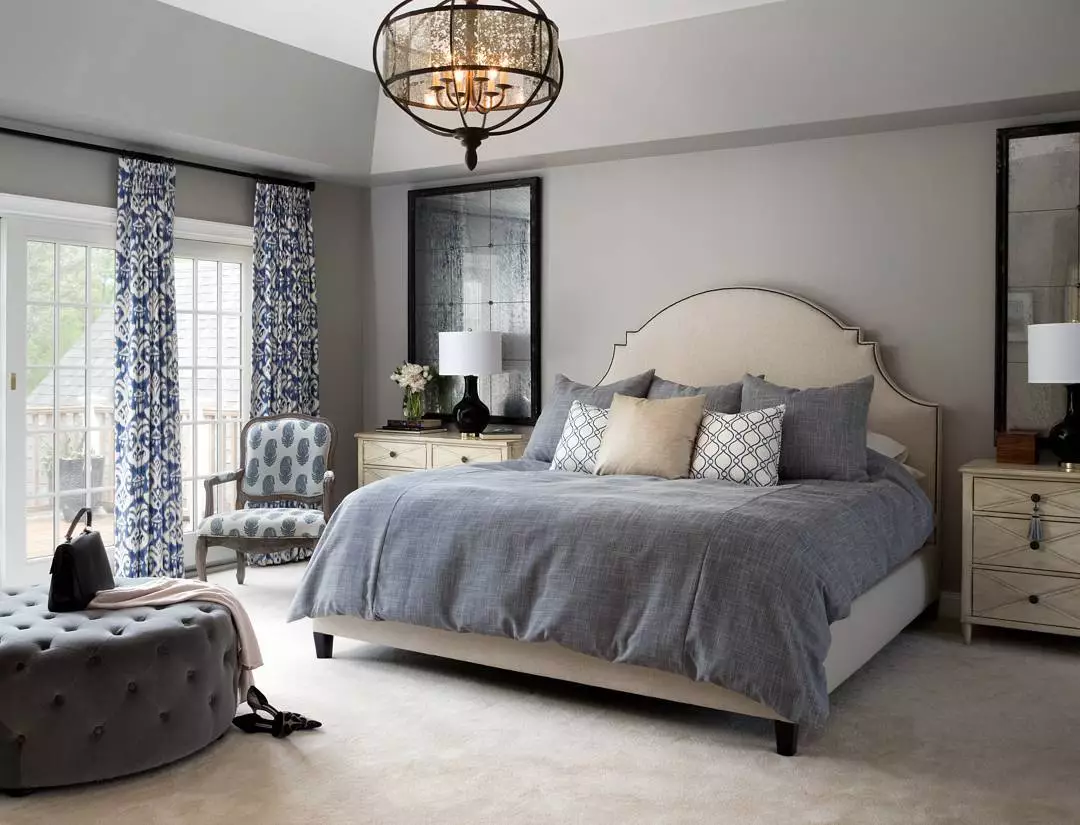
Bathroom
When taking pictures of a bathroom, you should choose a diagonal angle (from the corner of the room facing the whole scene) to make the space look more spacious and balanced. If the bathroom is small, use a wide-angle lens and shoot from right outside the door or close to the wall to capture the sink, mirror, bathtub (or shower) in the same frame.
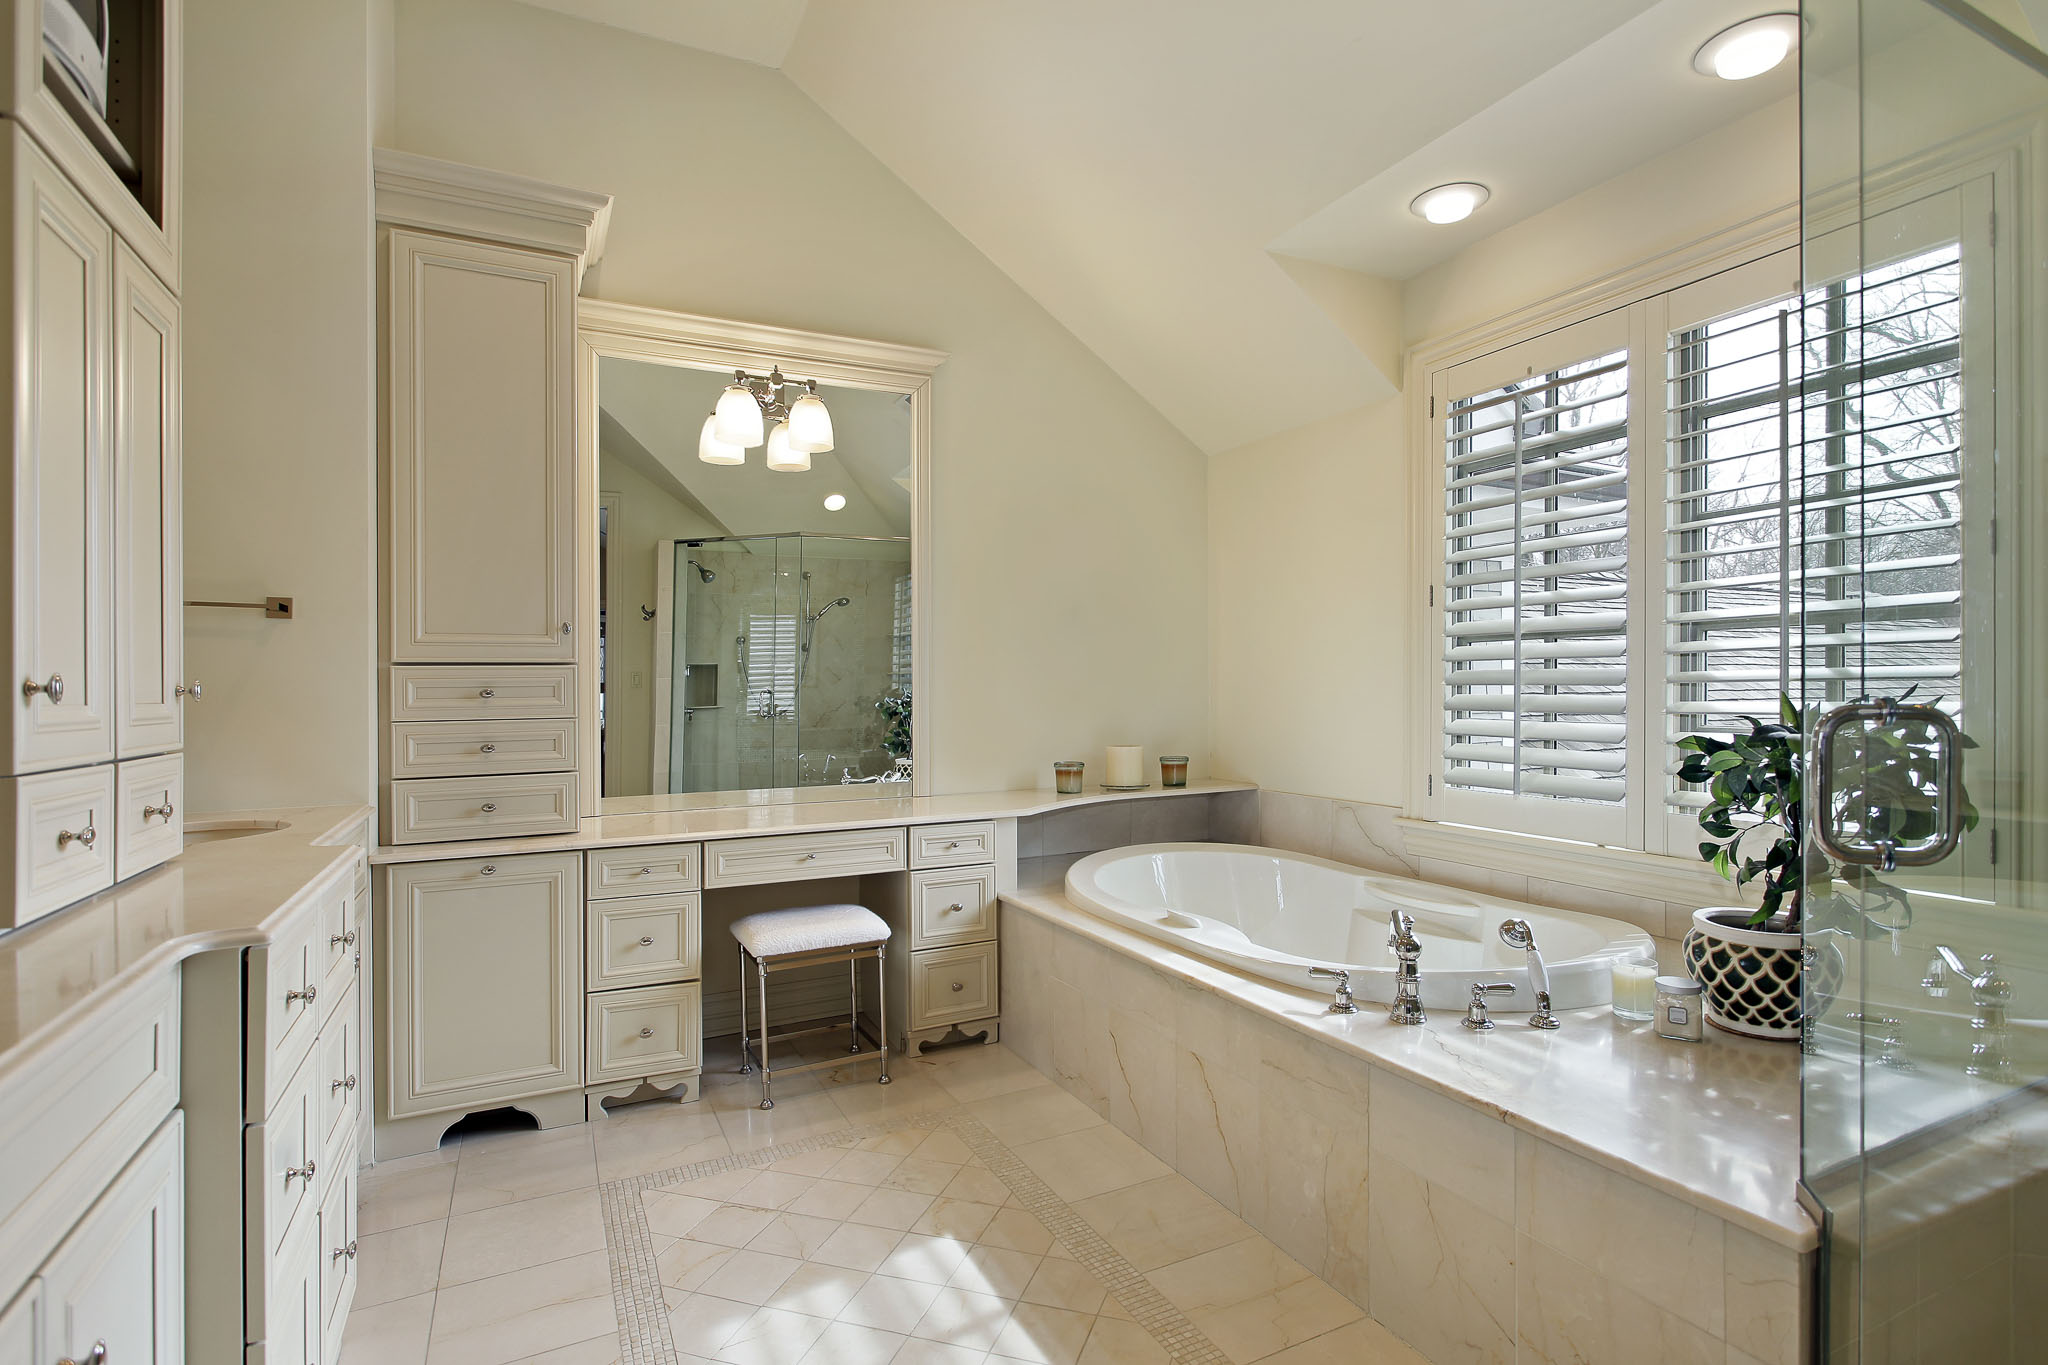
A little tip: avoid standing directly opposite the mirror so as not to "lose the photo" of the photographer.
Post-processing Tips for Real Estate Photos
Basic process when using Lightroom & Photoshop to blend ambient/flash
- Basic editing in Lightroom
- Settings: Camera Profile, Lens Correction, Upright.
- Adjust White Balance, exposure, preliminary light and dark balance.
- Blend photos in Photoshop
- Open the ambient + flash image into layers.
- Place the ambient on top → add a black mask to reveal the flash layer below.
- Use a soft brush, opacity 6–8%, gradually paint to get the desired natural light.
- When finished → flatten layer → Save → the photo automatically returns to Lightroom.
- Finish in Lightroom
- Adjust color, sharpness, contrast one last time to get the complete photo.
Time-saving tips:
Create Preset/Profile in Lightroom and Action in Photoshop. Just a few clicks can synchronize styles for batches of photos, saving hours.
Advanced Real Estate Photography Techniques
Virtual Staging
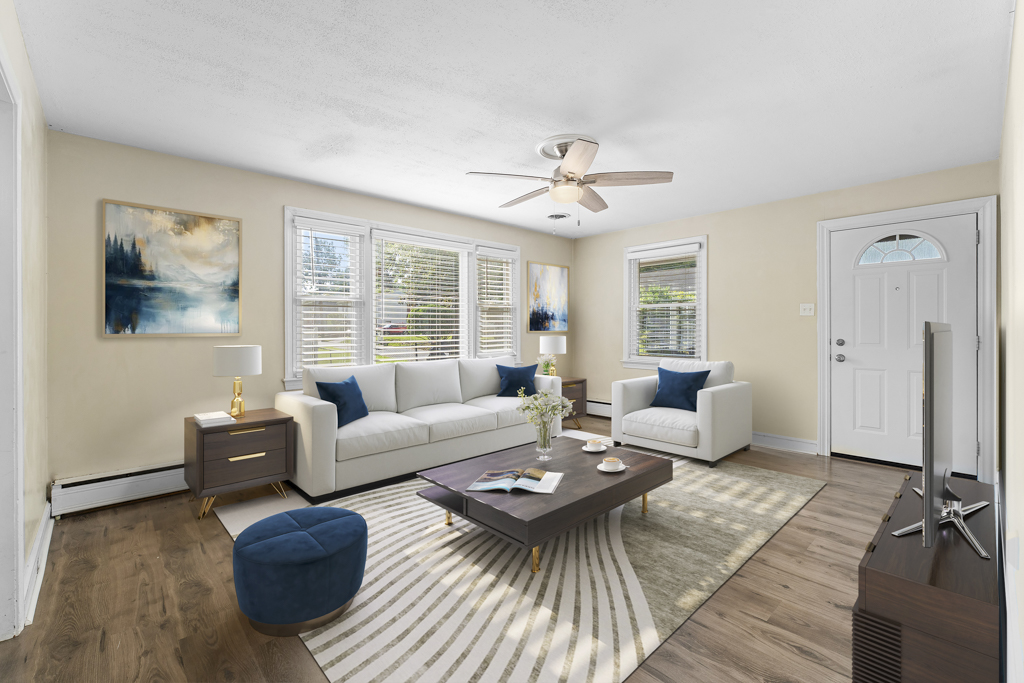
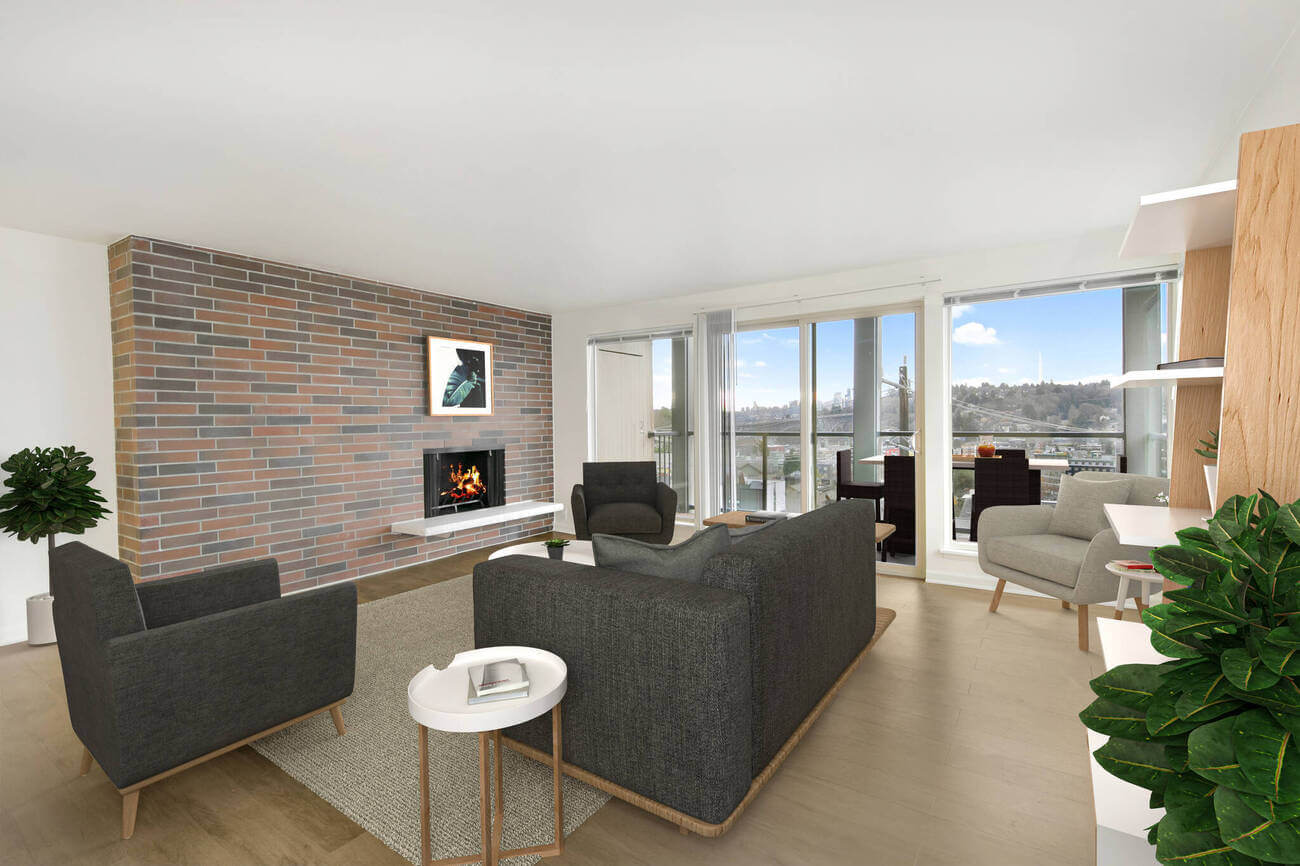
Virtual staging is not simply inserting furniture into a blank photo. Instead, it helps to recreate the living space in an attractive way, creating a cozy feeling and making it easier for buyers to visualize.
Advantages:
- Show the potential of the apartment: Turn empty or messy rooms into neat, lively spaces.
- Fast and economical: Instead of spending all day on real staging, virtual staging for the whole house only takes a few hours and reduces the cost of buying real furniture.
- Flexible: Easily transform the space's function (for example, a child's room into a spare bedroom), making the apartment more attractive to many buyers.
Disadvantages:
- Can be misleading: It is necessary to clearly state that the photo has been virtually staged to avoid disappointment when buyers come to see the actual house.
- Quality depends on the craftsmanship: If not done professionally, the image will be fake and unconvincing.
Twilight & Dusk Photography for Dramatic Impact
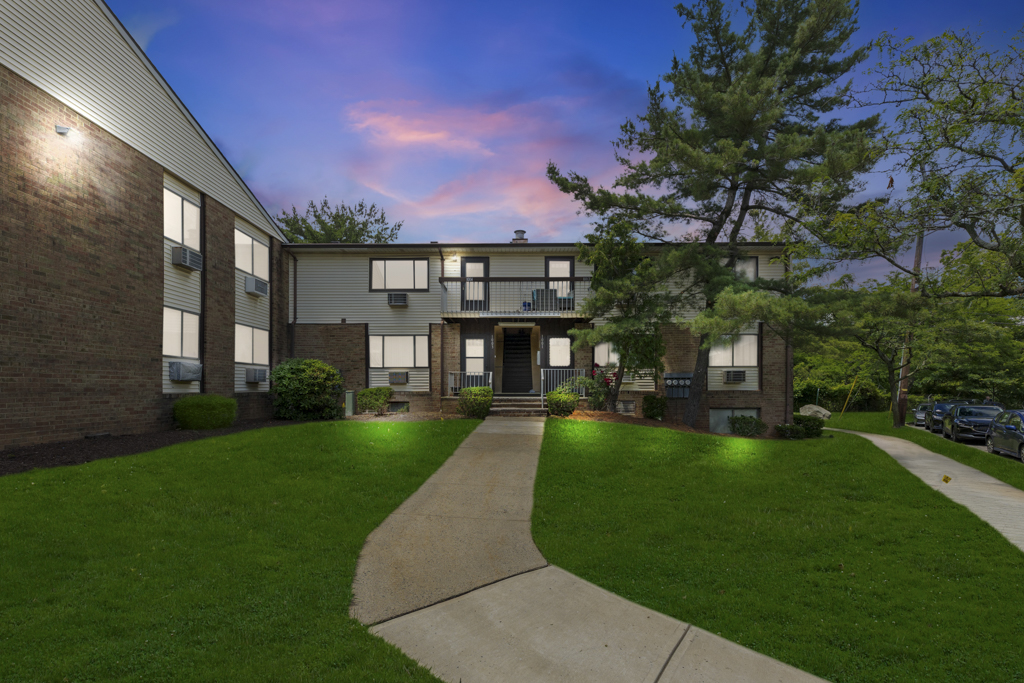
Twilight/sunset photos are typically taken outside at sunrise or sunset. This is a particular type of photo that agents love because it adds a mysterious feel with a mix of different color ranges, making it different from daytime exterior photos.
Benefits:
- Looks super cool: Makes a strong impression when displayed in search listings.
- Highlights the light of the home: Buyers often don't see this sparkling view during daytime viewings.
- Helps set yourself apart from the competition: Not everyone offers this service.
- Attracts high-end customers: Great for luxury properties.
Drawbacks:
- Time-consuming: Must wait for the right moment of sunset.
- Limited shooting schedule: Usually quite late, especially in the summer.
- Impacts progress: May need to adjust the shooting plan or process the next day.
Drone Photography for Larger Properties
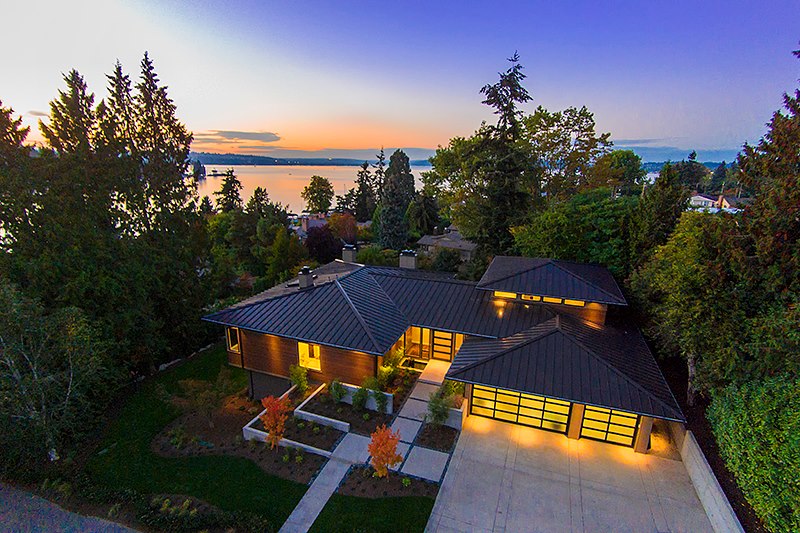
Aerial photography (drone photography) provides a unique perspective, fully showing the property and surrounding space, something that is difficult to achieve with regular photography.
Advantages of aerial photography
- Increase attention & interaction: Posts with drone photos often attract more views. Arouse curiosity, encourage customers to want to see in person.
- Have a new look: Can see the location of the property compared to the surrounding area. Buyers can easily visualize the location, amenities such as supermarkets, parks, schools.
- Large real estate display: It records the scale of the property and any unique outdoor features, especially for commercial or farm real estate.
Disadvantages to note
- Certification requirements: In many countries (like Canada), a drone pilot certificate is required for commercial photography. Includes registration, theory test, practical flight test.
- Privacy concerns: Drones can accidentally record images of neighbors, which can cause annoyance or legal trouble.
- Be careful when flying in densely populated areas.
Common Mistakes to Avoid in Real Estate Photography
- Tilted Lines: Nothing says “unprofessional” like a tilted wall or a skewed horizon. Always keep lines straight when shooting and correct any tilt in editing.
- Poor Lighting: Photos that are too dark or too bright will not show off the character of the property. Balance natural light with artificial light or use HDR/flashient techniques for even exposure.
- Overusing Wide-Angle Lenses: Yes, they make a room look larger, but overusing them can create unrealistic proportions, which can turn buyers off when they come to view.
- Photographer Reflections: Mirrors, windows, and shiny fixtures can easily give away the person behind the lens.
- Over-Editing: Over-saturated skies, bright neon grass, or unrealistically bright interiors can look fake. Edit to enhance, not to fool.
- Don’t highlight key features like fireplaces, patios, or kitchen islands.
- Too few photos: A post with only 3-4 photos is not complete. Take multiple angles of each room and at least 10-20 photos of the exterior.
Conclusion
So, real estate photography plays a vital role in attracting potential buyers and boosting sales. By applying the above tips along with professional real estate photo editing, you can achieve stunning, high-quality images that truly stand out. Good luck!
 Single Exposure
 Room Cleaning
 Reels
Reels Blended Brackets (HDR)
 Changing Seasons
 Slideshows
 Flambient
 Water in Pool
 Individual
 360° Image Enhancement
 Lawn Replacement
 Team
Team Virtual Staging
 Rain to Shine
 Add Person
 Remodel
 Custom 2D
 Remove Person
 360° Image
 Custom 3D
 Background Replacement
 Day to Dusk
 Property Video
 Cut Outs
 Day to Twilight
 Walkthrough Video
 Change color
 1–4 Items
