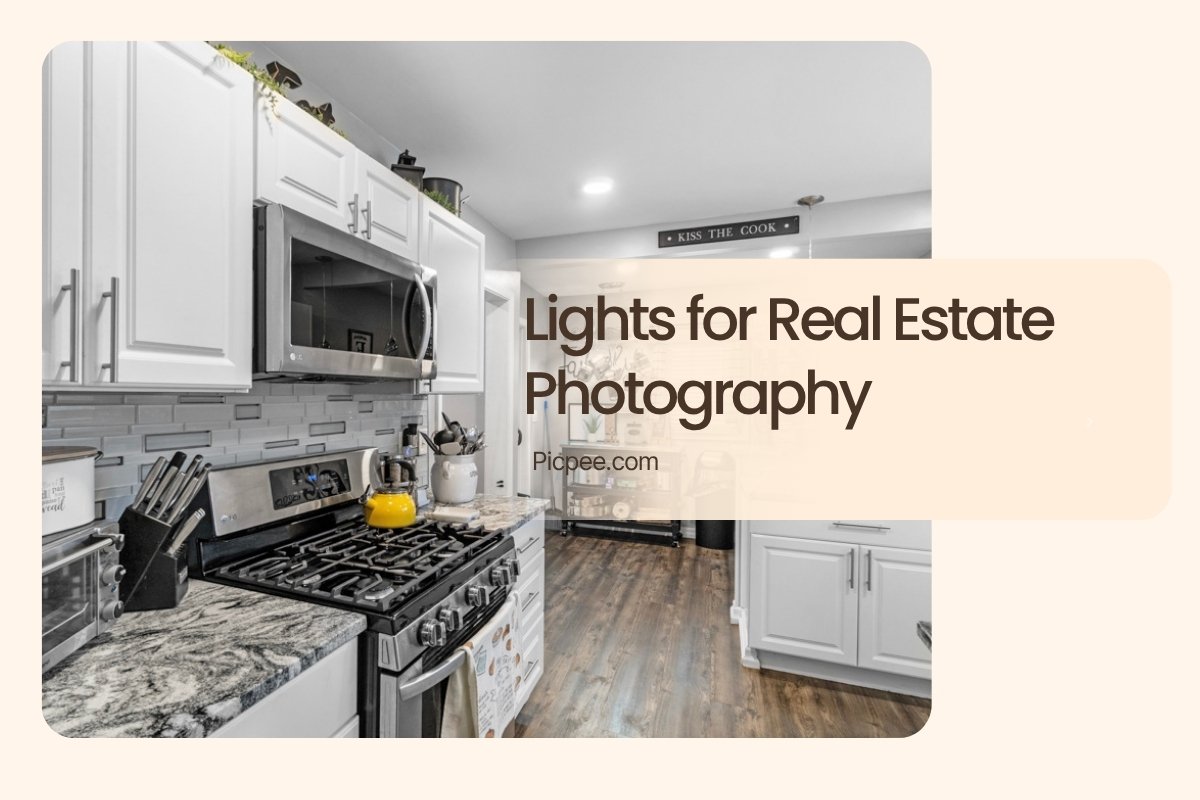
Lighting is the secret weapon behind every stunning real estate photograph. It can transform a dull, shadowy room into a bright, inviting space that instantly captures buyer interest. Whether you’re photographing cozy apartments or luxury villas, mastering the right lighting setup determines whether your photos look amateur or professional.
In this guide, we’ll explore everything you need to know about lights for real estate photography — from natural and artificial lighting techniques to the best equipment and advanced tips. By the end, you’ll know how to make any space look vibrant, balanced, and ready to sell.
The Importance of Lighting in Real Estate Photography

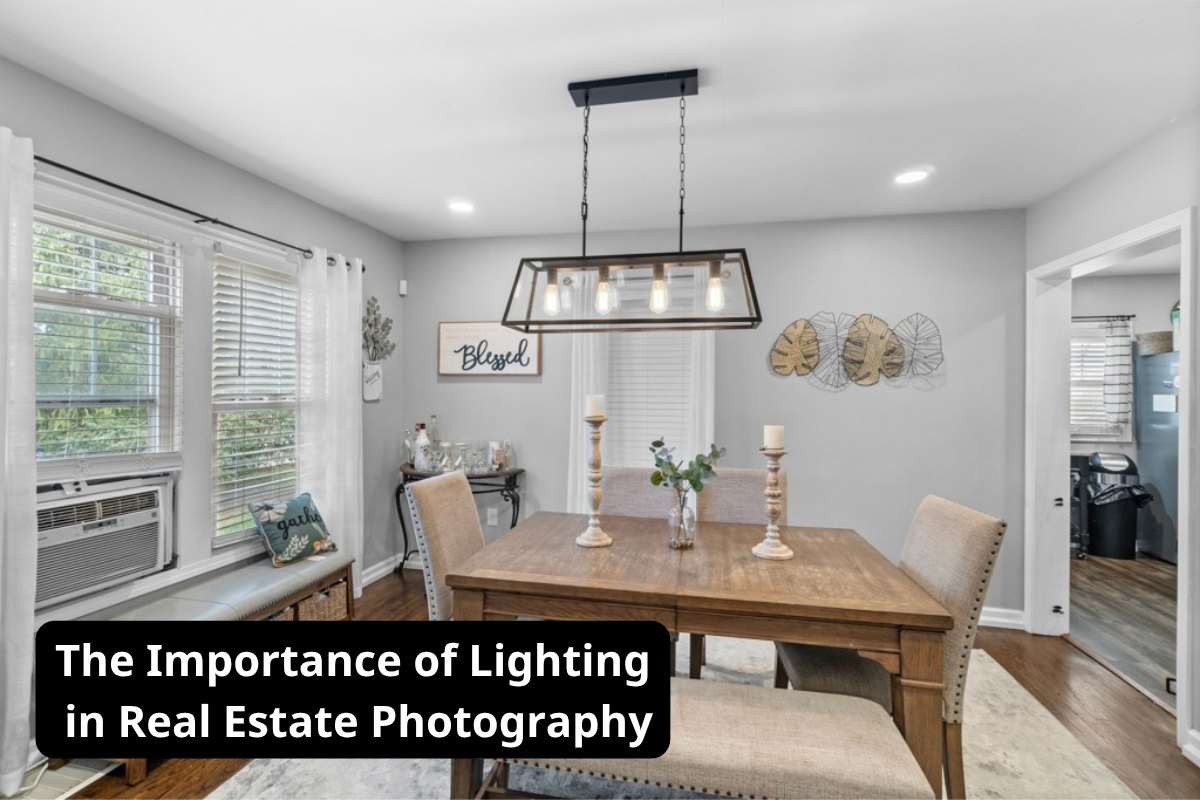
Lighting is the heart and soul of real estate photography. It doesn’t just illuminate a room — it defines how potential buyers perceive and feel about the property. Proper lighting can transform a simple living space into a warm, inviting home, while poor lighting can make even luxurious interiors look dull, cramped, or lifeless. In real estate, where first impressions matter most, mastering lighting means mastering visual persuasion.
A well-lit photo draws attention to the home’s design, color harmony, and architectural detail. It helps tell a story — inviting the viewer to imagine themselves inside the property. Every professional photographer knows that lighting is not merely a technical factor but a psychological tool that drives emotional connection and purchasing decisions.
- Defines Depth, Contrast, and Detail
- Influences Color Accuracy and Tone
- Highlights Architectural Features
- Enhances Perceived Space and Value
Types of Lighting for Real Estate Photography
Different lighting sources serve different purposes. A professional photographer knows how to combine and control them for optimal results.
Natural Light
Natural light is the most flattering source for interior shots.
- Best during early morning or late afternoon (“golden hours”).
- Use window light as a main source — open curtains fully.
- Avoid harsh sunlight by diffusing with sheer blinds or reflectors.
- Perfect for rooms with large windows and bright interiors.
Pro tip: Always shoot with lights off first to capture clean daylight tones, then layer artificial light if needed.
Ambient Light
Ambient light provides the base illumination of a space — usually from ceiling fixtures, lamps, or recessed lighting.
- Balances exposure across darker rooms.
- Adds warmth to spaces that feel cold or empty.
- Use in combination with strobes for consistent results.
Flash or Strobe Light
Flashes are essential for balancing bright windows and dark interiors.
- Use off-camera flashes to prevent harsh shadows.
- Position lights strategically to fill dark corners.
- Bounce light off ceilings or walls for a soft, even glow.
- Combine with ambient exposure for a natural result.
Continuous LED Lighting
LED panels and bulbs provide constant illumination, ideal for both photo and video.
- Helps preview how light falls on furniture and walls.
- Adjustable brightness and color temperature.
- Energy-efficient and easy to carry.
- Perfect for small rooms or quick setups.
Choosing the Right Lighting Equipment

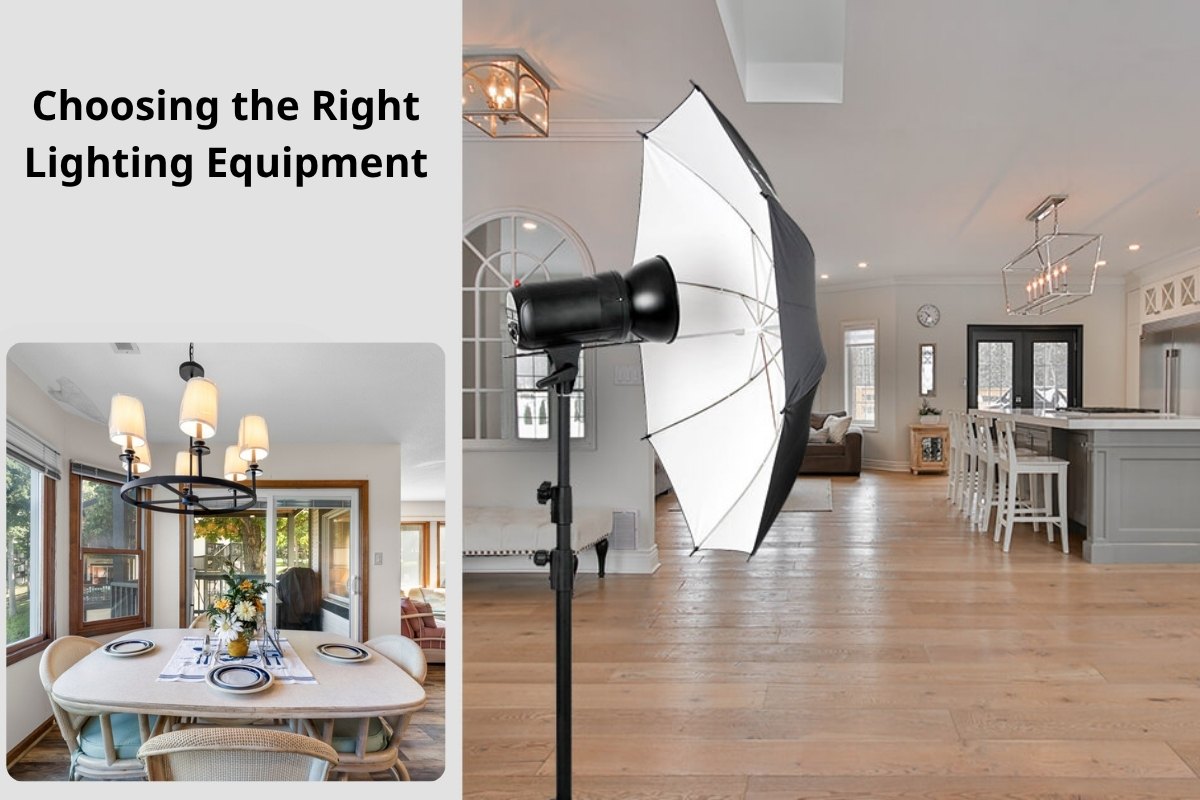
Selecting the right lighting equipment is a crucial decision that can determine whether your real estate photos look professional or amateur. Even the most beautifully designed interiors will fail to impress if the lighting setup is weak, uneven, or poorly balanced. The right tools not only enhance brightness but also allow you to control direction, diffusion, and intensity — ensuring every image looks natural, vibrant, and true to life.
A professional lighting setup helps photographers adapt to different shooting environments — from compact apartments with little sunlight to spacious villas with mixed lighting conditions. To achieve consistent, high-quality results, you need reliable gear that offers flexibility, control, and precision.
Essential Lighting Tools
Each piece of lighting equipment plays a specific role in shaping the scene. Understanding how and when to use them ensures your real estate images always look well-exposed and visually appealing.
Recommended Lighting Kits
If you’re serious about elevating your real estate photography, consider investing in reliable lighting kits that offer flexibility and durability. Below are some of the most trusted options used by professionals worldwide:
- Elinchrom D-Lite RX 4/4 Kit
Pro Tip: Simplify Lighting Edits with Picpee
Even with the best lighting gear, minor inconsistencies can appear — especially when mixing natural and artificial light sources. That’s where Picpee, a professional real estate photo editing service, comes in.
Picpee’s expert editors specialize in balancing lighting, correcting color temperature, and enhancing exposure naturally — ensuring every image looks bright, inviting, and perfectly balanced.
Picpee helps you:
- Correct uneven lighting and remove harsh shadows.
- Adjust white balance for accurate color representation.
- Enhance window views and restore overexposed highlights.
- Deliver consistent, professional-quality photos every time.
Visit www.picpee.com to explore how their advanced lighting and color correction services can help your real estate photos shine.
Lighting Techniques for Perfect Real Estate Photos
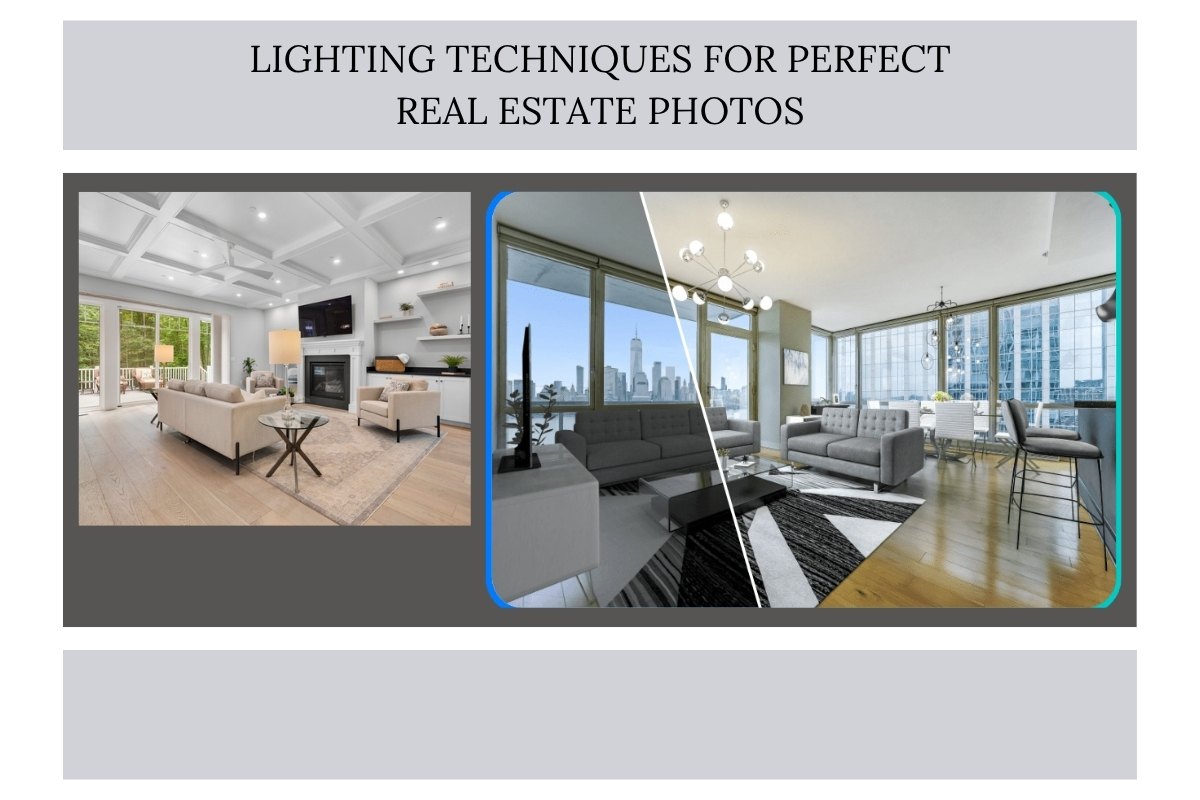
Technique matters as much as tools. Here’s how to use your lights like a pro.

Use Bounce Flash for Even Lighting
- Aim your flash at the ceiling or wall to diffuse the light.
- Avoid direct flash on surfaces — it causes glare and reflections.
- Produces soft, natural-looking results without harsh shadows.
Balance Window Light and Interior Light
- Lower flash power to match daylight intensity.
- Adjust white balance to keep tones natural.
- Expose for highlights, then use flash to lift shadows.
Light Each Room Separately
- Treat each space as its own lighting scenario.
- Move your flash or LED setup to highlight key features.
- Maintain consistent color temperature across all rooms.
Use Multiple Exposures and Blend
- Capture 3–5 bracketed shots at different exposures.
- Blend in post-production for dynamic range.
- Preserves both bright windows and dark interiors.
Conclusion
Lighting is the foundation of real estate photography — it defines emotion, clarity, and visual appeal. The right combination of natural and artificial light turns ordinary rooms into extraordinary showcases. Whether you’re a beginner using LEDs or a pro with strobes and softboxes, mastering lighting control is what separates good from great photography.
And with Picpee’s post-editing, you can perfect every photo effortlessly — achieving professional-grade results that sell properties faster and impress clients every time.
 Single Exposure
 Room Cleaning
 Reels
Reels Blended Brackets (HDR)
 Changing Seasons
 Slideshows
 Flambient
 Water in Pool
 Individual
 360° Image Enhancement
 Lawn Replacement
 Team
Team Virtual Staging
 Rain to Shine
 Add Person
 Remodel
 Custom 2D
 Remove Person
 360° Image
 Custom 3D
 Background Replacement
 Day to Dusk
 Property Video
 Cut Outs
 Day to Twilight
 Walkthrough Video
 Change color
 1–4 Items


