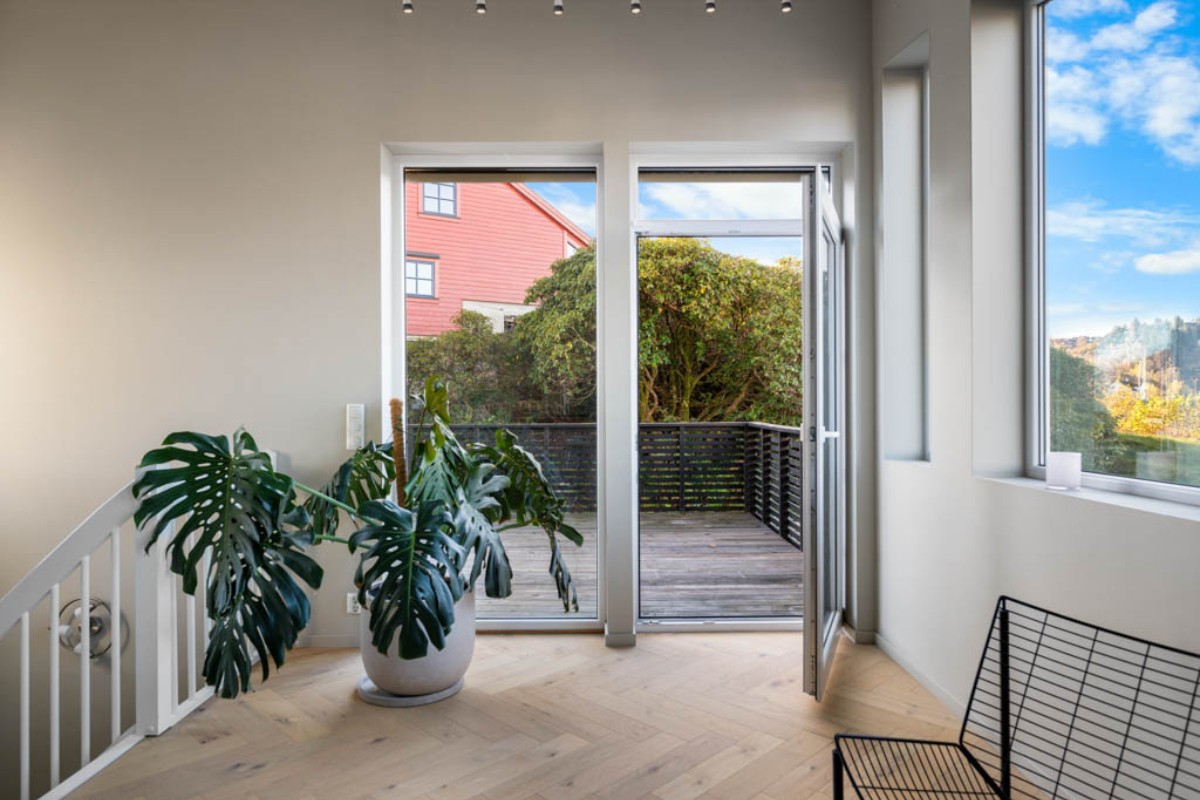
Real estate window view photo editing has become a necessity for professionals seeking to produce high-quality images that stand out in the market. The process involves meticulous attention to detail and a strategic selection of editing tools that balance authenticity with aesthetic appeal. In this comprehensive guide, we will explore how to edit window views in real estate photos effectively, focusing on key techniques like window pulls, layering, and advanced Photoshop methods.
The Significance of Window View in Real Estate Photography
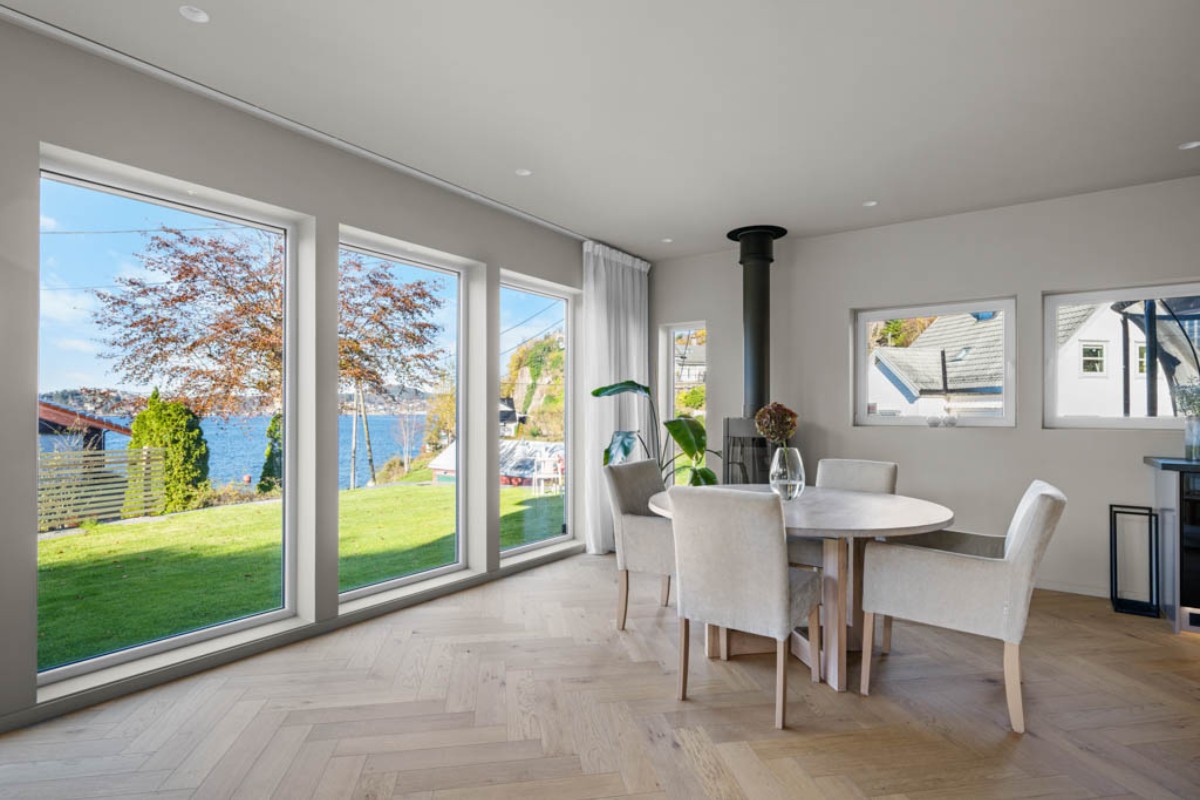
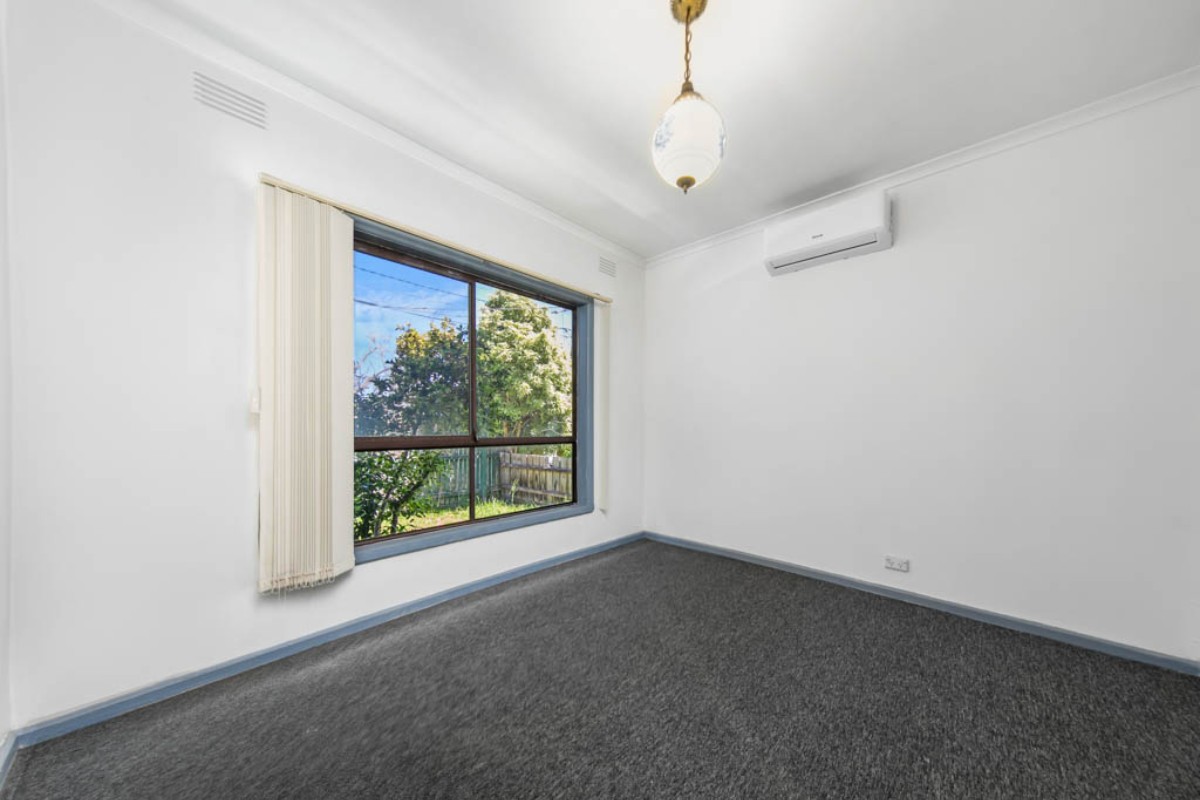
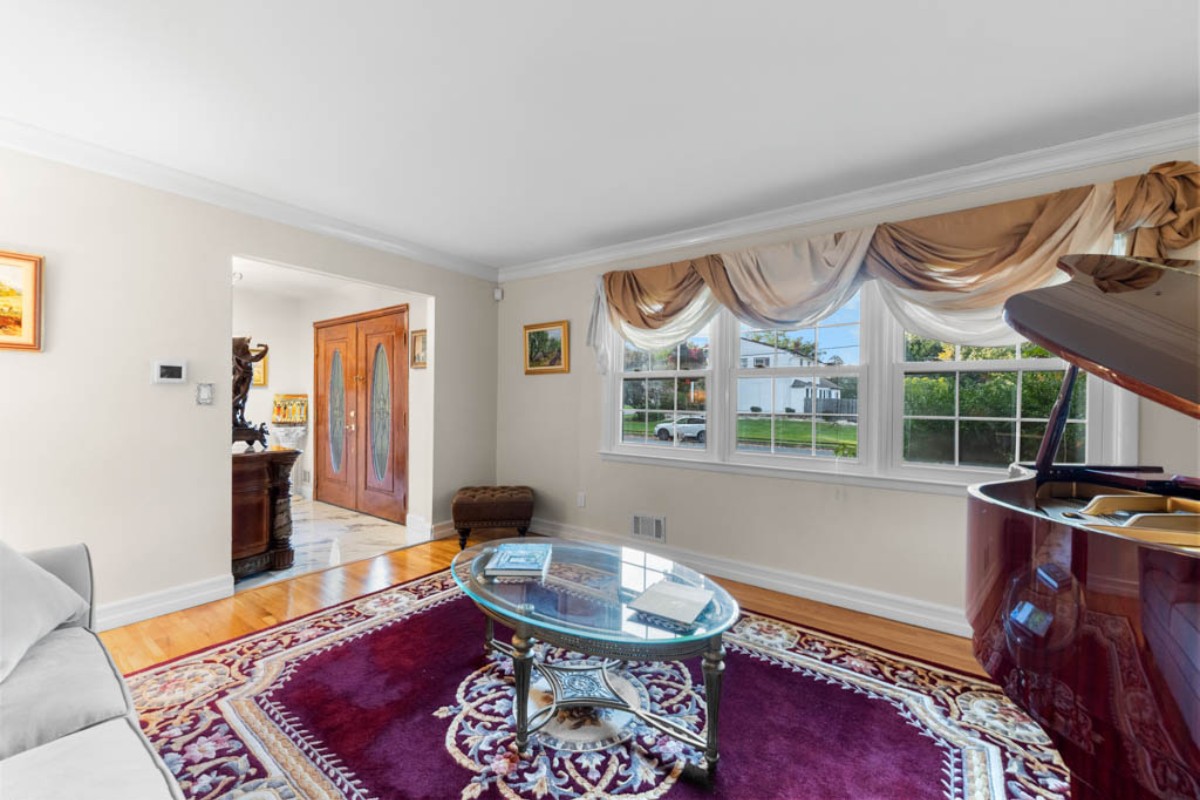
Every detail matters in real estate photography, but few things captivate a buyer as much as a window view. An ordinary photo can be transformed into an emotional hook that sells the house and the lifestyle it provides with a skillfully edited window scene.
Listings with professional photos receive 61% more views and sell up to 32% faster, according to the National Association of Realtors. And one of the main causes of those figures? Real estate window view photo editing that is stunning, clear, and realistic.
-
Window Views Tell a Story of Place: These outdoor scenes can be enhanced to show off their full beauty without looking artificial with expert window view photo editing.
-
Natural Light Makes Every Space Shine: One of the most sought-after qualities for prospective homeowners is light, spacious interiors. An inviting atmosphere is created by the seamless integration of natural light with indoor spaces through clear, visible window views.
-
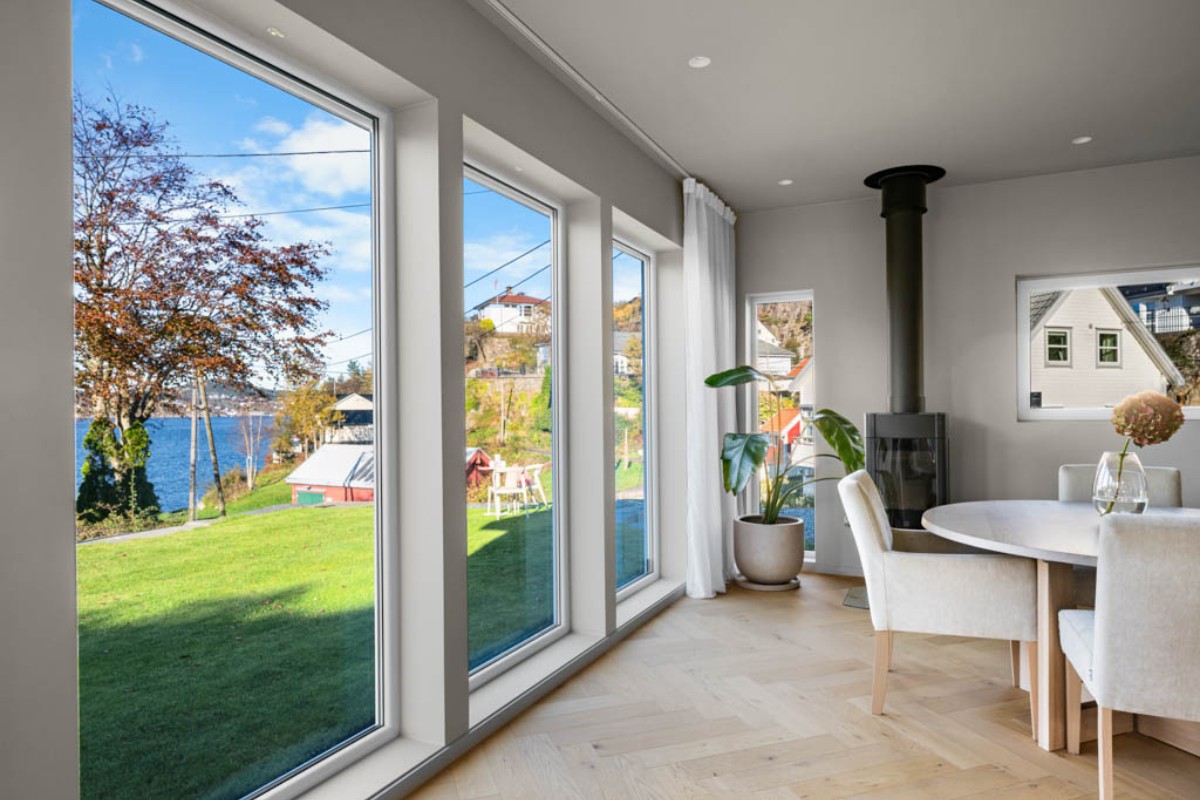
Emotional Bond Sells Homes: A serene garden view or a golden sunset streaming through the living room window can arouse feelings of coziness, tranquility, and community. These poignant moments are emphasized with the aid of excellent real estate window view photo editing.
-
Standing Out in Online Listings: A property stands out from thousands of others when it has a clear, well-edited window view. It conveys professionalism and attention to detail, which are qualities that both buyers and sellers value.
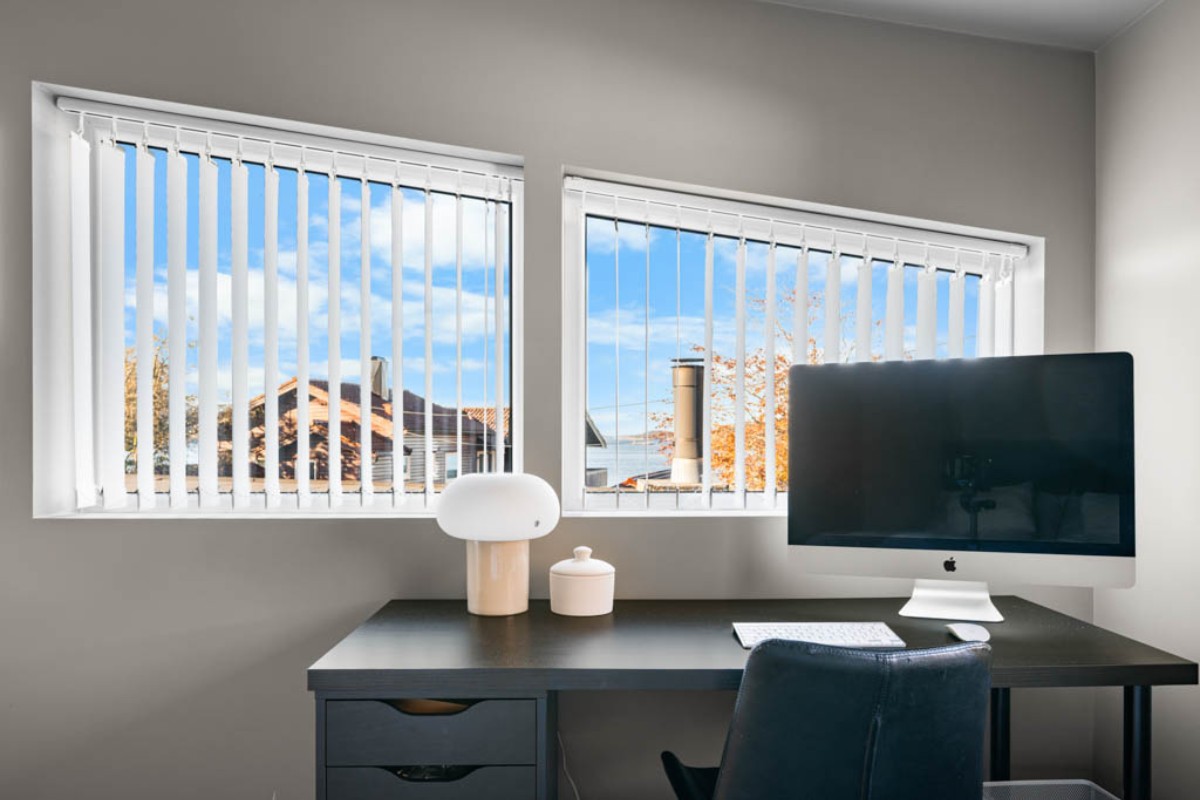
It can be difficult to get the ideal window views in camera because of harsh lighting, reflections, or external obstructions. Because of this, editing real estate window view photos has become a crucial component of contemporary property marketing. Editors elevate the entire story of the house by improving what is visible through the glass, not just a single picture.
Understanding Window Pulls
Window pulls are a technique that combines exterior and interior shots to produce a clear view through a window. This entails capturing the exterior scene in ideal lighting conditions and taking separate pictures with the interior lights on. The objective is to get around shooting conditions that limit visibility of window views, like reflective glare, overexposure, or underexposure. Applying a window pull creates a balanced and welcoming scene by combining the interior image with a well-exposed exterior shot. This method increases visual appeal and clarity, particularly for listings in difficult-to-access locations. A key component of expert real estate window view photo editing, window pulls offer a great deal of creative control.
There are various benefits to using window pulls in real estate photography. It enables photographers to get around the technical challenges presented by uneven lighting, producing pictures where the exterior view is as sharp and clear as the interior, giving the impression that the property is larger and more appealing. Window pulls also give photographs flexibility and consistency by enabling the correction of flare, reflections, and shadows that might otherwise obstruct the view.
Advanced Techniques for Window View Enhancement
Flambient Blending: Combining Ambient and Flash Shots
A cutting-edge method that is becoming more and more well-liked by real estate photographers is fluent blending. It entails taking two pictures: one with natural light and another with the flash on to highlight interior details or shadows. Then, using Photoshop's luminosity and mode settings, these photos are combined to produce a natural-looking image that appropriately exposes the interior while preserving the atmosphere of daylight.
Because it enables the capture and blending of exterior views with interior lighting levels that won't obscure or take away from the scene, this technique works especially well for window view editing. Gaining proficiency in flambient blending improves the realism of your photos, increasing the appeal of your listings to potential buyers.
Layer Management for Optimal Results
Complex edits require careful layer management, particularly when masking reflections or combining multiple exposures. Use adjustment layers to make non-destructive edits, label layers clearly, and arrange layers logically. Controlling how images interact and blend together can be achieved by using various blending modes, such as luminosity, lightening, and darkening.
Effective layer management in window view photo editing enables you to isolate and fix trouble spots, such as glare, reflections, or dirt, without compromising the overall image. Using pen or polygon tools to practice precise masking guarantees smooth background or correction integration and produces incredibly polished results.
Methods for Reflections and Flare
In window shots, reflections and lens flare are frequent problems that frequently obscure the view or lower image quality. To fix these, more "repair" photos without flash or reflections must be taken, then combined in the editing process. Clarity can be greatly increased by using Photoshop's selection tools to mask out unwanted reflections and then applying cloning or healing brush techniques.
Distracting areas can be reduced for flare by utilizing particular filters or adjusting levels. The final real estate photography will remain compelling and authentic if editing integrity is maintained while reflections are eliminated. Establishing a practice for fixing flares and reflections enhances your editing abilities and boosts productivity.
How to Edit Window Views in Real Estate Photos
Setting Up Your Workspace
Set up your Photoshop workspace for a productive and non-destructive workflow before beginning to edit real estate window view photos.
-
Turn on important panels for convenient access, such as Layers, Histogram, and Adjustment Layers.
-
Adjustment layers and masks are always preferable to permanent edits because they allow you to make changes to your work at any time.
-
Before importing your photos into Photoshop, arrange them into folders like Dual Exposures, Exterior Shots, and Interior Shots.
Time is saved and a more seamless editing experience is guaranteed with a consistent setup across projects, particularly when working with intricate window compositions.
Bringing in and Arranging your pictures
Open Photoshop and import your exterior and interior photos. The optimal configuration consists of:
To keep things organized, rename your layers "Exterior Base" and "Interior Enhanced." To properly align perspectives, you can also utilize Photoshop's grid or guide overlays. A well-organized file system reduces confusion during blending and is essential for neat, expert real estate window retouching.
Using Polygon Tools for Masking
Use the Pen Tool or Polygonal Lasso Tool to make precise selections around window frames in order to isolate and improve window areas. With these tools, you can:
-
Eliminate any unwanted reflections or glare.
-
Use bright, well-lit exterior shots to replace drab outdoor scenes.
To achieve seamless, lifelike transitions between the window and interior lighting, slightly feather the edges of your mask. When editing real estate window view photos, precise masking is crucial because it guarantees that the finished product appears authentic rather than Photoshopped.
Managing Exposure from the Interior and Exterior Lighting
Achieving a realistic window view requires a mastery of light balance. Here's how to do it correctly:
-
To get a complete spectrum of light, use bracketing or multiple exposures when shooting.
-
To preserve detail in bright areas, slightly overexpose exterior shots.
-
Interiors should be underexposed to maintain shadow details.
Adjust levels, contrast, and brightness during editing to create a realistic balance between the lighting inside and outside. By taking this precaution, the window won't appear excessively blown out or abnormally dark.
Mistakes to Avoid
Common Pitfalls in Real Estate Photo Editing
Overprocessing is one of the most common problems, producing unnatural-looking images that may deceive viewers. Less is frequently more when it comes to sharpening, contrast, and saturation. Additionally, improper use of layer modes or masking tools can result in uneven aesthetics or noticeable seams.
Misuse of Editing Tools and Techniques
When dealing with intricate window scenes, relying exclusively on automated tools or shortcuts may result in less than ideal outcomes. Keep in mind that window retouching calls for accuracy and patience. Realism may be compromised by excessive compositing or the careless removal of all reflections.
Overediting: Striking a Balance
Although attention-grabbing images draw in viewers, excessive editing can backfire and produce regrettably misleading images. Aim for improvements that blend in with the property's natural appearance. To preserve credibility and professionalism, aim for consistency and subtlety in your edits.
Professional Real Estate Photo Editing Services by Picpee
At Picpee, we bring real estate photos to life through expert editing crafted by a global network of talented freelance editors. From subtle lighting adjustments to advanced real estate window view photo editing, every detail is refined to showcase properties at their absolute best.
Our editors—based across different countries and time zones—bring diverse styles, artistic perspectives, and real estate photography expertise to every project. This global talent pool allows Picpee to deliver consistent, high-quality results that match your brand’s aesthetic, no matter where you are in the world.
With fast turnaround times, flexible pricing, and professional quality control, Picpee ensures your real estate images are ready to impress potential buyers—without breaking your budget.
Frequently Asked Questions
What are the best practices for window view photo editing?
The best practices involve capturing multiple exposures if possible, using masks and layers in Photoshop for blending, and retouching reflections and glare carefully. Always prioritize realism and avoid excessive editing.
How do I know when to apply window pulls?
Apply window pulls when exterior views are unclear, obstructed, or affected by lighting issues, and when blending improves image balance. If the view is already clean and well-exposed, additional pulling might be unnecessary.
Can I achieve similar results without Photoshop?
While software like Luminar and Capture One offers useful tools, Photoshop remains the most powerful option for detailed window retouching and compositing. Alternatives can be effective but may lack the precision needed for complex edits.
How to improve my real estate photography skills?
Practice regularly, study professional examples, and seek feedback. Invest in lighting and shooting techniques to minimize post-processing, and continuously learn new editing methods through tutorials and courses.
Conclusion
Real estate window view photo editing has transformed the way professionals showcase properties online, turning challenging shots into captivating visuals. Techniques like window pulls and layered blending allow for the correction of reflections, glare, and exposure issues, giving potential buyers a clear glimpse of both interior charm and exterior beauty. With practice and attention to detail, you can elevate your window view enhancement process, ensuring each listing stands out vibrantly in a crowded market.

 Single Exposure
 Room Cleaning
 Reels
Reels Blended Brackets (HDR)
 Changing Seasons
 Slideshows
 Flambient
 Water in Pool
 Individual
 360° Image Enhancement
 Lawn Replacement
 Team
Team Virtual Staging
 Rain to Shine
 Add Person
 Remodel
 Custom 2D
 Remove Person
 360° Image
 Custom 3D
 Background Replacement
 Day to Dusk
 Property Video
 Cut Outs
 Day to Twilight
 Walkthrough Video
 Change color