In the competitive world of real estate, high-quality visuals are essential for capturing buyer interest. A polished real estate editing workflow can transform raw property photos into captivating images that drive engagement and sales. Whether you're a photographer, real estate agent, or editor, optimizing your editing process ensures efficiency and professional results. Here’s how to create a seamless real estate editing workflow that elevates your listings.
Key Steps to Build an Effective Real Estate Editing Workflow
Organize Your Raw Images
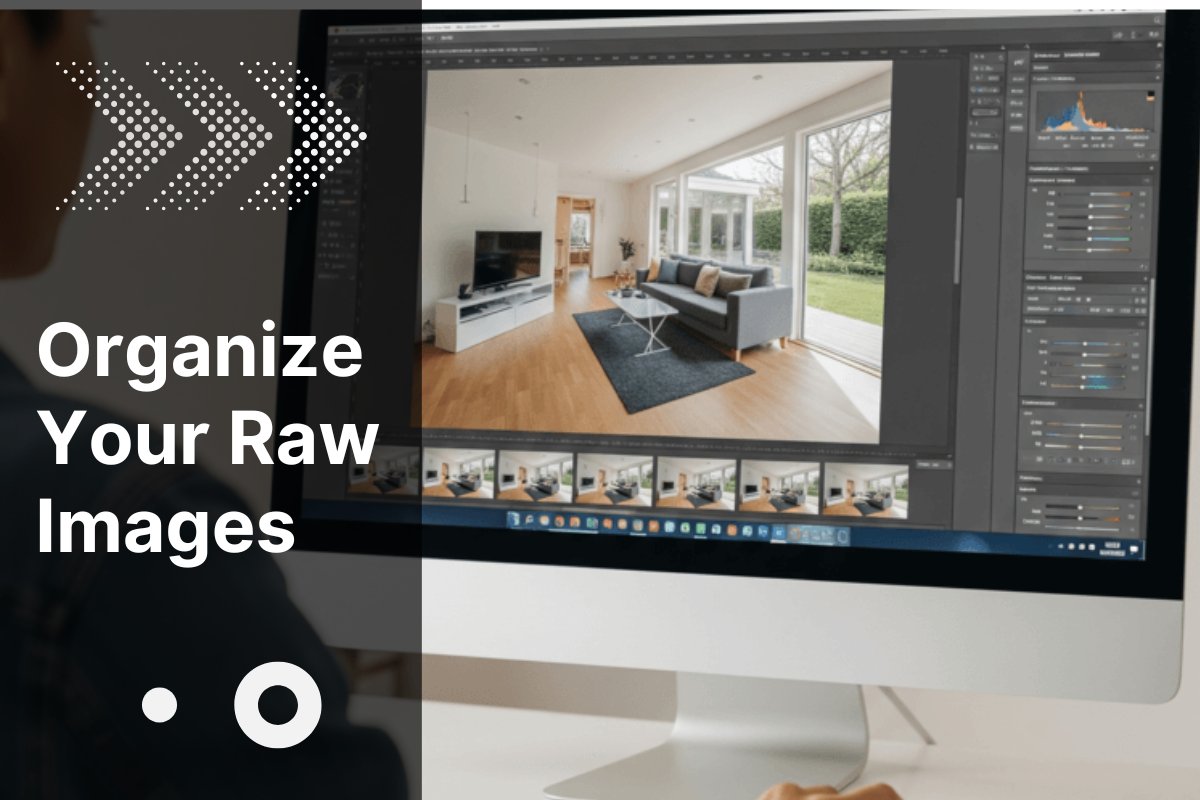
Start by organizing your raw photos in a clear folder structure. Use naming conventions like “PropertyName_Room_Date” to easily locate files. Tools like Adobe Bridge or Lightroom can help tag and categorize images for quick access.
Importing photos and basic editing in Adobe Lightroom
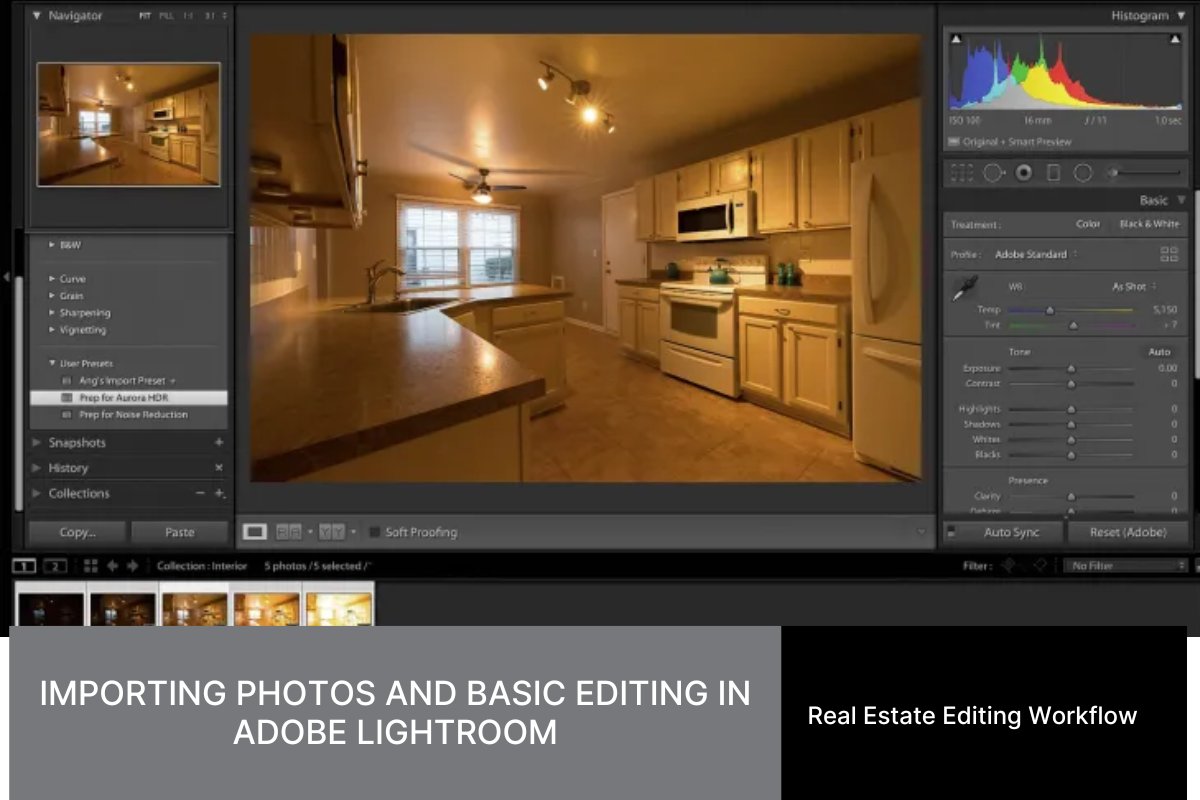
Adobe Lightroom is considered the “first stop” in the real estate photo editing workflow. With a friendly interface and the ability to quickly edit photos in batches, this is a favorite tool of professional photographers.
Here are the important basic editing steps when working in Lightroom:
- Adjust Exposure & Contrast: Helps create light balance, brighten dark areas and reduce window flare. From there, the photo looks natural but still stands out.
- Color Correction: Adjust White Balance to remove yellow/green bias. Ensure walls, interiors, and lighting in the photo are realistic
- Lens Profile Corrections: Eliminate distortion caused by wide-angle lenses, reduce vignetting, and handle chromatic aberration. Keeping the right architectural proportions is crucial in real estate photography!
- Cropping & Straightening: A beautiful photo with a misaligned horizon will immediately lose points. Crop the frame properly. Use the Straighten tool to align the vertical and horizontal lines precisely
- Save Presets for speed: You can set up standard editing settings, save as Presets in Lightroom (or Photoshop) to quickly apply to other photo sets - saving time while ensuring consistency.
Advanced Editing in Real Estate Photography: HDR and Flambient
After completing the basic edits in Lightroom, the next step to creating more professional and impressive images is advanced editing. The two most popular techniques today are HDR (High Dynamic Range) and Flambient (Flash + Ambient). Depending on your shooting style or quality requirements, you can choose the appropriate method.
HDR (High Dynamic Range) Editing
HDR helps balance the light and dark areas in the photo, ideal for scenes with bright windows and dark interiors.
How to do it:
- Take 3–5 different exposures (bracketing)
- Open in Lightroom or Photoshop
- Select: Photo > Merge > HDR
- Lightroom will automatically combine the photos into a single photo
- After merging, continue to fine-tune the color tones, brightness, and contrast to make the photo look more natural
Pros: Fast, automatic
Cons: Sometimes the photo is “flat”, lacks depth, or looks fake if not adjusted further
Flambient
Flambient is a technique that combines ambient light (Ambient) and flash (Flash) to create a realistic, bright image that retains window details.
Editing Process in Photoshop:
- Open the layers:
- Ambient layer at the bottom
- Flash layer at the top
- Set the Flash layer to blend mode “Darken”
- or
- Use Luminosity Masks to precisely control the highlights
- Use a brush/mask to selectively mask out areas
- Keep the natural light from the Ambient
- Get the bright details from the Flash
- Tweak the final color, warmth, and brightness
Pros: Realistic, natural lighting and high detail
Cons: Takes longer than HDR but the quality is superior – suitable for high-end listings, villas, hotels, luxury homes.
Final Edits in Adobe Photoshop
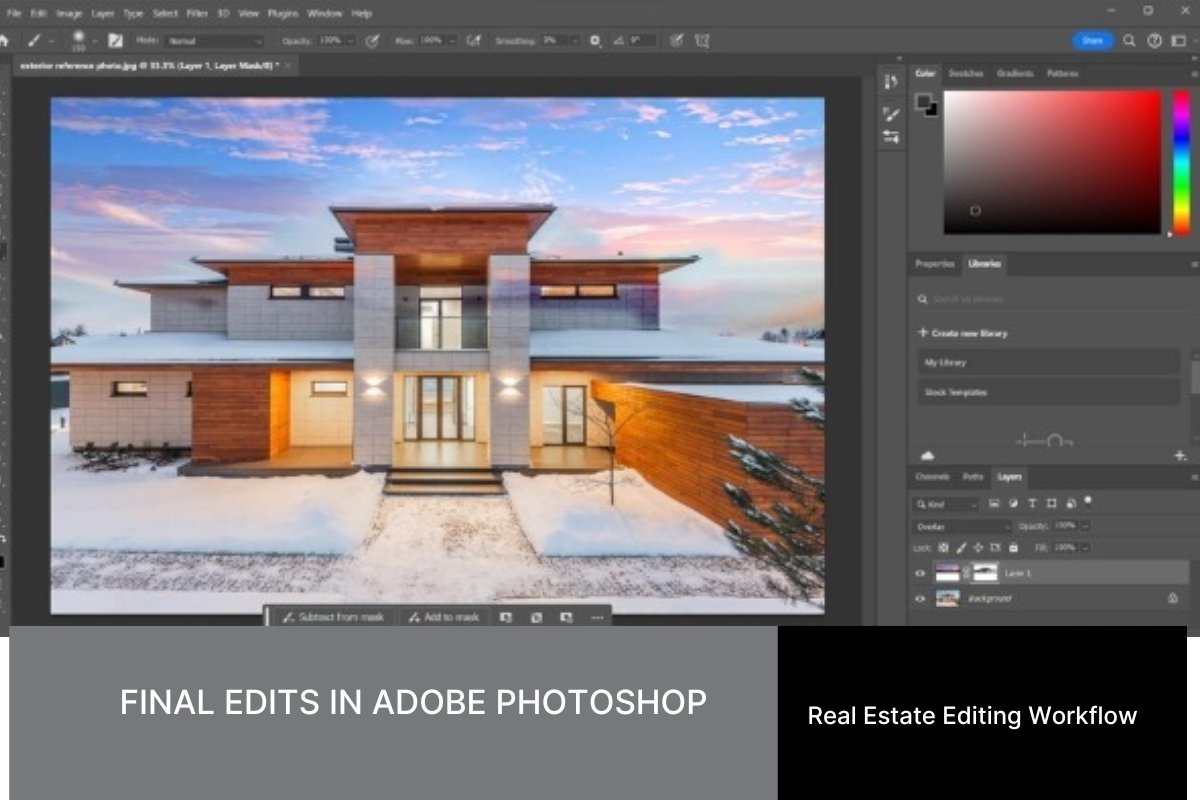
After basic editing and exposure blending in Lightroom, the next step is to bring the photo into Photoshop for detailed and advanced adjustments. This is the stage that helps the image achieve maximum perfection, suitable for posting on professional real estate platforms.
Correcting Perspective and Lines
Use Perspective Warp, Transform or Adaptive Wide Angle to straighten vertical and horizontal lines, correcting distortion caused by wide-angle lenses. This shows precision and professionalism to the photo.
Common Advanced Tweaks in Photoshop
- Sky Replacement: Add blue sky or sunset to make exterior photos more eye-catching.
- Insert Window View: Clarify the outside scene without overexposing, keeping the feeling real.
- Remove distracting objects: Remove wires, clutter, stains with Clone Stamp, Healing Brush or Content-Aware Fill.
- Landscaping and lawn re-greening: Freshen up the grass, fill in dead patches, add plants or flowers if needed.
- Stain removal and interior refresh: Remove stains from walls, sofas, carpets to make the space look cleaner.
Advanced sharpening and color adjustments
- Sharpen to increase detail.
- Use Curves, Selective Color or Dodge & Burn to increase depth and color accuracy.
Automate the process with Actions and Scripts
For large volumes of images, you can create Actions or Batch Scripts to automate:
- Sharpening,
- Add watermark,
- Export images to the correct size for MLS or web.
- This saves a lot of time.
Review and Export
Before finalizing, review each image for quality and consistency. Export in high-resolution formats like JPEG for online listings and ensure file sizes are optimized for fast loading on real estate websites.
Tips for a Faster, More Effective Workflow
- Create Templates: Use consistent settings for similar property types (e.g., condos, single-family homes).
- Outsource When Needed: Delegate time-consuming tasks to editing services to focus on shooting or marketing.
- Stay Updated: Keep your software and skills current to leverage the latest editing features.
Backup Regularly: Protect your work by backing up raw and edited files to cloud storage.
Picpee – Professional Real Estate Photo Editing Process
If you are too busy or do not know how to edit photos professionally, Picpee is the perfect solution for you. We have a reasonable editing process, optimize time and ensure the highest image quality.
Professional images not only help increase click-through rate (CTR), attract more viewers but also enhance brand reputation and help real estate sell faster. When the image is beautiful - you will reduce the time on the market and make a strong impression at first sight.
Picpee's featured editing services:
- In-depth HDR and Flambient photo editing
- Day to Dusk / Twilight
- Distracting object removal
- Virtual Staging for empty houses
- Change the seasons (spring - summer - autumn - winter)
- Turn rainy weather into bright sunshine
- Sky replacement and lawn greening
- And many other customized services on request
Conclusion
Mastering your real estate editing workflow is key to delivering stunning, market-ready property photos. By organizing your process, leveraging the right tools, and applying consistent edits, you can create visuals that captivate buyers and elevate your listings. Start refining your workflow today to stay ahead in the competitive real estate market. Ready to take your real estate photography to the next level? Invest in a structured editing workflow and watch your listings shine!

 Single Exposure
 Room Cleaning
 Reels
Reels Blended Brackets (HDR)
 Changing Seasons
 Slideshows
 Flambient
 Water in Pool
 Individual
 360° Image Enhancement
 Lawn Replacement
 Team
Team Virtual Staging
 Rain to Shine
 Add Person
 Remodel
 Custom 2D
 Remove Person
 360° Image
 Custom 3D
 Background Replacement
 Day to Dusk
 Property Video
 Cut Outs
 Day to Twilight
 Walkthrough Video
 Change color