In the competitive world of real estate, captivating visuals can make all the difference, especially when showcasing the timeless allure of historic properties. Mastering real estate photo editing for historic homes ensures that these architectural gems shine authentically, drawing in buyers who appreciate heritage and charm. This guide dives into historic home photo editing tips, offering practical strategies for how to edit photos of historic houses while preserving their unique character.
Understanding the Unique Character of Historic Homes
Historic homes possess a soul that modern builds simply can't replicate—think intricate wood detailing, antique fixtures, and weathered masonry that tell stories of bygone eras. When approaching real estate photo editing for historic homes, editors must handle these elements with a light touch to avoid erasing the very features that evoke nostalgia and value. Over-editing can strip away the patina that makes a Victorian manor or Colonial revival irresistible.
The key difference in editing old home real estate photos versus modern ones lies in intent: contemporary properties often benefit from sleek, high-contrast enhancements to emphasize clean lines and minimalism. Historic homes, however, demand subtlety to highlight emotional appeal. In real estate marketing, these properties tap into buyers' desires for legacy and craftsmanship, evoking a sense of history from the 18th or 19th century when such details were handcrafted masterpieces.
-
Wood Detailing: Enhance grain and warmth without sharpening to unnatural levels.
-
Antique Fixtures: Subtly brighten brass or porcelain to reveal elegance, not gloss.
-
Masonry and Stone: Preserve texture and subtle imperfections that add depth and authenticity.
By respecting these traits in historic home photo editing tips, you create images that not only sell the property but also honor its heritage.
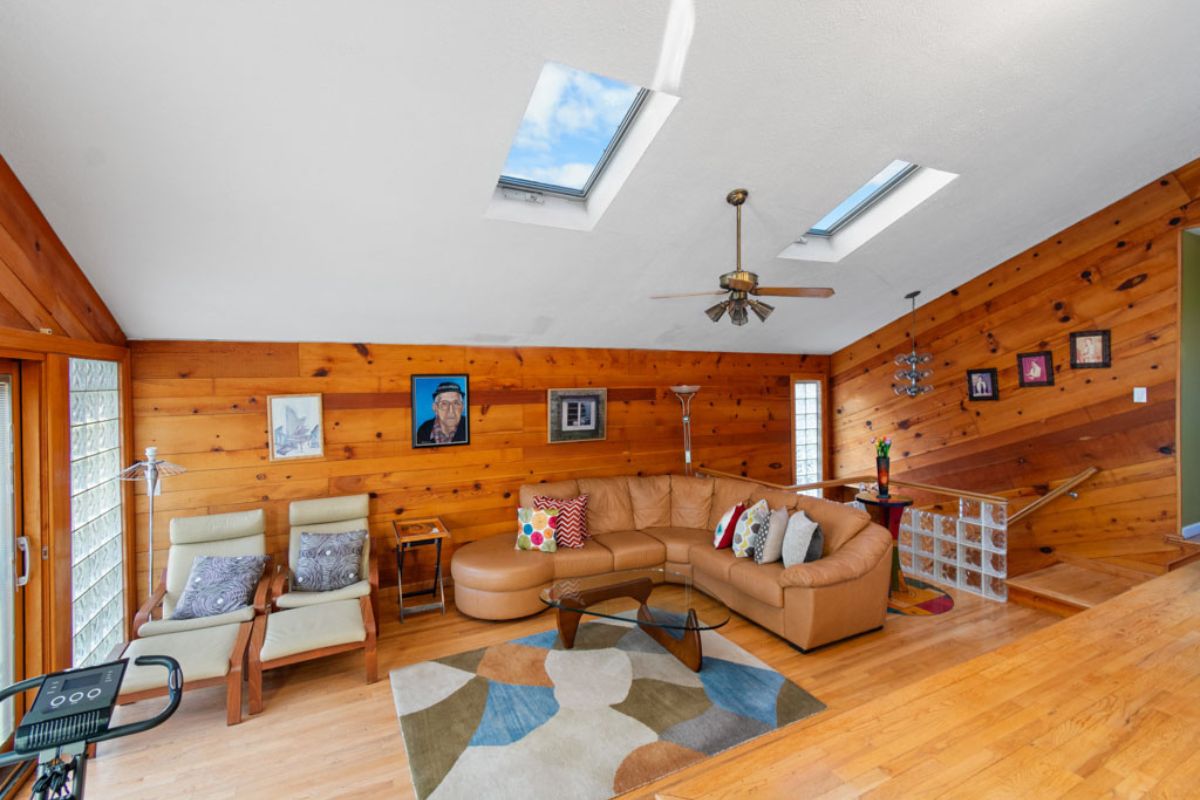
Important Difficulties in Editing Historic Home Photos
Due to the age and architecture of these buildings, editing real estate photos for vintage homes presents unique challenges. Historic properties frequently have symmetrical layouts, faded colors, and quirky charms that need to be carefully navigated, in contrast to newer homes with lots of light. Photographers and editors can produce polished yet authentic results by tackling these issues head-on when editing images of historic homes.
Lighting Limitations in Older Structures
Small windows, thick walls, and orientations that block natural light are common problems in older homes, which can lead to harsh shadows or dark interiors. Because of this, real estate photo editing for historic homes requires striking a balance between adding light and maintaining the home's warm, welcoming atmosphere.
-
To achieve uniform lighting, combine several images using exposure blending.
-
Use HDR techniques sparingly to bring back details in the shadows and highlights.
-
Steer clear of artificial or flash lighting that adds artificial color casts.
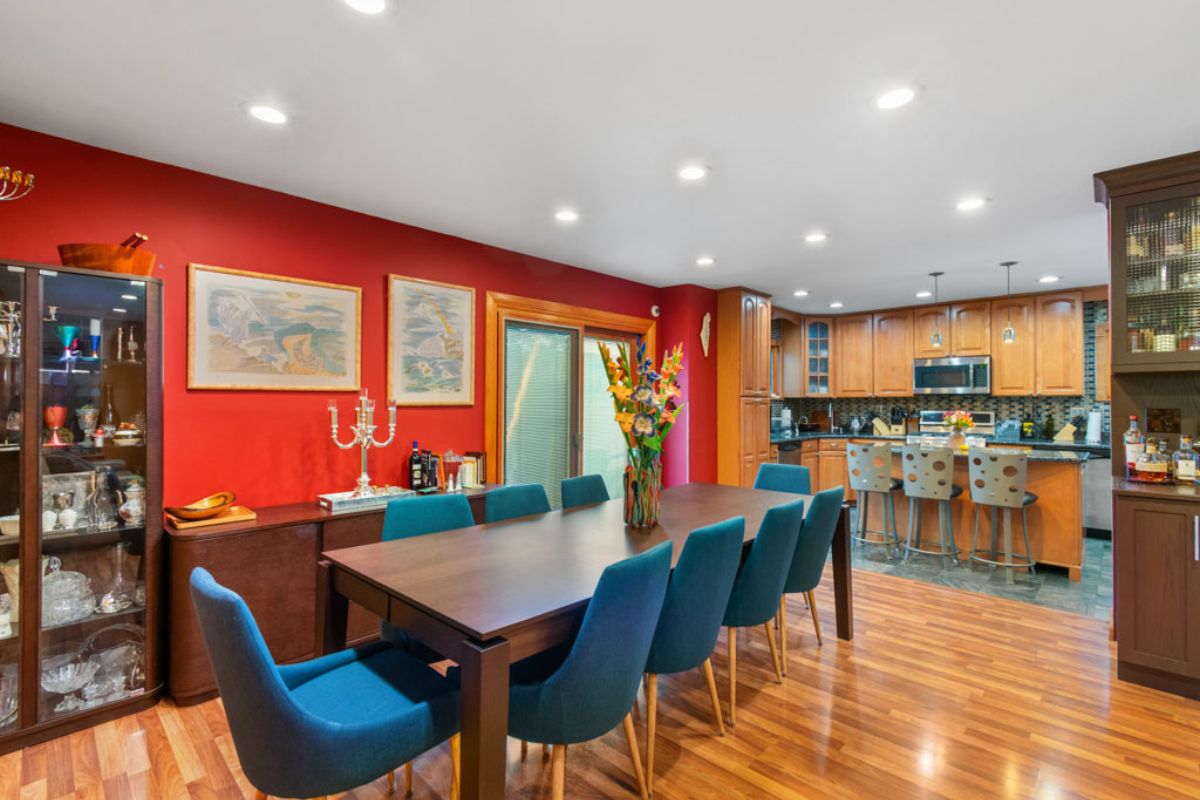
Maintaining Real Colors and Textures
Historic charm is characterized by the aged patina on plaster, stone, or wood; if this patina is flattened when editing old home real estate photos, the property may appear generic. To keep emotional appeal, concentrate on keeping these textures.
-
For localized improvements on masonry or wood grain, use adjustment brushes.
-
To highlight details without over-sharpening, selectively increase clarity.
-
To gently warm tones while maintaining the materials' inherent fading, use selective color grading.
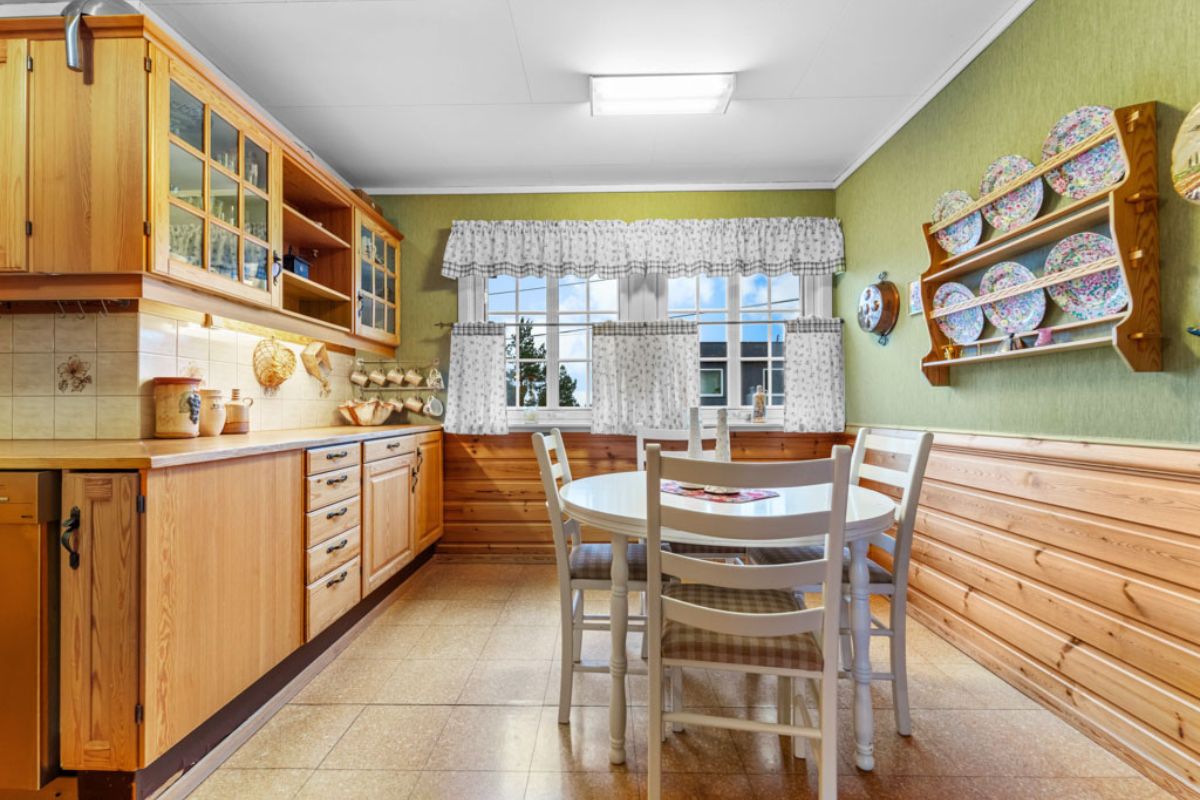
Handling Architectural Flaws
Older homes frequently have uneven floors, peeling paint, or crooked lines from settling foundations. The aim of historic home photo editing advice is realism: eliminate distractions while maintaining character-enhancing elements.
-
Use perspective tools to correct minor distortions, but don't aim for perfection.
-
Determine each case separately: For authenticity, keep subtle wear while clearly fixing safety hazards.
-
When in doubt, err on the side of preservation; buyers of historic homes frequently prioritize "lived-in" appeal over perfection.
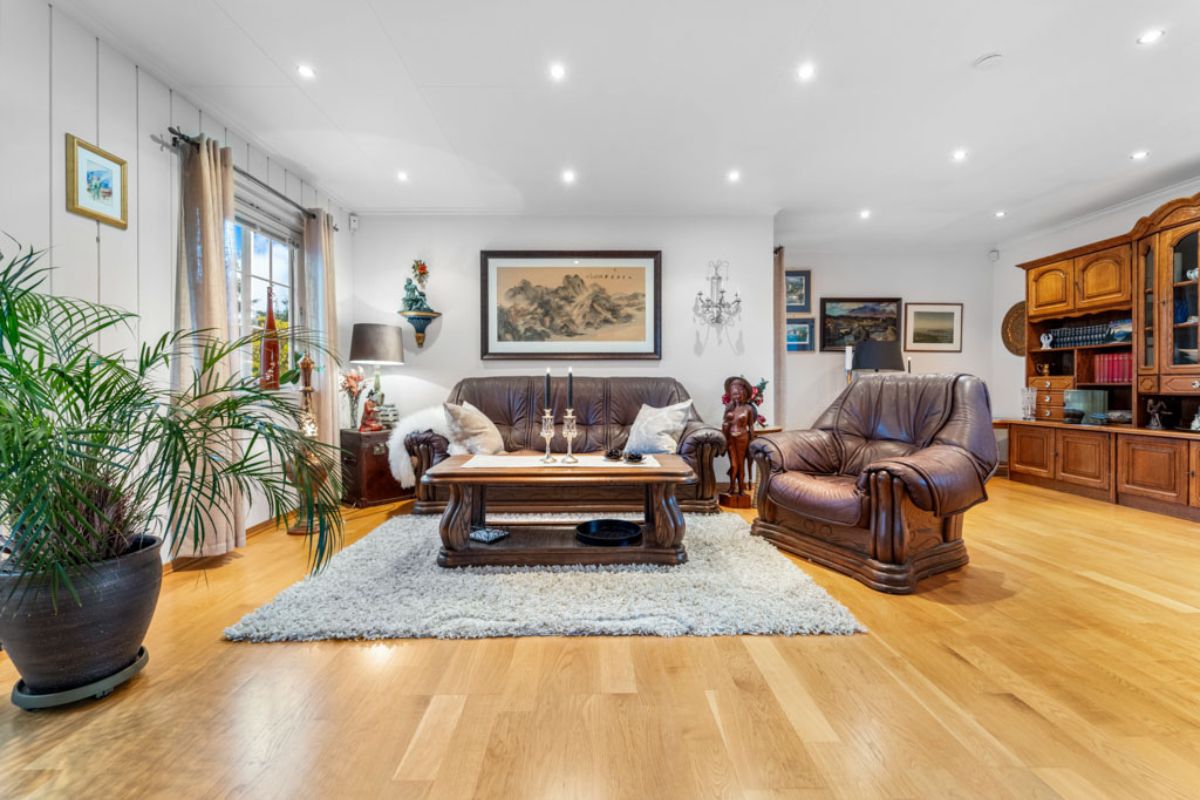
Step-by-Step Editing Workflow for Historic Home Photos
Follow this structured process for how to edit photos of historic houses to achieve professional, authentic results every time. This workflow prioritizes non-destructive edits in tools like Lightroom or Photoshop, ensuring flexibility.
Step 1: Begin by using brackets for balanced exposure.
The first step in learning how to edit historic house photos begins long before you even launch your editing program. Throughout the shoot, take a number of bracketed exposures to make sure you capture every detail, from dark corners to bright windows.
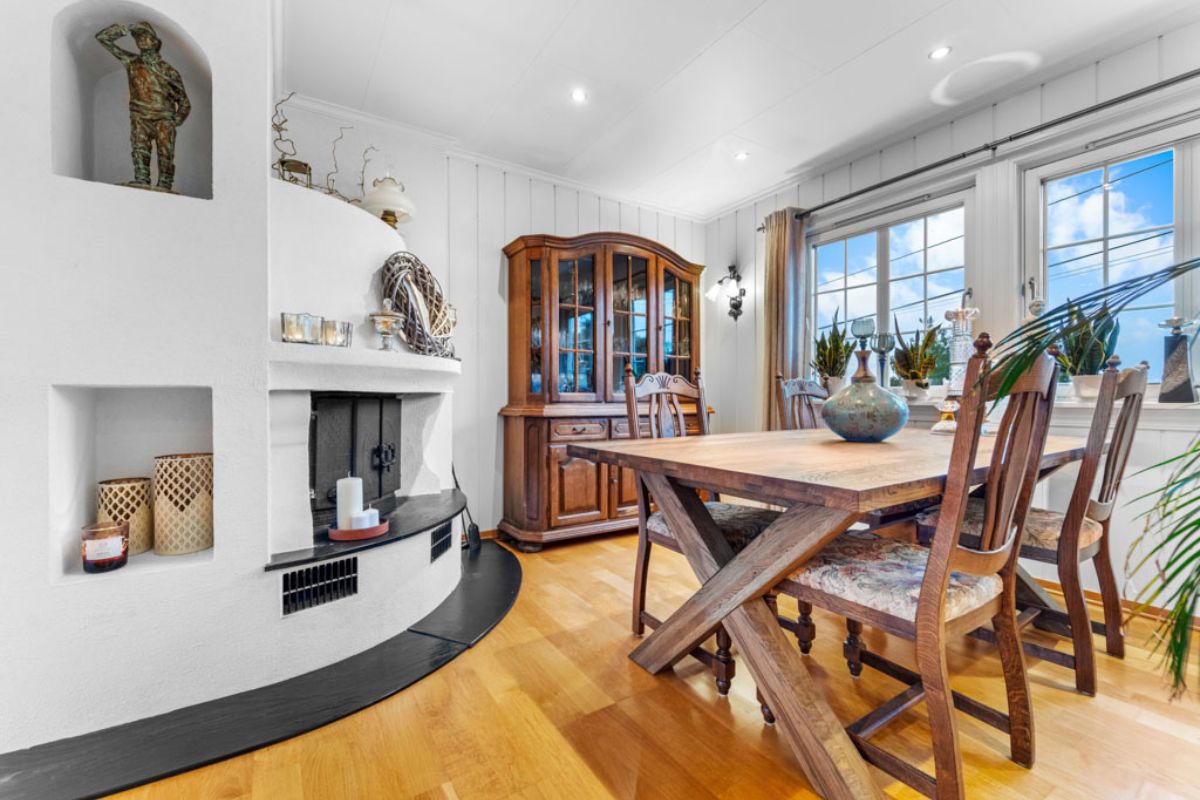
Combine these exposures to create an HDR picture to naturally balance highlights and shadows without using artificial lighting, which could change the historic feel of the house. Instead of the harshness of contemporary studio light, the intention is to convey to the audience the subdued warmth of an old interior.
Step 2: Adjust White Balance to Provide Real Warmth
Setting the color temperature correctly is one of the most crucial photo editing tips for historic homes. Cozy warmth is naturally radiated by materials like mahogany trim, brass fixtures, and oak floors. They may appear drab, excessively yellow, or too cold if the white balance is not properly adjusted.
To maintain realistic colors:
-
To capture a candlelit glow without making everything orange, adjust the white balance between 4000K and 5000K.
-
Keep the undertones warm to avoid making the house seem too modern or sterile.
-
Aged textures should have depth and character, so don't over-brighten them. The story should be told by the patina rather than the perfection.
This harmony discreetly updates the image for today's real estate listings while maintaining the aesthetic integrity of vintage materials.

Step 3: Gently (and respectfully) retouch
Less is definitely more when it comes to editing old home real estate photos. You're curating history, not just tidying up pixels. Using healing or clone tools, eliminate only minor distractions like dust spots, power cords, or transient clutter.
Here's how to efficiently declutter without sacrificing authenticity:
-
To get rid of contemporary clutter like trash cans, cables, or signs, use object removal tools.
-
If the furniture is old, think about using virtual staging to highlight potential.
-
Avoid over sanitizing; a little "lived-in" feel makes the place relatable.
Gray skies can make exteriors appear lifeless, and the weather isn't always cooperative during photo shoots. To brighten the image without going overboard into fantasy, carefully apply sky replacement.
-
Subtle sunset tones or gentle blues can be used to replace drab skies.
-
Edits should be realistic; if they are too dramatic, authenticity may be lost.
Lastly, improve curb appeal through landscape editing:
-
For a well-kept appearance, fix uneven lawns and add more green tones.
-
Highlight old trees or features of the heritage garden that go well with the building.

Step 4: Strengthen Architectural Lines
Part of the charm of historic homes is their peculiar proportions, tilted beams, and uneven walls. Wide-angle lenses, however, have the potential to accentuate these flaws. Use lens correction and transform tools to gently straighten vertical and horizontal lines when taking real estate photos of historic homes.
Advice for accuracy:
-
To correct leaning verticals, make small prospective adjustments.
-
A small amount of asymmetry lends personality and authenticity; avoid overcorrection.
Instead of a digitally "perfected" copy, the final product should appear polished but authentic—like entering a preserved piece of history.

Step 5: Include Detail and Subtle Contrast
The ability to highlight craftsmanship is the last step in editing photos of historic homes. Tin ceilings, carved fireplaces, and intricate woodwork can all be lost in flat lighting.
Make the following specific changes:
-
To draw attention to areas with a lot of texture, like stone surfaces or wood grain, use localized sharpening.
-
Never apply a +10–20 texture or clarity boost to the entire image; only to specific areas.
-
For a natural contrast and to keep the room's homey feel, add a gentle S-curve.
-
To highlight fine details while maintaining a balanced tone, blend HDR exposures.
The finished product should have an immersive quality, with each image subtly conveying a historical moment through genuine warmth, texture, and light.
FAQ – Real Estate Photo Editing for Historic Homes
Should I remove signs of aging like chipped paint?
Only if it significantly distracts from the overall composition; otherwise, preserve these features as they define the home's character and appeal to heritage enthusiasts.
How can I make dark historic interiors look bright without losing mood?
Employ exposure blending for natural lift, subtle dodging on key areas, and warm color balance to maintain the intimate, era-appropriate atmosphere.
What’s the best editing style for 19th-century homes?
Opt for natural and filmic tones with controlled contrast—think soft gradients and muted highlights—to evoke authenticity, steering clear of modern high-gloss finishes.
How can I enhance the texture of aged materials without overdoing it?
Use localized brush tools to slightly boost contrast and clarity on wood or stone. Avoid global sharpening—focus on layers and masks for precise, natural texture.
What are the best tools or apps for editing historic home photos?
Lightroom and Photoshop are top choices for detailed edits. Plugins like Nik Collection or Topaz Labs enhance clarity and reduce noise, while Snapseed works well for quick mobile touch-ups.
How do I maintain authenticity while removing clutter or distractions?
Crop carefully and use clone or heal tools only where needed. Keep minor imperfections—they add charm and preserve the home’s character.
Are there specific color correction techniques for vintage homes?
Adjust temperature for balanced warmth, fine-tune hues gently, and use subtle split-toning to reflect the home’s era without oversaturation.
Conclusion
Real Estate Photo Editing Tips for Historic Homes are vital for creating listings that truly capture the character, charm, and authenticity of vintage properties. Understanding the unique features and challenges associated with editing these homes allows photographers to craft images that both impress and inform potential buyers. A meticulous workflow focused on subtle enhancements, respecting the home's historical integrity, and avoiding common pitfalls ensures your photos remain genuine.
 Single Exposure
 Room Cleaning
 Reels
Reels Blended Brackets (HDR)
 Changing Seasons
 Slideshows
 Flambient
 Water in Pool
 Individual
 360° Image Enhancement
 Lawn Replacement
 Team
Team Virtual Staging
 Rain to Shine
 Add Person
 Remodel
 Custom 2D
 Remove Person
 360° Image
 Custom 3D
 Background Replacement
 Day to Dusk
 Property Video
 Cut Outs
 Day to Twilight
 Walkthrough Video
 Change color
 1–4 Items


