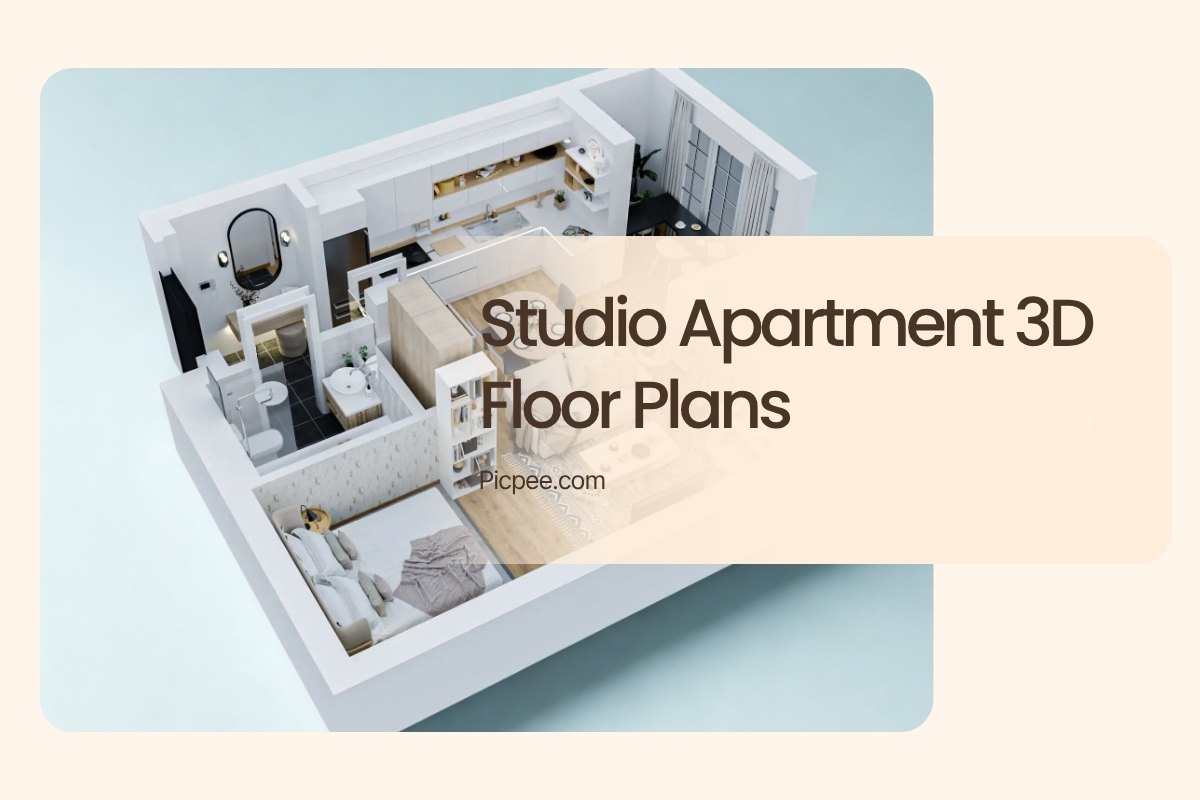
Designing a studio apartment 3D floor plan combines creativity and precision to maximize limited space without losing comfort or style. Unlike flat 2D drawings, 3D floor plans bring your vision to life with realistic lighting, textures, and materials. They help you visualize layouts, test furniture placement, and optimize functionality before building. This guide explores smart layout ideas, design tips, and professional tools to help you create stunning, modern, and space-efficient studio apartment 3D floor plans for compact living.
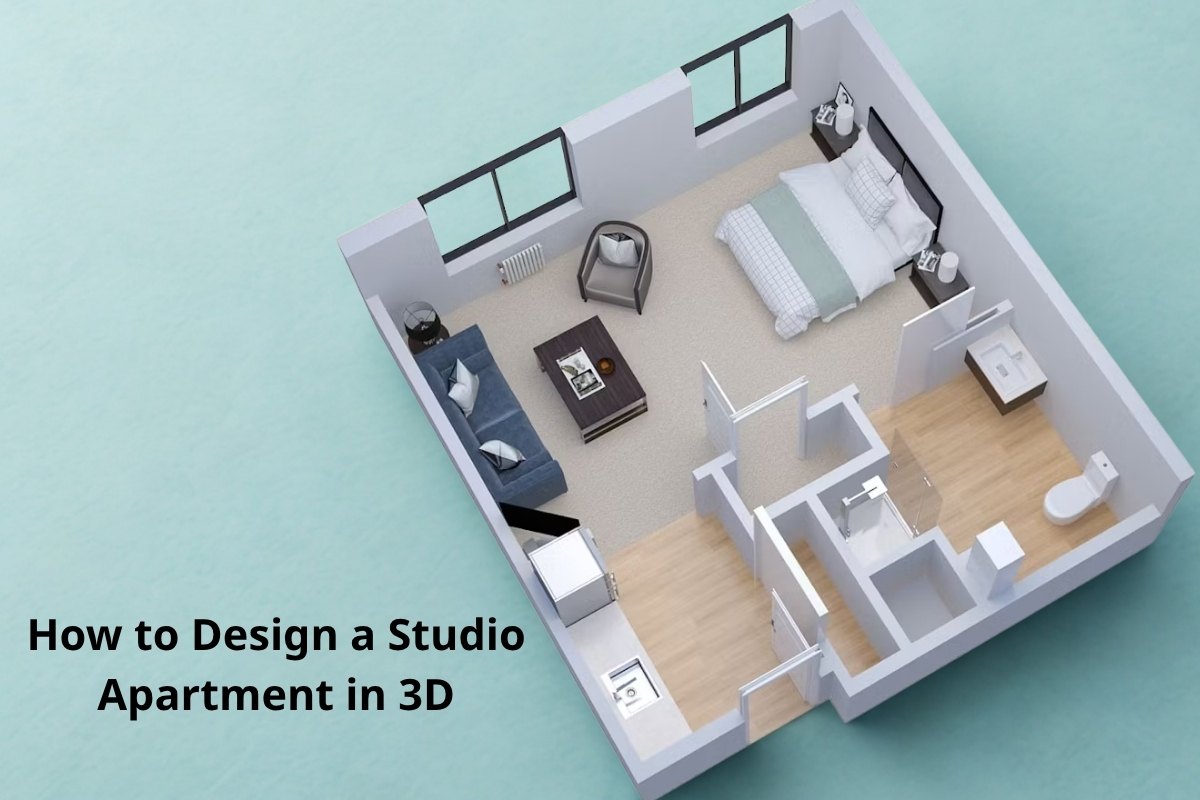
How to Design a Studio Apartment in 3D
Creating a functional studio apartment design is all about maximizing space while maintaining comfort and style. Here’s a step-by-step guide to crafting your 3D studio layout efficiently.
Step 1: Set Up Your Space with Accurate Measurements
Start by measuring your entire apartment — including walls, windows, doors, and any fixed features like kitchen counters or built-in wardrobes.
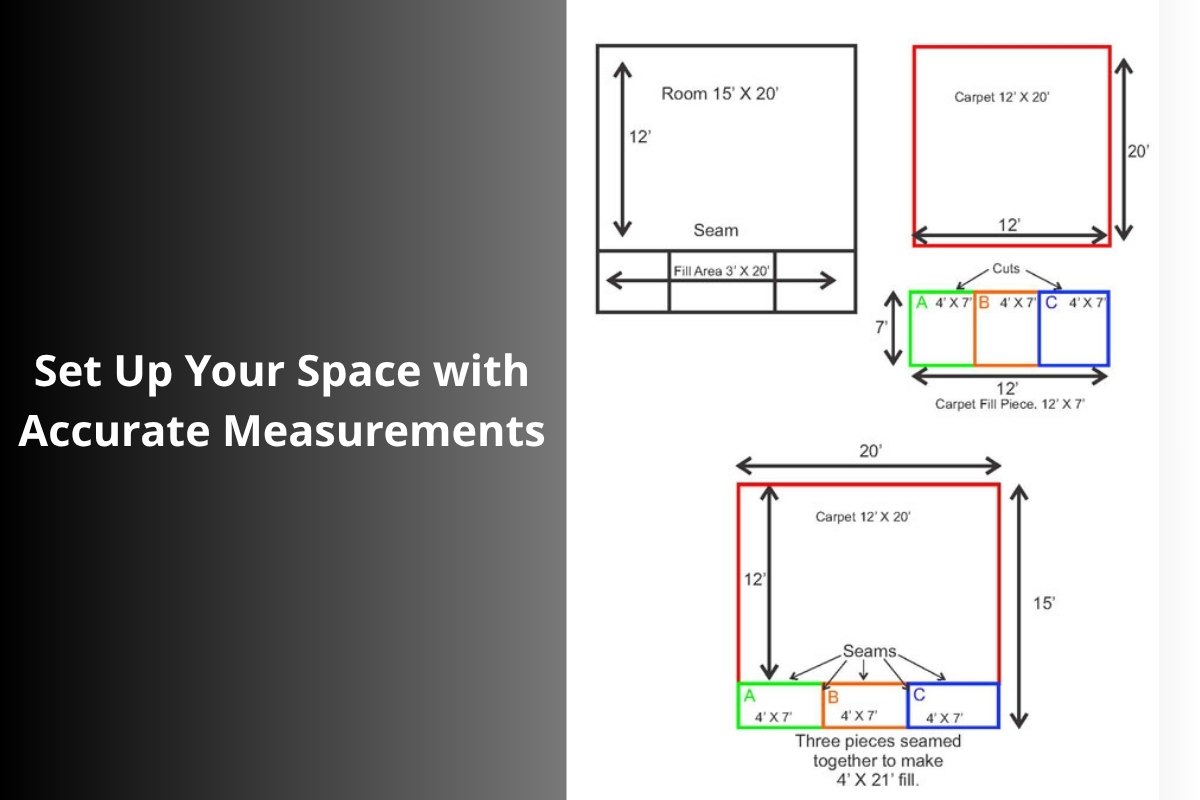
Use a digital floor planning tool such as HomeByMe, or Planner 5D to draw your 2D layout. Make sure all dimensions are correct so your 3D version is an exact digital replica of your real space.
Pro Tip: Always include structural details such as ceiling height, electrical outlets, and light fixtures — they can impact your furniture placement later.
Step 2: Transform Your Layout into 3D
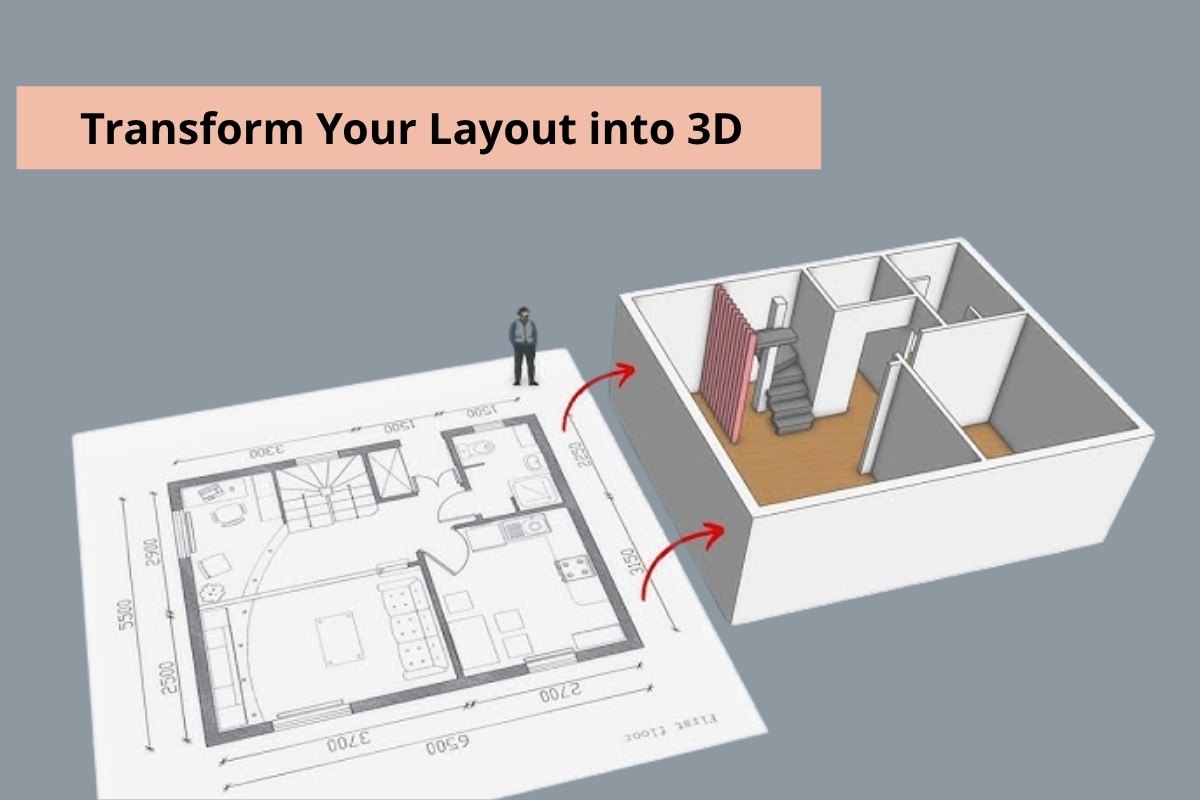
Once your 2D plan is complete, switch to 3D mode to visualize your apartment.
Here, you can begin placing furniture, defining zones (like living, sleeping, or dining), and testing out interior styles.
- Drag and drop furniture easily.
- Experiment with wall colors, textures, and flooring.
- Simulate lighting (natural and artificial).
- Preview designs in real-time from different angles.
Step 3: Add Personality with Materials, Colors, and Decor
Now it’s time to bring your virtual apartment to life. Add wall paints, tiles, wooden floors, and decor elements that align with your preferred theme — whether modern minimalist, industrial chic, or Scandinavian-inspired.
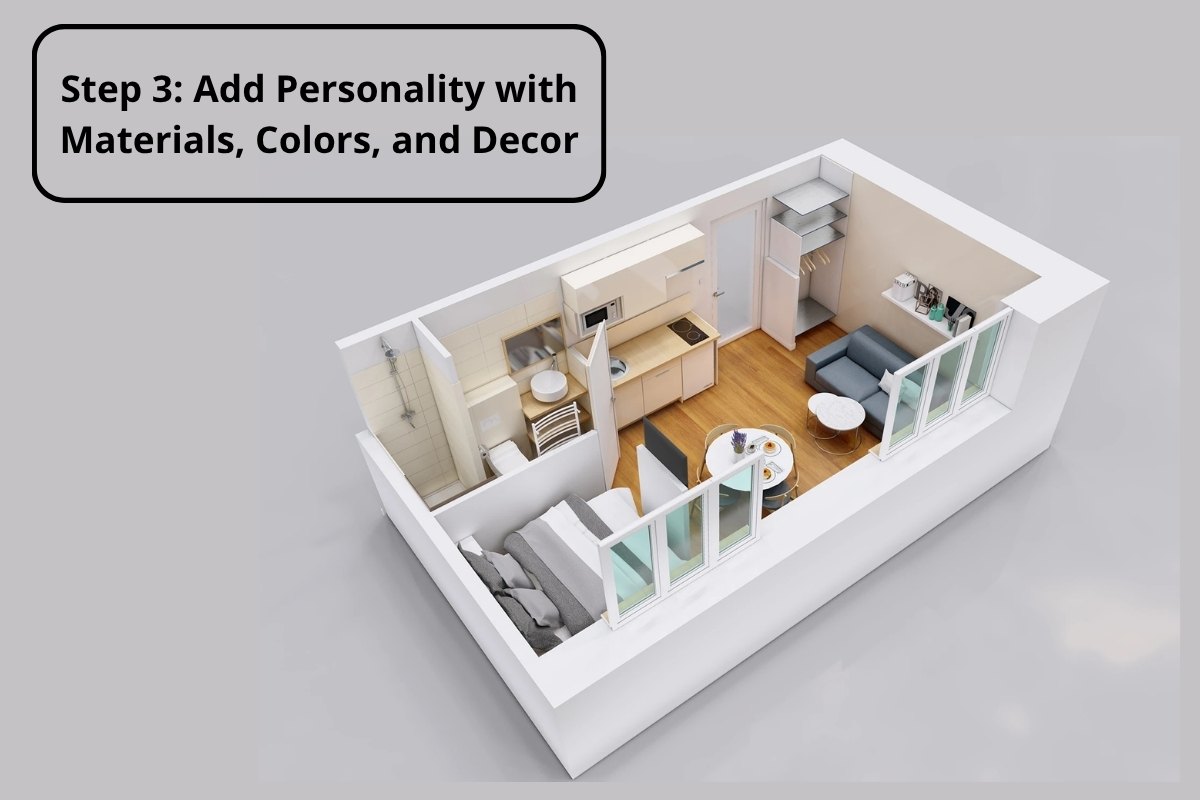
Opt for neutral colors to create a sense of spaciousness, and use mirrors or glass partitions to reflect light and enhance depth.
You can also test combinations of textiles, rugs, and lighting to make each zone visually distinct without adding physical barriers.
Step 4: Optimize Lighting and Furniture Placement
Lighting plays a huge role in small-space design.
Simulate both daylight and artificial lighting to see how shadows and brightness affect the ambiance.
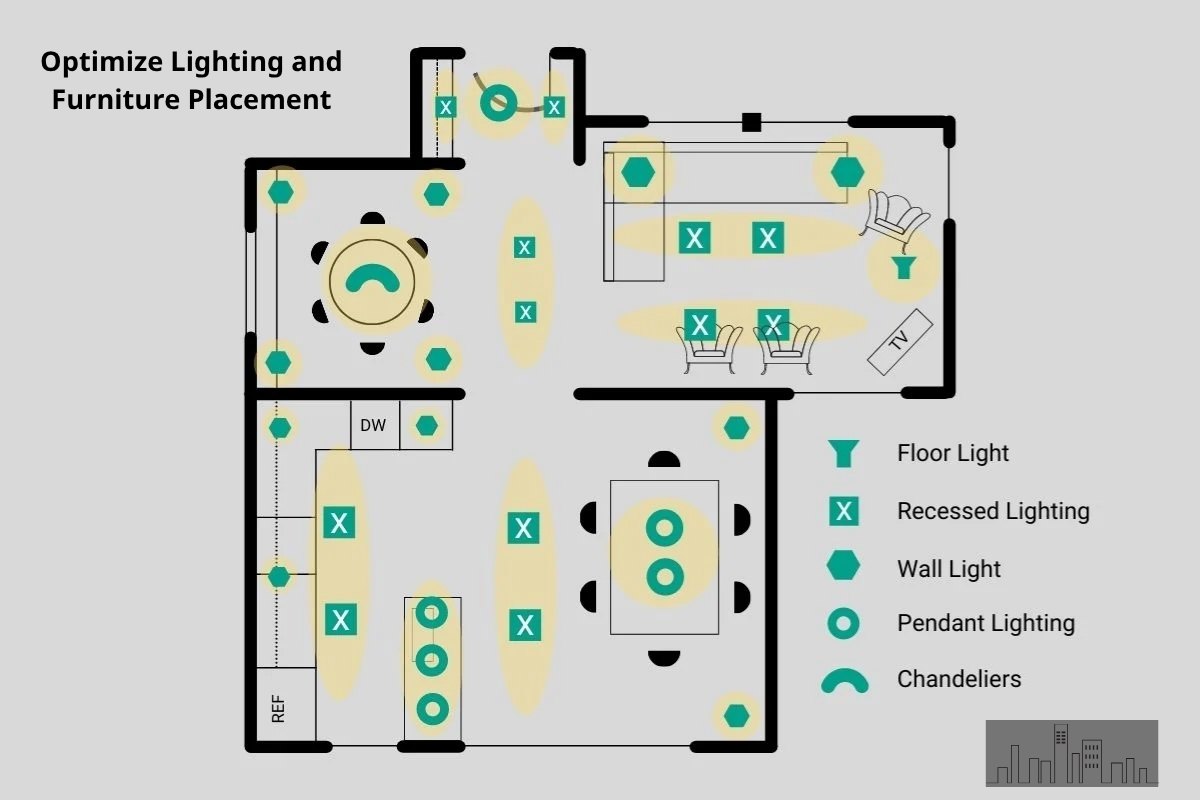
When placing furniture, follow these tips:
- Choose multi-purpose pieces like sofa beds or extendable dining tables.
- Use foldable or modular designs to adapt to your needs
- Keep traffic flow clear — avoid blocking windows or pathways.
- Place storage vertically using tall bookshelves or wall-mounted cabinets.
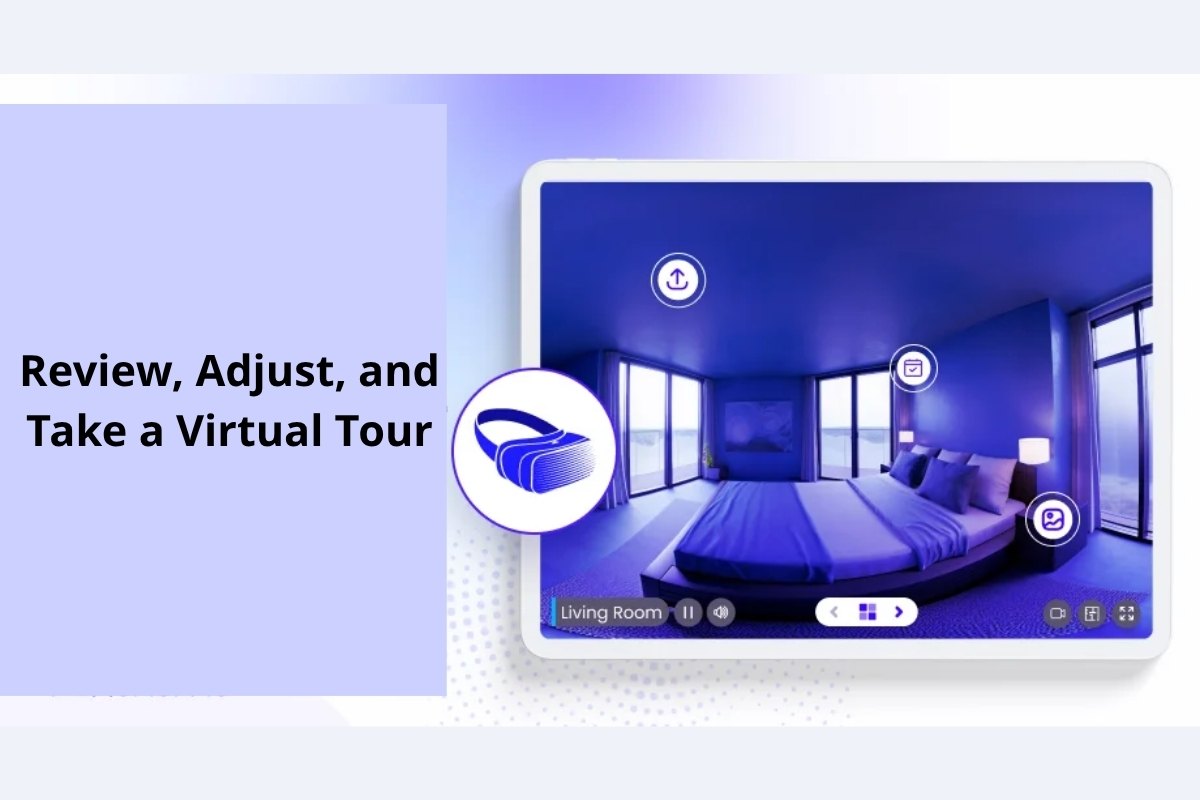
Step 5: Review, Adjust, and Take a Virtual Tour
Before finalizing your plan, take a 360° virtual tour of your studio. This immersive step lets you experience your design as if you’re walking through it in real life.
- Furniture alignment
- Lighting intensity
- Color coordination
- Proportion and spacing
Save multiple versions of your layout to compare styles or share with an architect or contractor.
Design Tips to Create Functional Zones in a Studio Apartment
Open layouts can feel chaotic without visual boundaries. Use design techniques to create defined, comfortable zones within your studio.
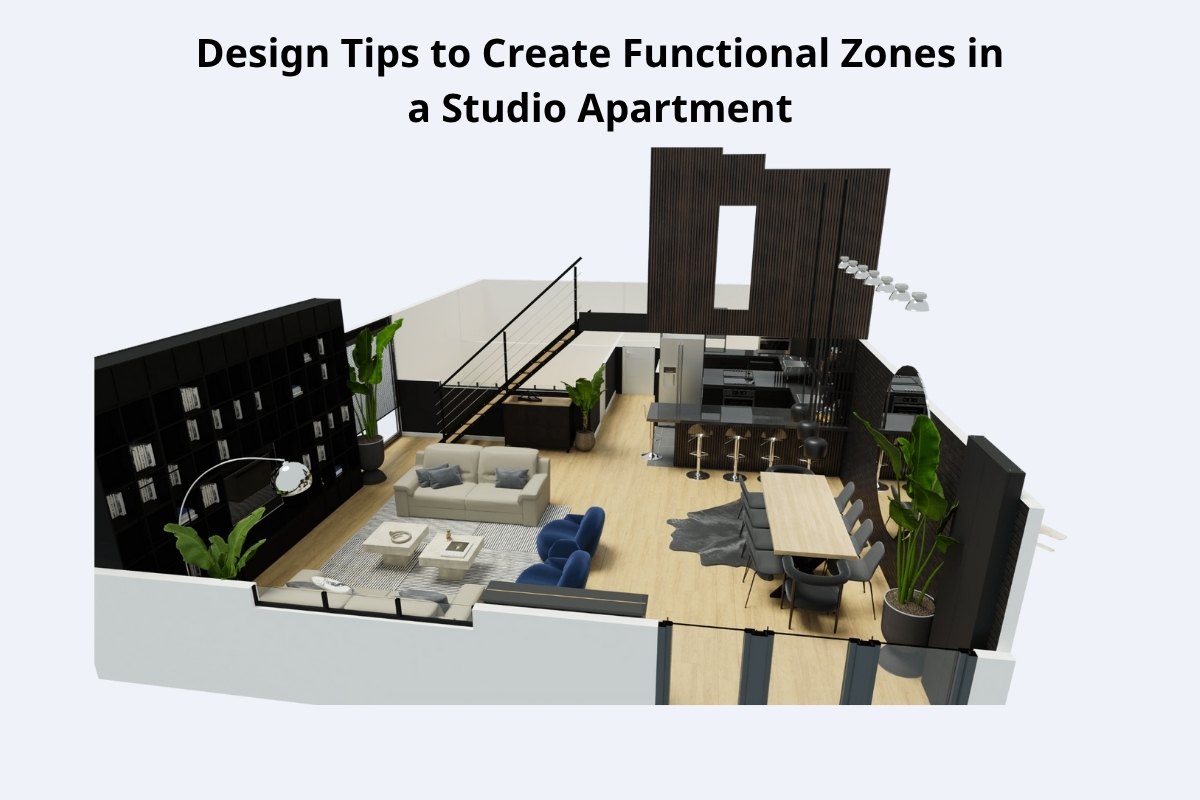
Separate the Sleeping Area with Curtains or Partitions
Curtains provide privacy without taking up permanent space. For a light-filled apartment, choose sheer fabrics that maintain brightness.
Define Living Spaces with Rugs and Artwork
A strategically placed rug can anchor a seating area, while artwork visually separates different functions — such as work and rest zones.
Use Open Shelving as a Divider
Tall, open bookshelves are perfect for dividing spaces without blocking natural light. Plus, they double as stylish storage solutions.
Maximize Vertical Storage
Use every inch from floor to ceiling. Install wall shelves, hanging organizers, and over-door racks to reduce clutter and open up floor space.
Designing for Couples in a Studio Apartment
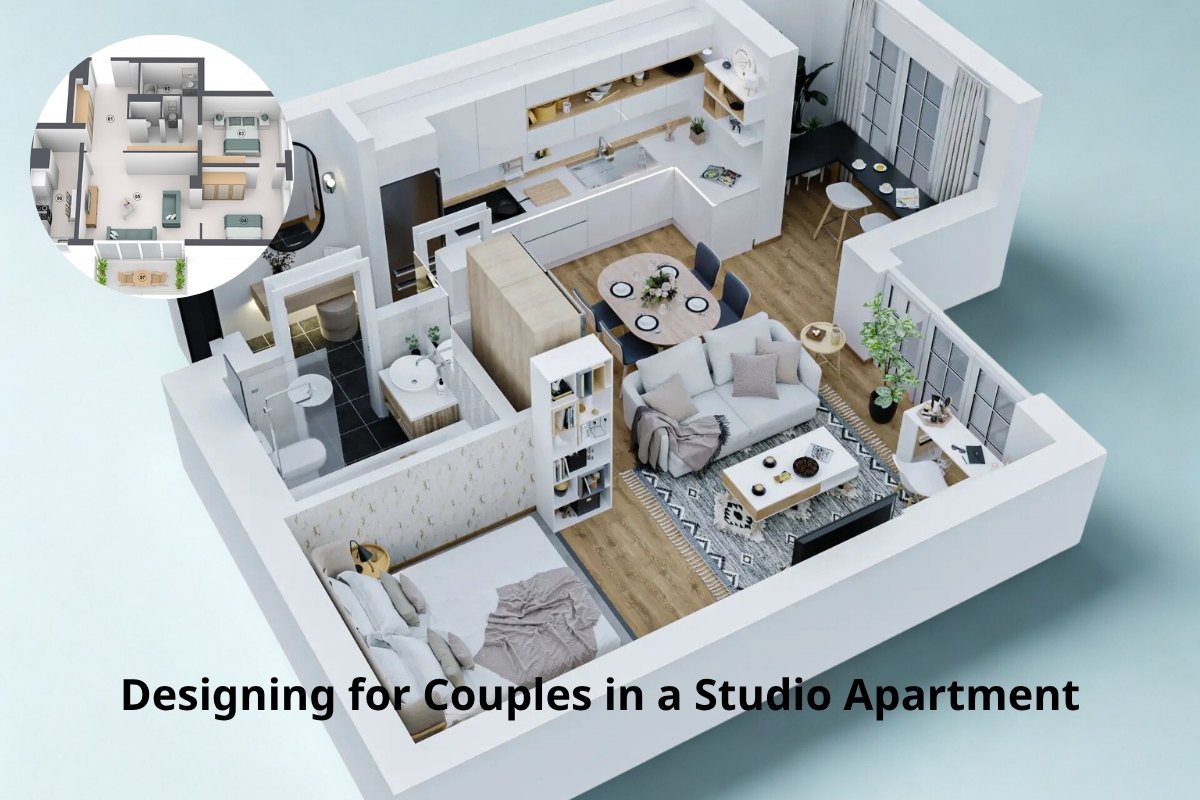
Living as a couple in one open space can be a balancing act — but smart planning makes it comfortable and private.
- Create separate corners: Dedicate different ends of the apartment for personal space.
- Use modular furniture: Convertible sofas, movable tables, and adjustable lighting adapt easily for two people.
- Smart storage: Vertical wardrobes and under-bed drawers help keep shared items organized.
- Soft zoning: Use color tones or rugs to subtly differentiate “his and hers” areas.
Why Use 3D Floor Plans for Studio Apartments
Studio apartments are typically open-concept spaces with limited square footage, meaning every inch must serve a purpose.
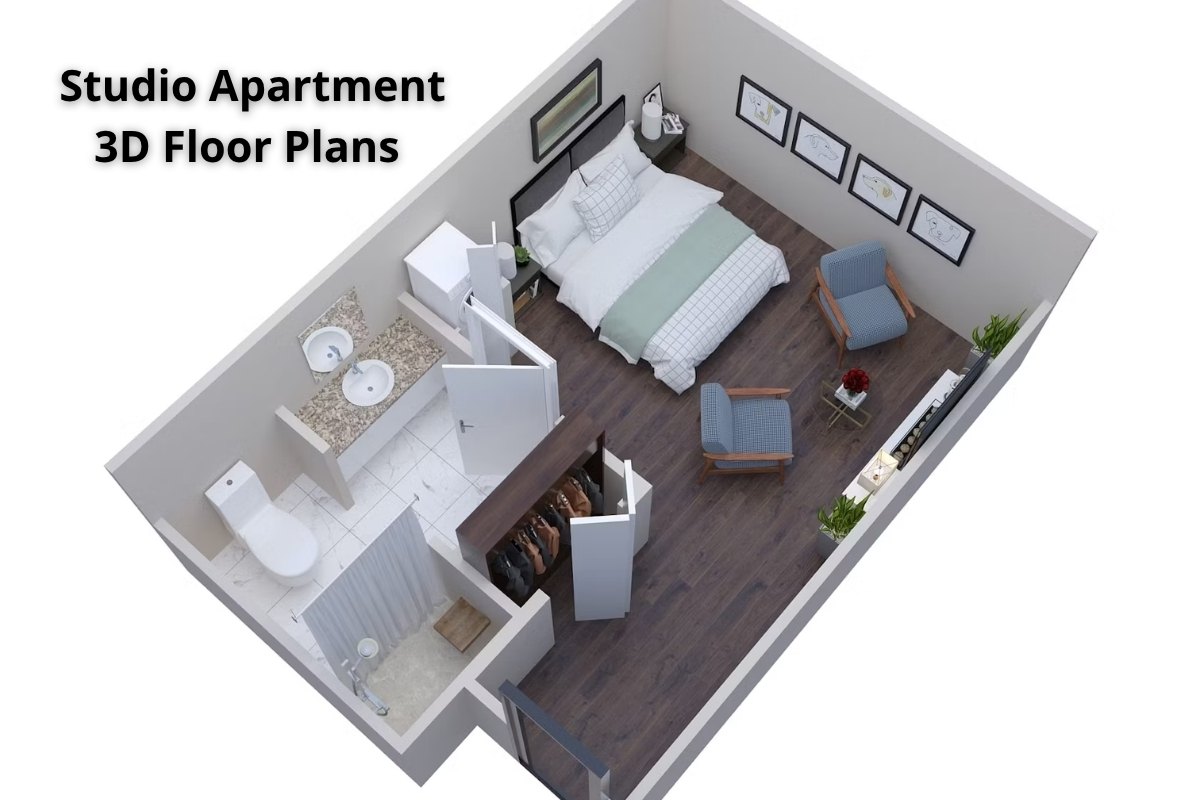
A 3D floor plan helps visualize how furniture, lighting, and decor interact within your space. It gives you a virtual walkthrough before you make any changes — saving time, money, and potential layout mistakes.
With 3D visualization, you can:
- Experiment with different color schemes and furniture arrangements.
- Visualize how natural and artificial lighting affect your interior.
- Identify wasted or underutilized areas.
- Plan for built-in storage, modular furniture, and decorative dividers.
Conclusion: Small Space, Big Potential
Designing a studio apartment in 3D allows you to explore endless possibilities before making real-world changes. Whether you envision a minimalist retreat or a cozy couple’s nest, 3D floor planning tools let you experiment freely, saving both time and money.
With a thoughtful layout, smart zoning, and multifunctional design, your studio apartment can easily transform into a modern, spacious, and stylish home that perfectly reflects your lifestyle.
 Single Exposure
 Room Cleaning
 Reels
Reels Blended Brackets (HDR)
 Changing Seasons
 Slideshows
 Flambient
 Water in Pool
 Individual
 360° Image Enhancement
 Lawn Replacement
 Team
Team Virtual Staging
 Rain to Shine
 Add Person
 Remodel
 Custom 2D
 Remove Person
 360° Image
 Custom 3D
 Background Replacement
 Day to Dusk
 Property Video
 Cut Outs
 Day to Twilight
 Walkthrough Video
 Change color
 1–4 Items
