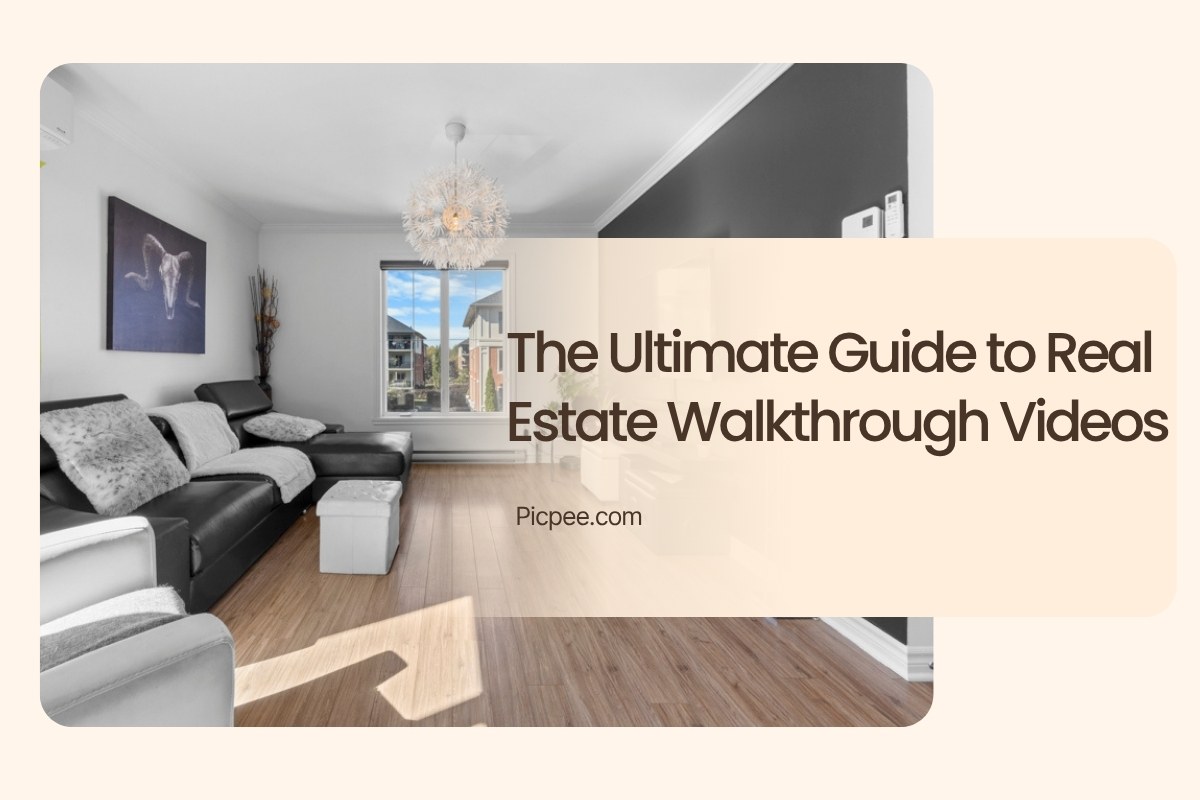
Real estate walkthrough videos have become a trend among many real estate agents. These videos provide vivid visual tours, showcase unique features of a property, convey space flow, and evoke emotions from viewers. In this comprehensive guide, we will explore everything you need to know about the process of creating engaging and professional walkthrough video for real estate.
Benefits real estate walkthrough video for Realtors and Clients
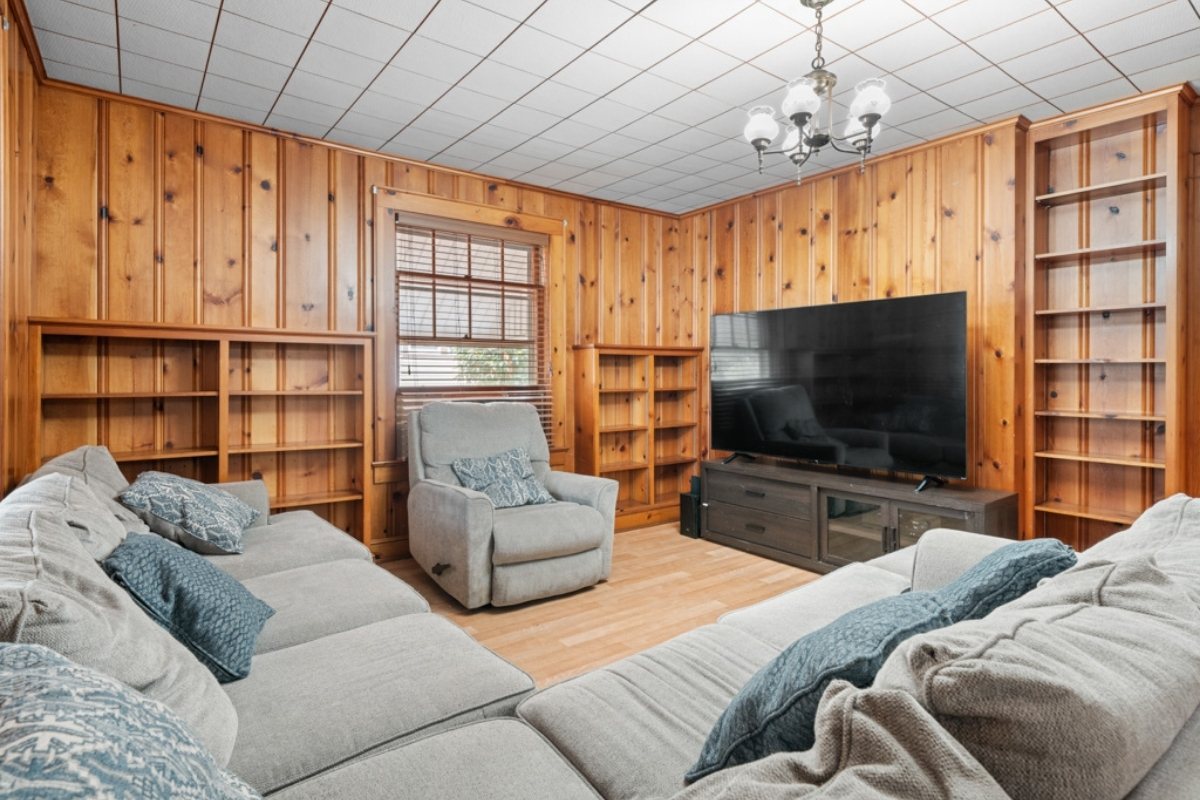
For agents, these videos increase visibility and engagement across multiple platforms, including MLS, social media, and email campaigns. According to HubSpot, 97% of marketers say videos have helped users better understand their products or services. They open doors to a wider audience, attracting serious buyers. Additionally, real estate walkthrough videos can be repurposed for virtual open houses, 3D tours, and advertising. Professionally shot videos also enhance the agent’s brand reputation and demonstrate a commitment to quality service.
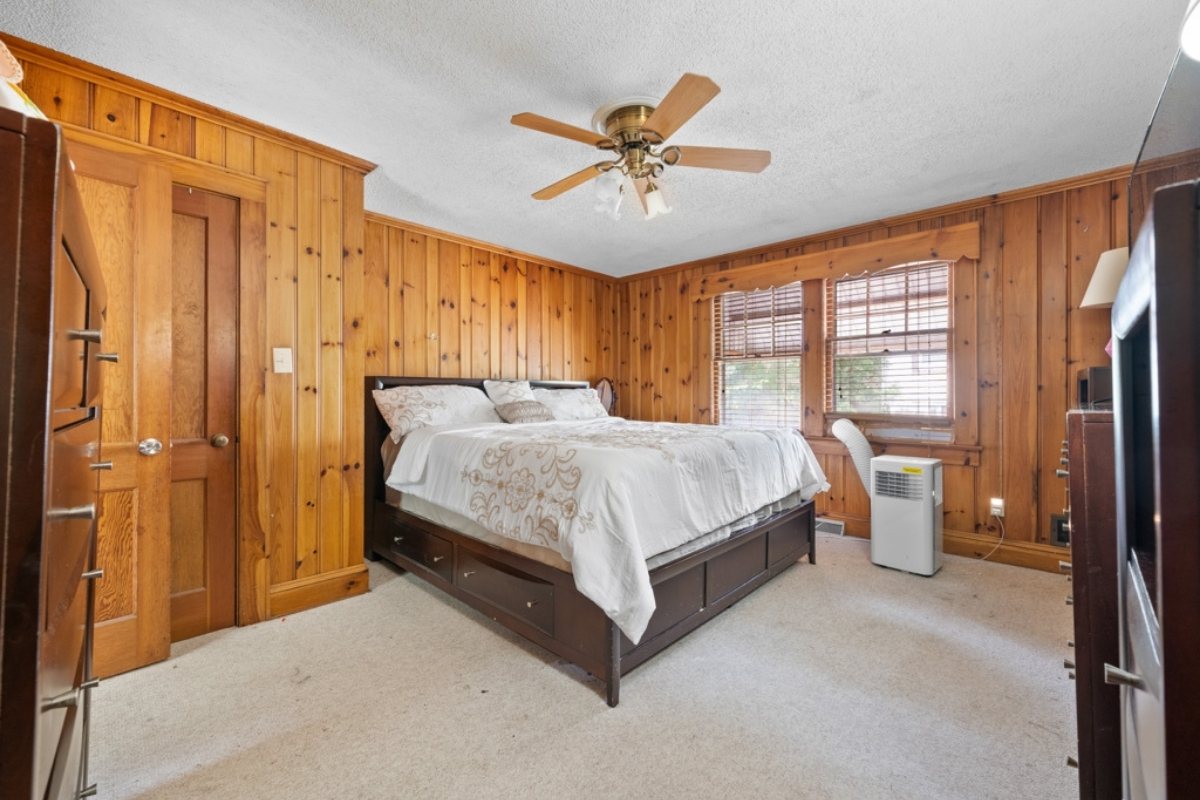
Clients, on the other hand, benefit from detailed previews that save time and streamline decision-making. As buyers often make quick judgments based on first impressions, a high-quality walkthrough provides confidence and clarity, reducing the likelihood of cancellations or surprises during physical viewings. They can explore homes at their convenience, narrowing down options before visiting in person. This pre-screening process ensures that in-person viewings are more targeted and productive. Ultimately, real estate walkthrough videos foster a transparent and efficient home-buying process that benefits everyone involved — making the property journey smoother and more satisfying.
Essential Equipment Needed for Filming
Cameras
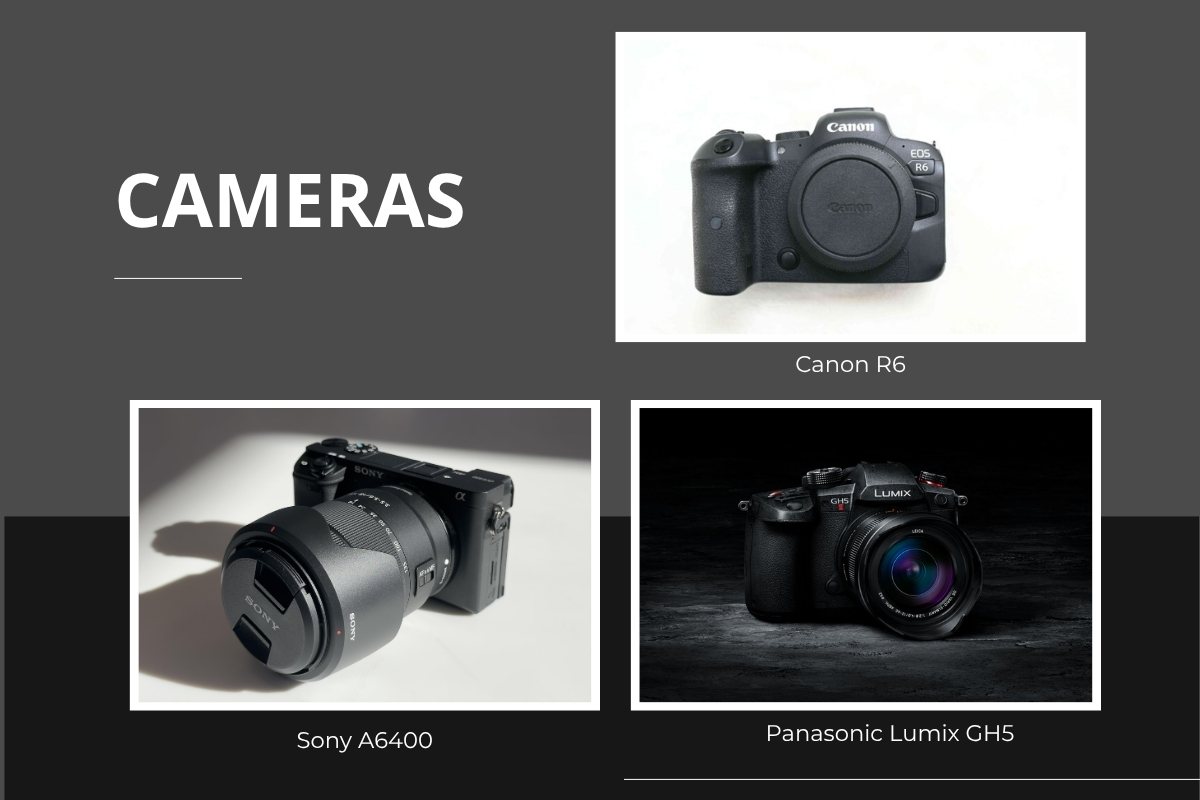
Choosing the right camera is the backbone of producing professional real estate walkthrough videos. A camera with high-quality image sensors, good low-light performance, and the ability to shoot in full HD or 4K is essential to capture crisp, vibrant footage. Interchangeable lens options allow flexibility for different shots, from wide-angle room captures to detailed close-ups.
While DSLRs and mirrorless cameras are popular among videographers, some newer compact cameras offer excellent video capabilities without sacrificing portability. The key is prioritizing video quality, low-light adaptability, and ease of use to ensure your shoots look polished and professional.
Recommended Cameras for Real Estate Video Tutorials
+ Canon R6
+ Sony A6400
+ Panasonic Lumix GH5
Lenses
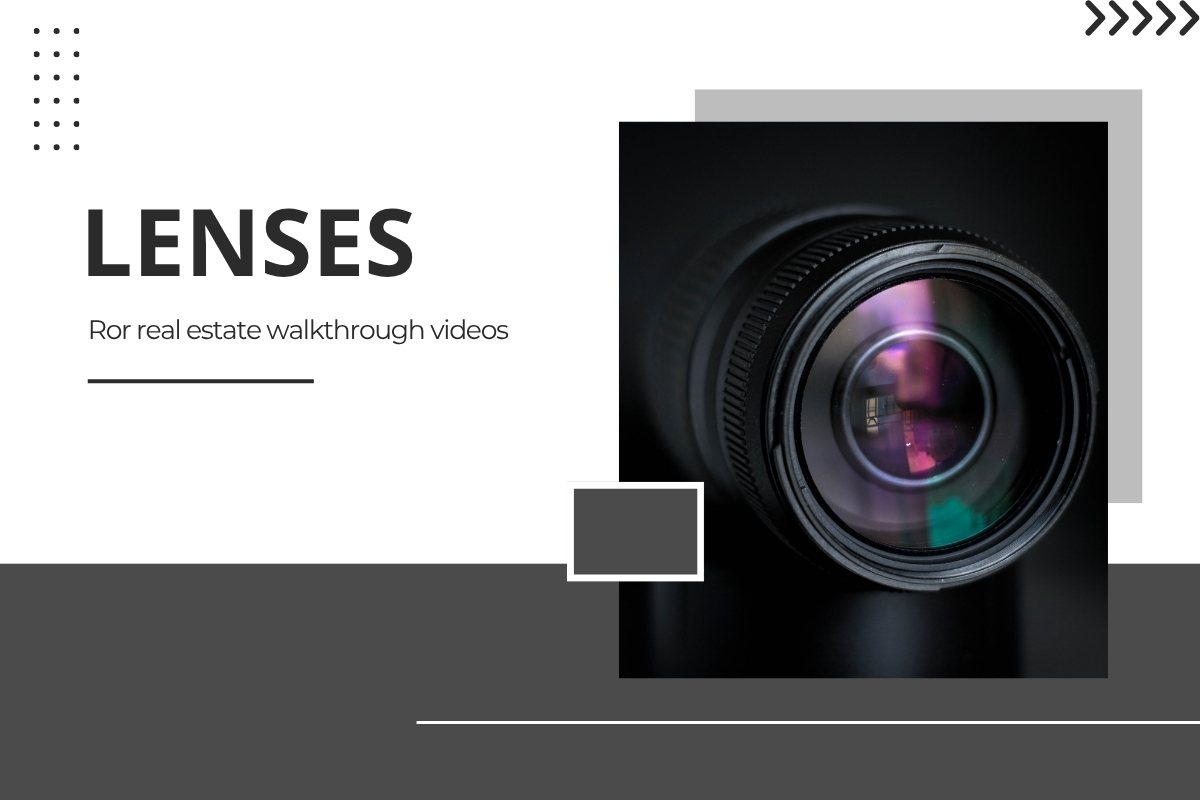
Lenses greatly influence the visual quality and perspective of your videos. Wide-angle lenses—typically in the 14mm to 17mm range—are ideal for real estate because they can capture entire rooms in a single shot, making spaces appear larger and more open. In addition to wide-angle lenses, prime lenses can be valuable for capturing intricate details and creating a cinematic aesthetic. Using the right lenses ensures you highlight the property's best features and maintain a professional look throughout your videos.
Choosing a lens:
+ Canon 16-35mm f/4 lens
+ 50mm prime lens
Gimbals
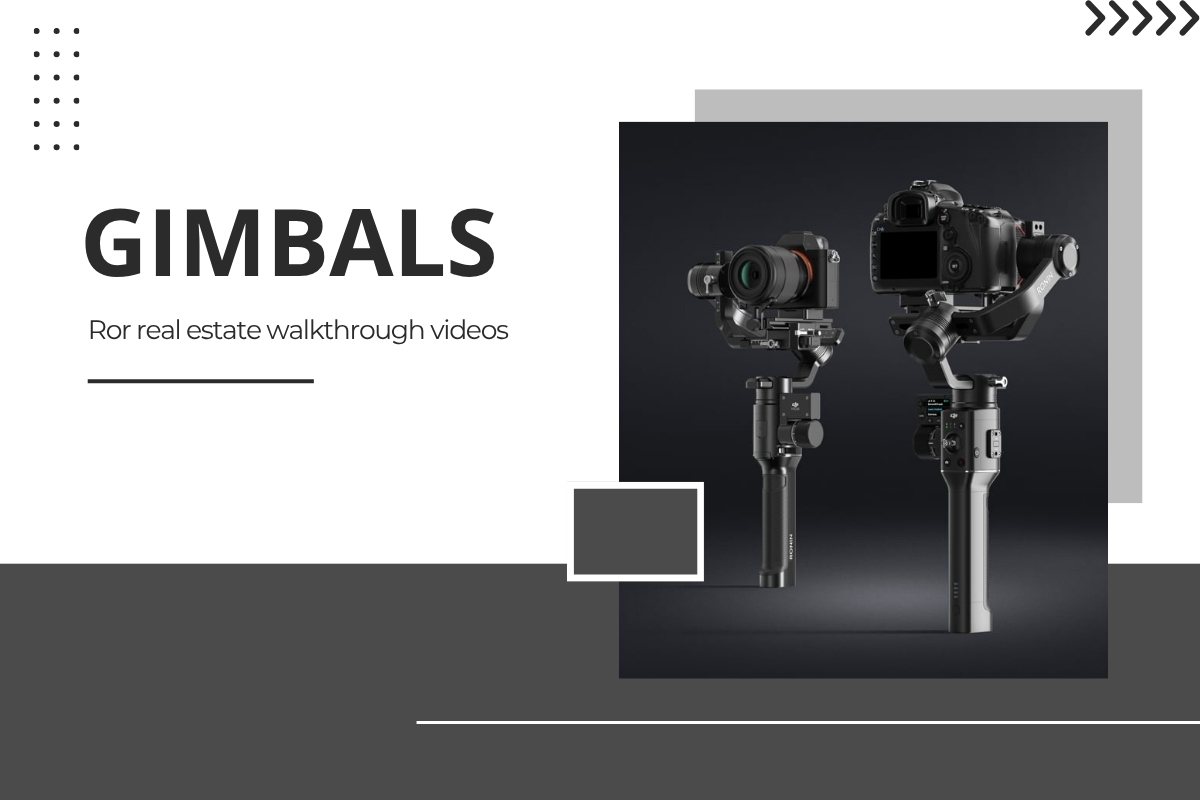
Stability is key to smooth, professional footage. Shaky or jerky handheld footage can detract from the viewer’s experience and reduce the perceived quality of the video. For static or panning shots, a tripod is essential. Additionally, practicing smooth pan and dolly movements will add a professional feel. Incorporating a stabilizer into your workflow will increase your overall production value and build trust with your clients.
Recommended Gimbals like the DJI Ronin-S
Additional Gear
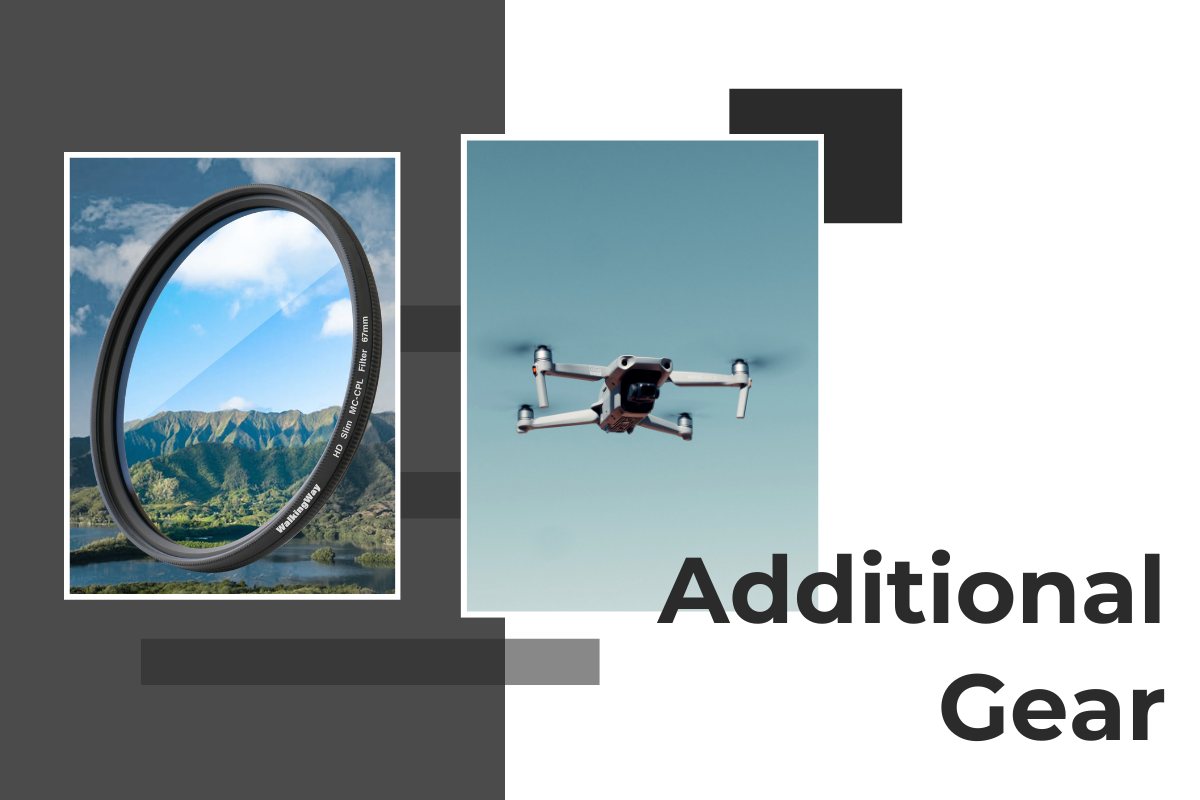
Beyond the basics, several additional pieces of equipment can elevate your productions. A drone adds an aerial view that reveals the property's layout, landscaping, and surroundings, offering an expansive perspective that ground shots can't provide.
Polarizers are also valuable as they reduce glare and improve overall image quality, particularly for exterior shots where sunlight can produce unwanted reflections. Thoughtful accessory choices can make a significant difference in the professionalism and aesthetic appeal of your real estate videos.
Planning Your Shoot
Creating a Shot List
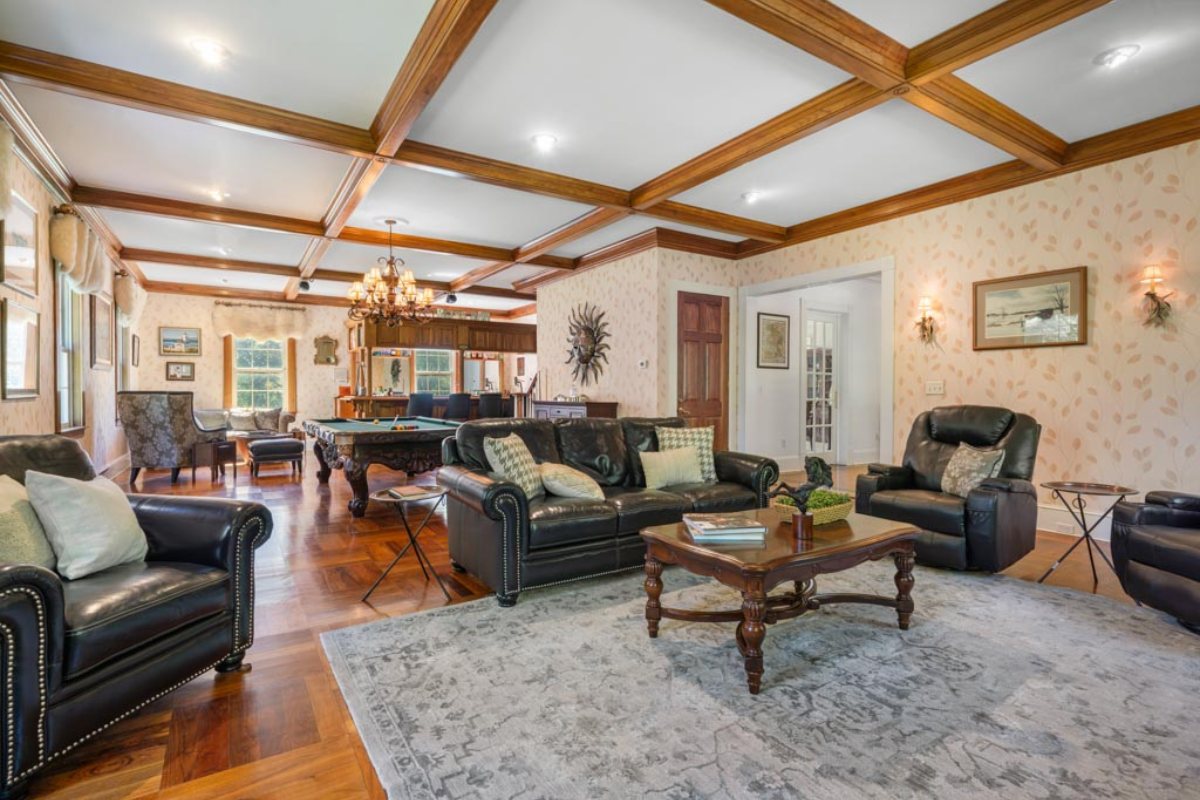
A well-organized shot list is your filming roadmap. List all the key areas to be captured, including: Living room, Kitchen, Bedrooms, Bathrooms, Entrance and hallways, Exterior views (frontage, backyard, balcony), Key features (fireplace, upgraded appliances, luxury amenities, natural landscape)
Also, determine the best angles and flow between rooms for a smooth walkthrough video for real estate.
Understanding Client Priorities
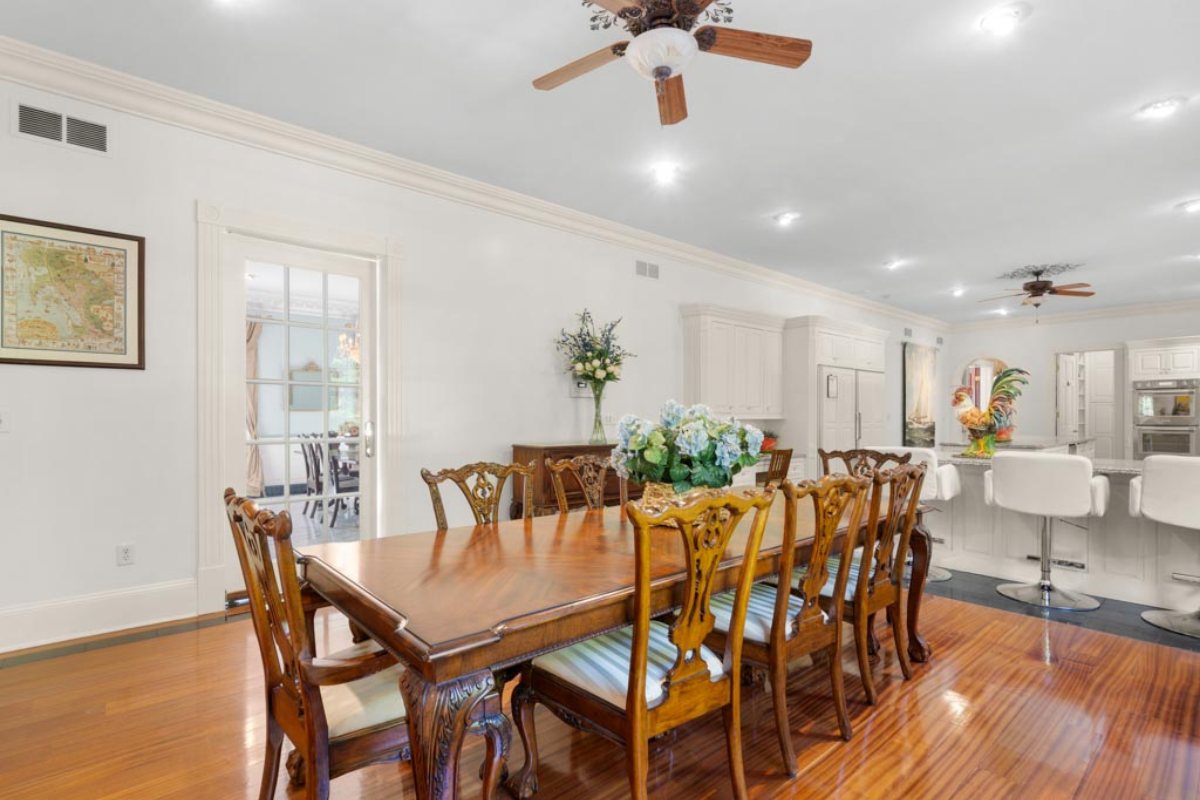
Every client has their own goals for showcasing their property. Talk to your agent or homeowner before filming to clarify what to emphasize. For example:
- Recently renovated kitchen?
- Spacious open floor plan?
- Floor-to-ceiling windows with a mountain view?
- Resort-style backyard?
When your shot list reflects these priorities, your video walkthrough – real estate not only meets expectations but also builds trust and delivers marketing content that connects with the target audience.
Lifestyle Drives Video Content
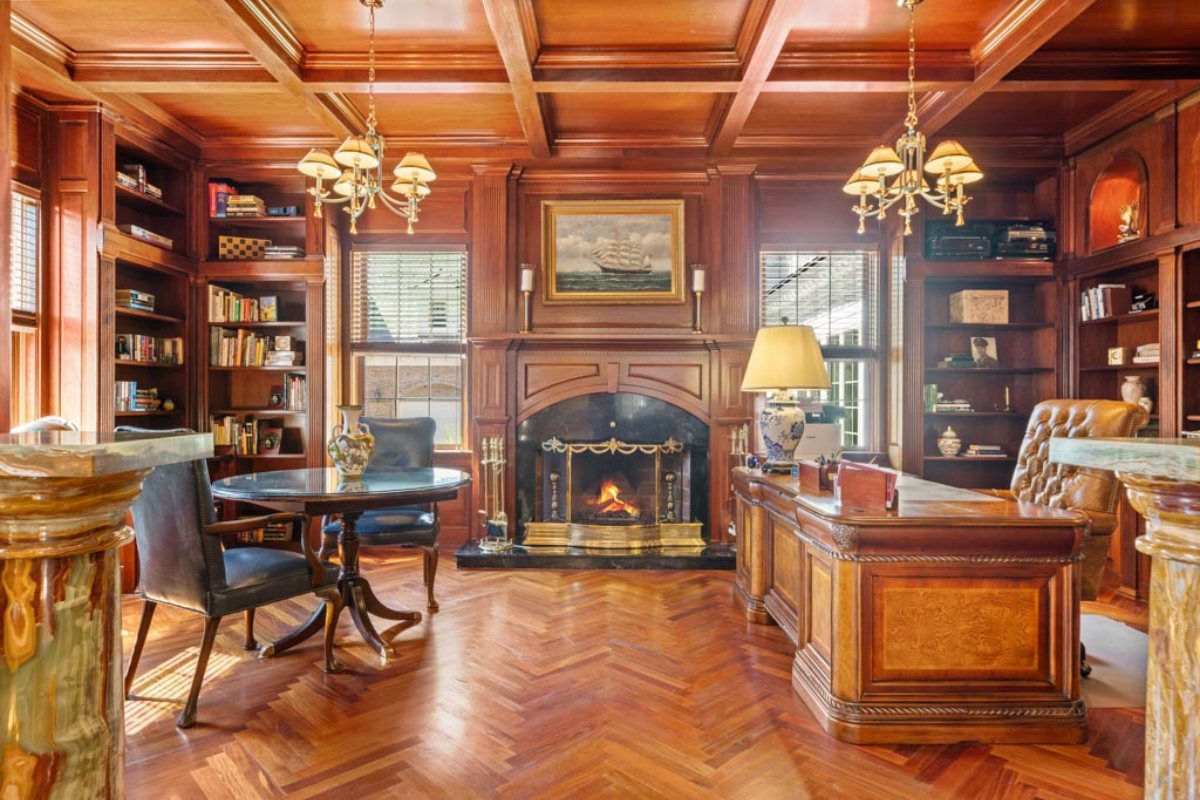
- Ask yourself: Who is your ideal buyer?
- A young professional? → Focus on modern design and amenities.
- A growing family? → Highlight storage space, backyard, and comfortable living spaces.
- A luxury home buyer? → Showcase high-end finishes, stunning views, and high-end amenities.
Great real estate videos don’t just showcase rooms—they sell a lifestyle.
Filming Techniques for Real Estate Videos
Simple Shot Movements
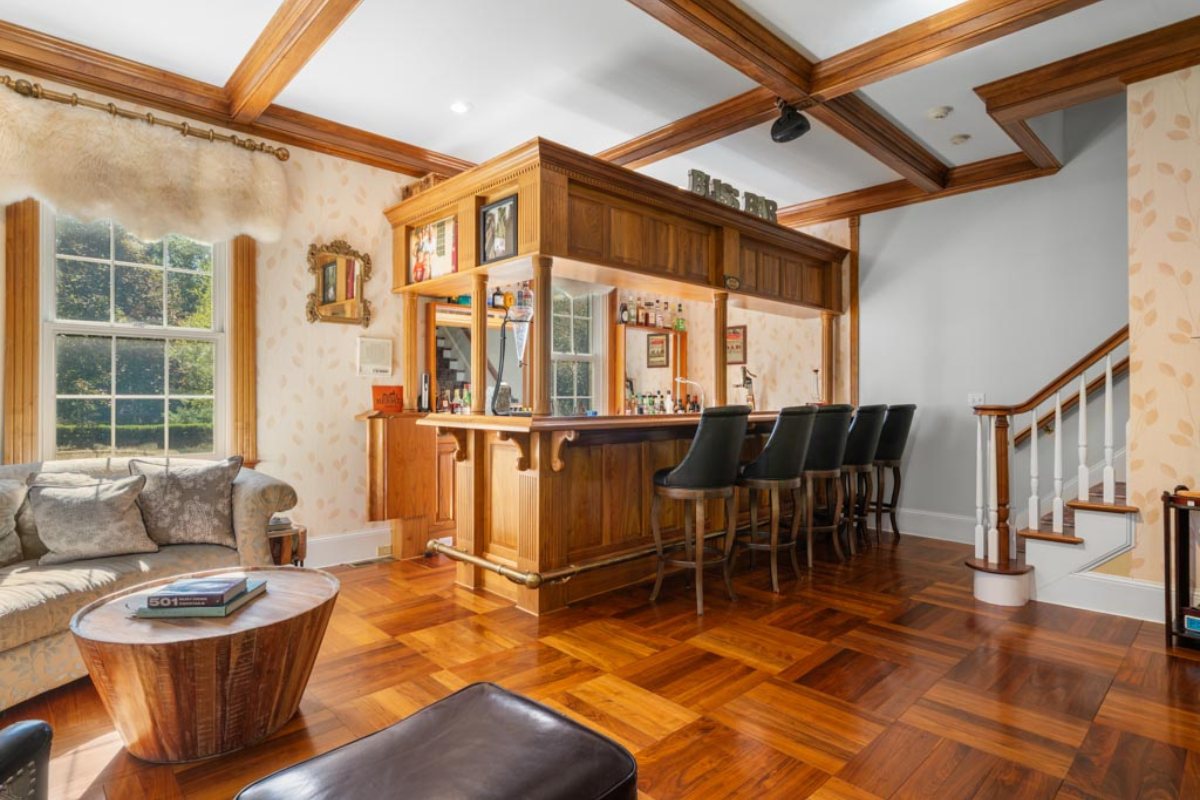
Simplicity is key when filming real estate walkthroughs. Use slow, steady movements with smooth transitions to show space without confusing the viewer. Dolly shots—where the camera moves in or out—are effective for creating a sense of depth.
Avoid complex, rapid camera moves that distract or disorient. Instead, focus on consistent pacing, gentle pans, and minimal zooms to provide clarity and comfort to viewers. These techniques foster an immersive, professional experience that emphasizes the property's qualities.
Incorporating Aerial Shots
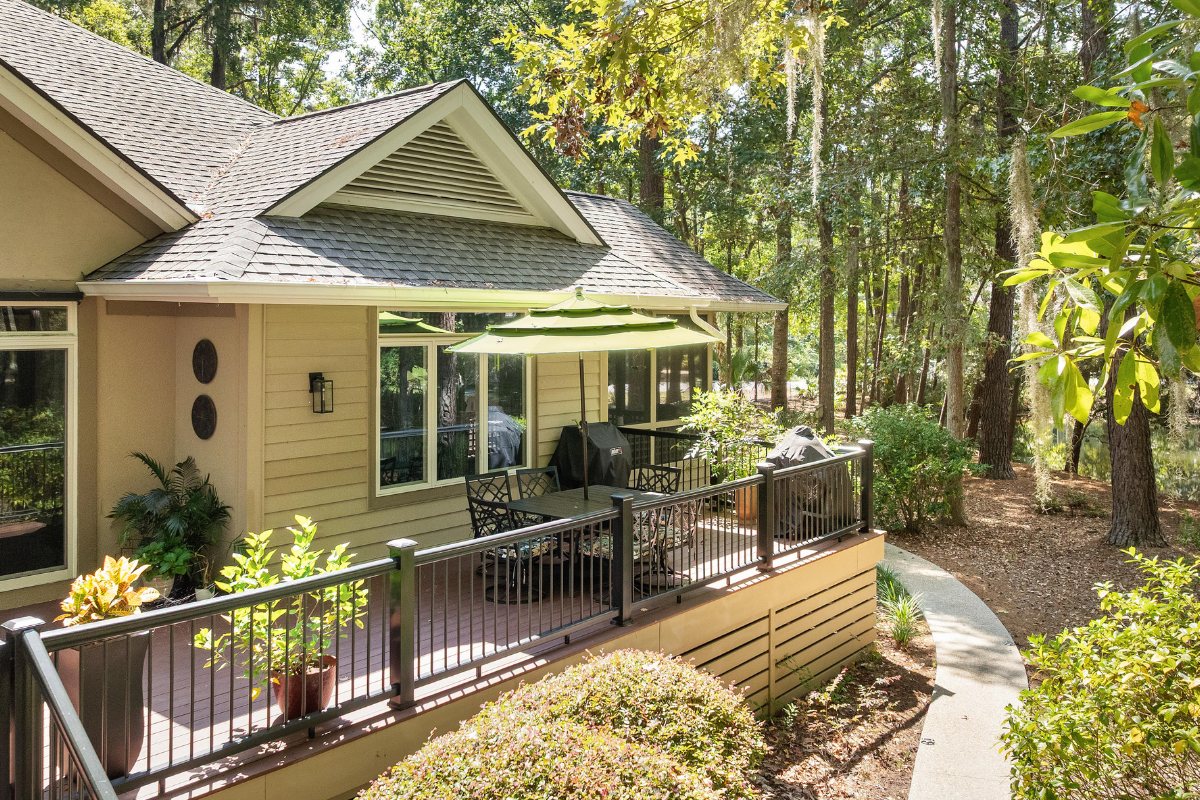
Drone footage adds an expansive perspective that grounds the viewer in the property's environment. It shows the lot size, landscaping, surrounding area, and access points. Aerial shots are particularly compelling in showcasing luxury estates, large properties, or scenic locations. Combining ground and aerial footage creates a comprehensive, engaging tour that elevates your entire listing presentation.
Capturing Property Details
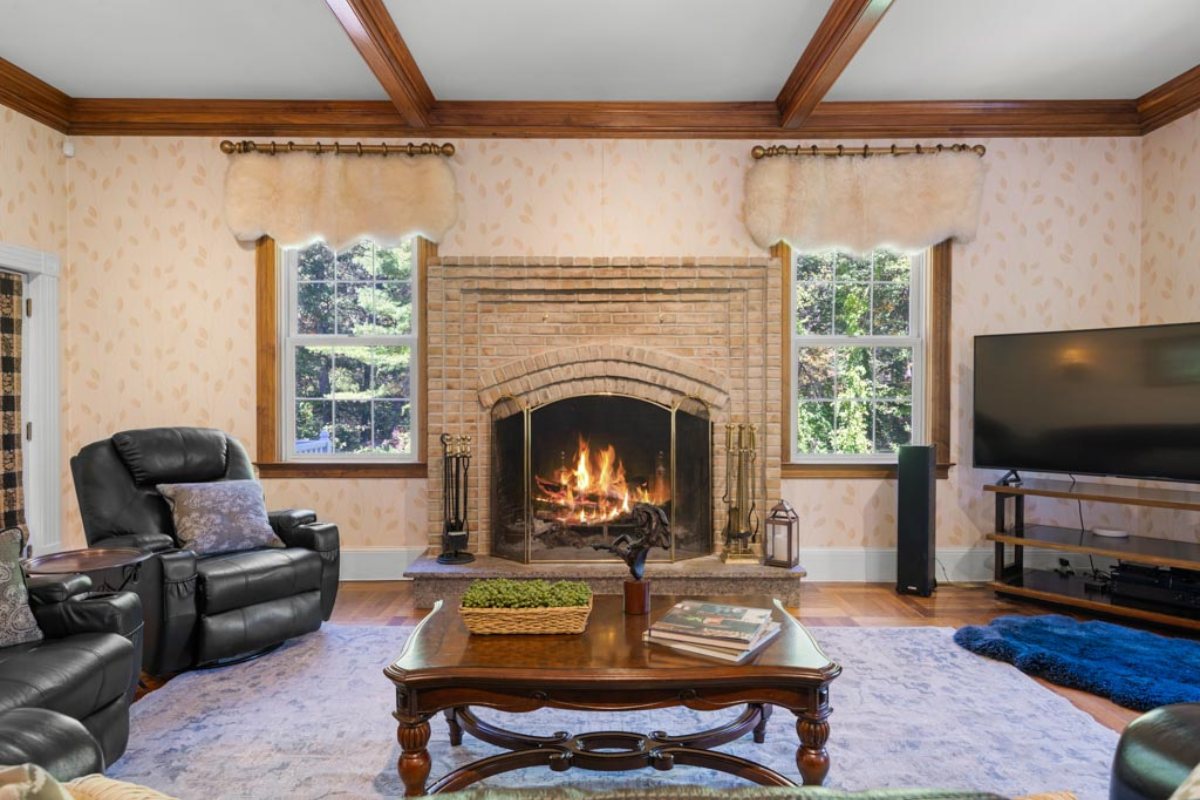
Close-up shots of features such as intricate decorations, appliances or unique design elements will add interest to your tour. These details often set a property apart and leave a lasting impression on viewers.
When shooting detail, use a prime or macro lens to ensure sharp focus and vibrant color reproduction. Balance detailed shots with wide-angle shots to create a rich, comprehensive and engaging story.
Camera Settings for real estate walkthrough video tutorial
To capture smooth and professional real estate walkthrough videos, your camera settings play a crucial role. Here’s how to prepare your camera for high-quality results:
- Shoot at the Highest Frame Rate in 1080p (50p or 60p is ideal), especially if you plan to use slow motion. This ensures smooth motion and a cinematic feel.
- Use the Correct Shutter Speed: Follow the 180-degree shutter rule by setting your shutter speed to at least double your frame rate (e.g., 1/50 or 1/100). This prevents flickering and maintains natural motion blur.
- Set Proper White Balance: Choose a fixed white balance between 3000K – 5600K, depending on the lighting conditions. This keeps your colors consistent throughout the walkthrough.
- Choose a Flat or Low-Contrast Profile
Shooting in a flat picture profile (or LOG if available) gives you more dynamic range and flexibility in post-production. However, it requires more skill to color grade compared to standard profiles.
Tips for Shooting in LOG or Flat Profiles:
+ Expose to the Right (ETTR): Slightly overexpose by 1–2 stops to protect shadow detail.
+ Keep ISO as Low as Possible: This reduces noise and preserves clarity.
+ Protect Highlights, Not Shadows: It’s better to clip a little brightness than to lose important shadow information.
+ Monitor Sharpness Carefully: Flat profiles can look soft on camera, so ensure focus is accurate.
Editing Tips for Real Estate Walkthrough Videos
Shooting well is only half the battle, the rest lies in editing. A well-edited real estate video will attract viewers, convey emotions, highlight the value of the property and convince customers more effectively. Here are some tips to help you edit videos more smoothly and classy.
Choose the Right Editing Software
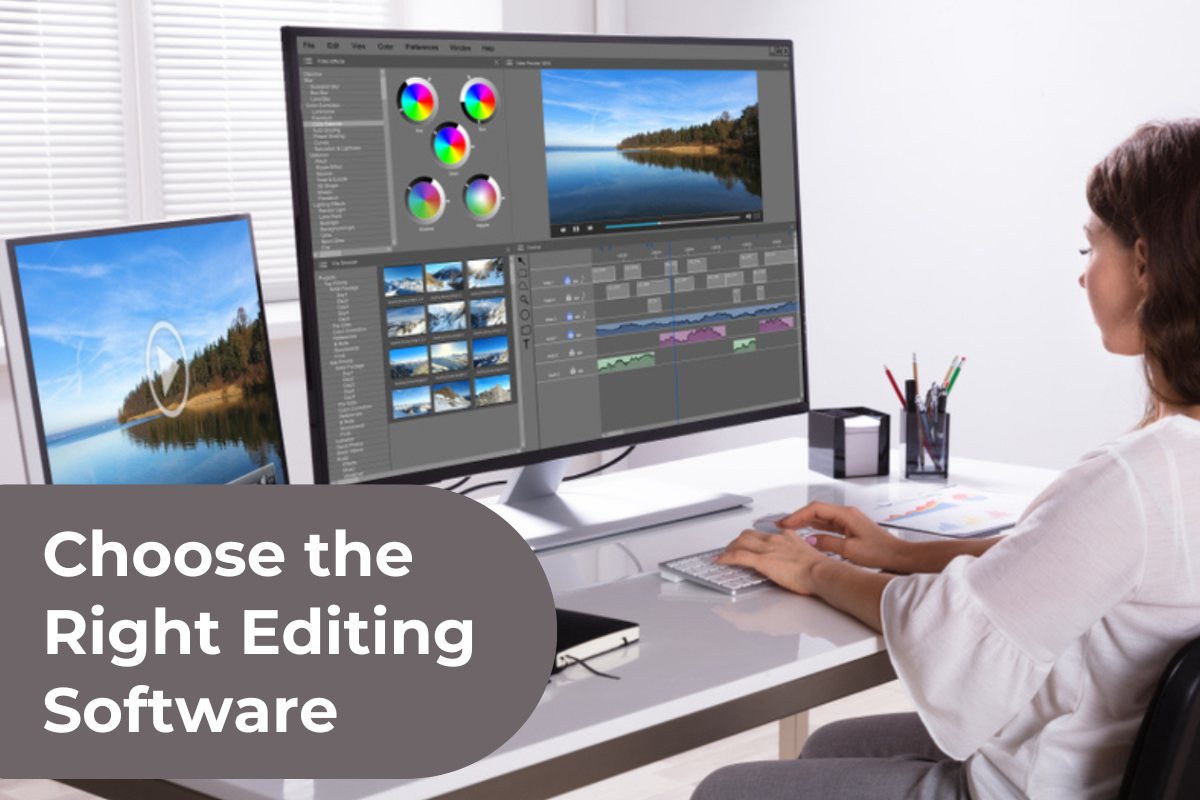
The right software will help you optimize the process and create more effectively. Choosing the right software will help you create professional real estate tutorial videos, save editing time and impress customers.
You can choose:
+ For beginners: Adobe Premiere Elements, iMovie
+ Professional: Final Cut Pro, Adobe Premiere Pro, DaVinci Resolve
Prioritize software with the following features:
- Multi-track editing (multiple layers of video and audio)
- Color grading (in-depth color grading)
- Image stabilization
- Flexible and fast video export options
Arrange the footage to create a story
A compelling tutorial video is not only about smooth footage but also about the narrative. You can arrange the footage in the following order:
- Exterior (facade, surrounding area)
- Entrance or lobby
- Living room / main space
- Bedroom, kitchen, bathroom
- Features (fireplace, nice view, high-end interior)
- Flycam angle or end of video overview
Maintain a steady pace, avoid cutting too fast or using distracting effects. The easier it is for viewers to follow, the longer they will stay.
Popular Editing Techniques
- Smooth Transitions: Use natural fade, dissolve or cut effects to keep the video rhythm subtle.
- Color Grading: You can adjust the saturation to avoid being too pale or too harsh. Use a color tone that suits the scene. For example, warm tones create a friendly, cozy feeling, cool or medium tones create a modern, bright space.
- Add appropriate background music: Background music plays an important role in creating emotions. You should choose soft instrumental music, creating a luxurious or relaxing feeling. Pay attention to the music copyright if posting publicly.
- Voice-over: If you want to increase persuasiveness, add a voice-over to explain the strengths of the property, outstanding details. The voice-over should be clear, rhythmic and professional.
- Text and captions display information such as: Number of bedrooms / bathrooms, Area, Asking price, Area name, etc. Make sure the font is easy to read, the size is suitable for mobile devices.
Mistakes to Avoid in Real Estate Videography
Overly Complex Shots
While creative camera work has its place, excessive complexity can overwhelm viewers and detract from the property's features. Stick to simple, well-planned shots that emphasize clarity and inviting pacing.
Over-complicating your footage with jittery movements, rapid zooms, or unnecessary effects risks confusing the viewer. Remember, the goal is to showcase the property, not to showcase your technical prowess unnecessarily.
Neglecting Lighting
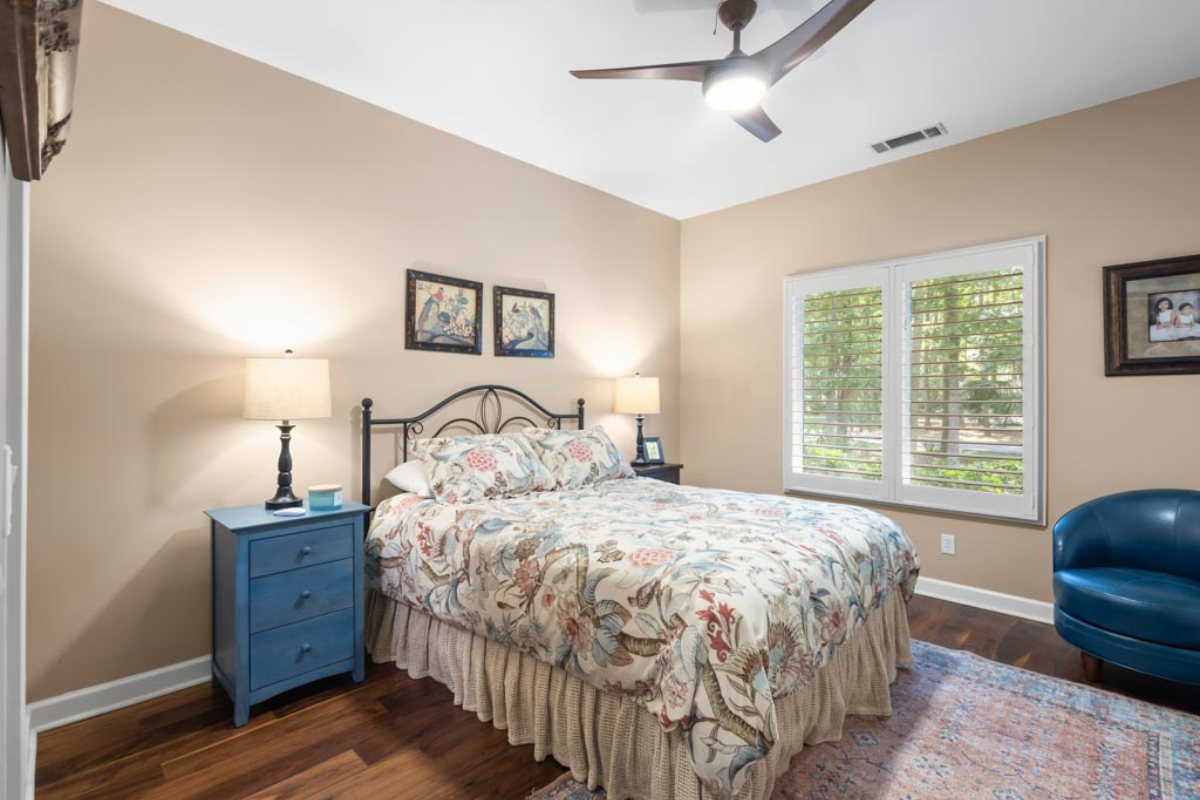
Poor lighting can make a bright, inviting home look dull or unappealing. Always prioritize natural light and supplement it with proper artificial lighting when needed. Failing to manage lighting ensures your footage appears flat or washed out.
Balance light sources by adjusting white balance settings and using reflectors or diffusers. Consistent, well-lit shots communicate quality and make the property look its best, increasing buyer interest.
Failing to Plan Properly
A rushed or unfocused shoot often leads to missing shots, inconsistent footage, and headaches during editing. Proper planning, including a detailed shot list and understanding of priorities, saves time and produces superior content.
Invest time in scouting, pre-visualizing your shots, and preparing equipment. A thoughtfully organized shoot ultimately results in a professional, compelling walkthrough that highlights the property's strengths.
Professional Real Estate Walkthrough Video Editing Service from Picpee
In today's competitive real estate market, a smooth, professional and emotional real estate walkthrough video is the weapon to help you attract buyers and increase the rate of closing deals. Picpee is proud to bring high-quality real estate walkthrough video editing service, making each scene vivid, seamless and fully demonstrating the value of the property.
What does Picpee do with your walkthrough video?
- Arrange and cut the footage reasonably according to the natural flow of movement in the house.
- Add smooth transitions to create a seamless feeling like a real tour.
- Professional color grading - optimize light, color to make the space bright, luxurious and attractive.
- Insert background music, titles, room/area information to increase persuasiveness.
- Optional voiceover or caption to convey the outstanding information of the house.
- Export high-quality files, ready to upload to platforms such as YouTube, Facebook, Website or Listing.
Not only Walkthrough Video, Picpee also provides a variety of services for real estate brokers & developers: Reels, Property Video, HDR Photo Editing, Virtual Staging, Object, Removal, Day to Twilight,....
With transparent pricing, experienced editors and a fast process, Picpee helps real estate agents accelerate the marketing process and sell faster. Check out Picpee's services now.
Frequently Asked Questions
How long should a walkthrough video be?
Typically, a real estate walkthrough video should be between 2 to 4 minutes long. This duration is enough to showcase key areas without losing viewer interest. Shorter videos are more digestible and shareable online, skipping unnecessary detail while still providing a comprehensive view of the property.
What is the best time of day to film?
The optimal time for filming is during the golden hours — shortly after sunrise or before sunset — when natural light is soft and warm. Shooting during these times minimizes harsh shadows and highlights, creating a more inviting atmosphere in your footage.
Overcast days can also provide diffused lighting, reducing glare and shadow contrast. Avoid midday filming when the sun is directly overhead, which can produce unflattering, stark shadows and overly bright exterior shots.
Can I do it all myself or should I hire professionals?
Beginners can certainly start by doing their own filming with the right equipment and a bit of practice. Many affordable cameras and apps now make it easier to produce decent quality videos independently.
However, hiring professional videographers or editors pays off when aiming for high-stakes listings or upscale properties. Professionals bring technical expertise, equipment, and creative vision that can produce more polished, engaging content. Ultimately, it depends on your goals, budget, and the level of quality you wish to achieve.
Conclusion
In summary, real estate walkthrough videos are powerful tools that elevate property marketing by offering engaging, visually compelling virtual tours. From selecting the right equipment and planning meticulous shot lists to mastering filming techniques, proper camera settings, and strategic editing, each step contributes to creating videos that resonate with buyers and drive sales. Additionally, enhancing videos with sound, music, and branding further amplifies impact and recognition.
 Single Exposure
 Room Cleaning
 Reels
Reels Blended Brackets (HDR)
 Changing Seasons
 Slideshows
 Flambient
 Water in Pool
 Individual
 360° Image Enhancement
 Lawn Replacement
 Team
Team Virtual Staging
 Rain to Shine
 Add Person
 Remodel
 Custom 2D
 Remove Person
 360° Image
 Custom 3D
 Background Replacement
 Day to Dusk
 Property Video
 Cut Outs
 Day to Twilight
 Walkthrough Video
 Change color
 1–4 Items
