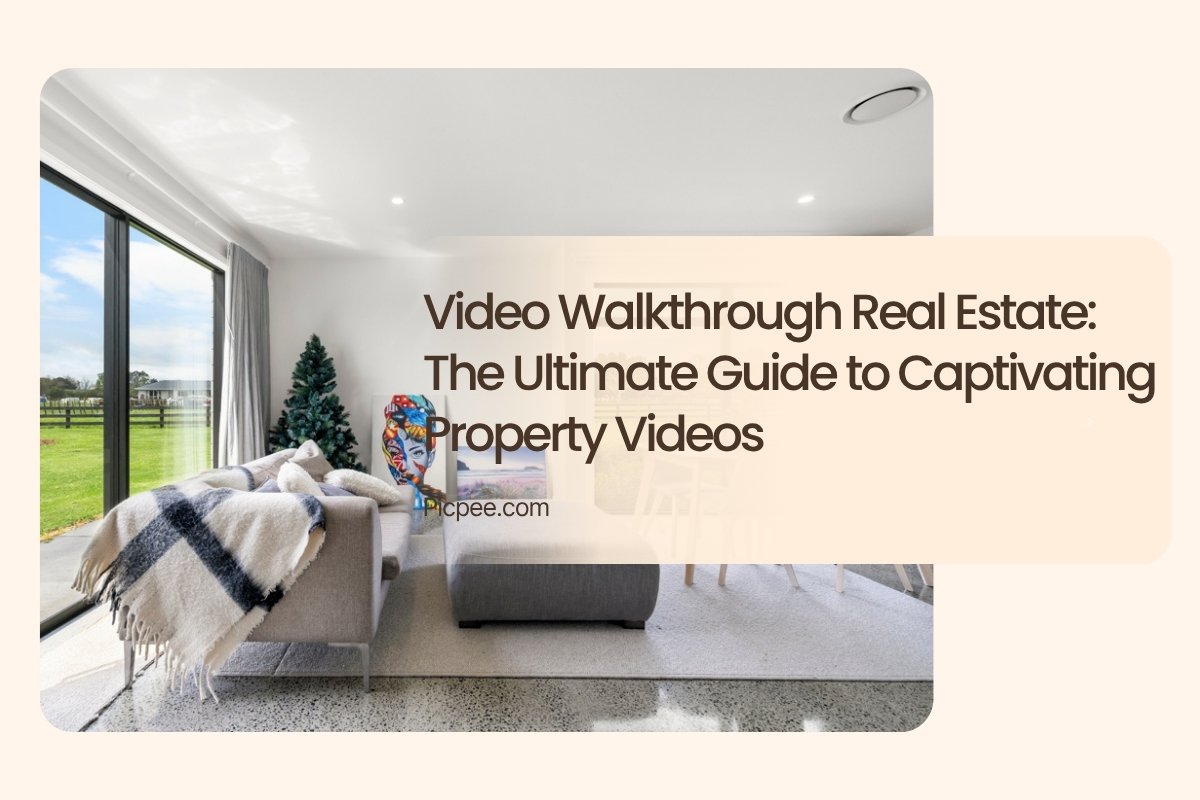
In today’s visually driven real estate market, property buyers expect more than static photos — they crave immersive experiences that help them visualize living in a space. Real estate video walkthroughs offer exactly that.
A well-produced video walkthrough doesn’t just show rooms; it tells a story, highlights flow, and creates emotion. Whether you’re an agent, photographer, or investor, understanding how to create a compelling video walkthrough can dramatically boost your listings’ performance, engagement, and perceived value.
Why Real Estate Video Walkthroughs Matter
In today’s fast-paced property market, visuals are more than just decoration — they’re a core part of real estate marketing. A video walkthrough doesn’t simply show a house; it tells a story. It allows potential buyers to experience a property’s true essence — how light moves through the rooms, how spaces connect, and how it might feel to call that place home. This emotional and immersive experience is what sets real estate video walkthroughs apart from static images.
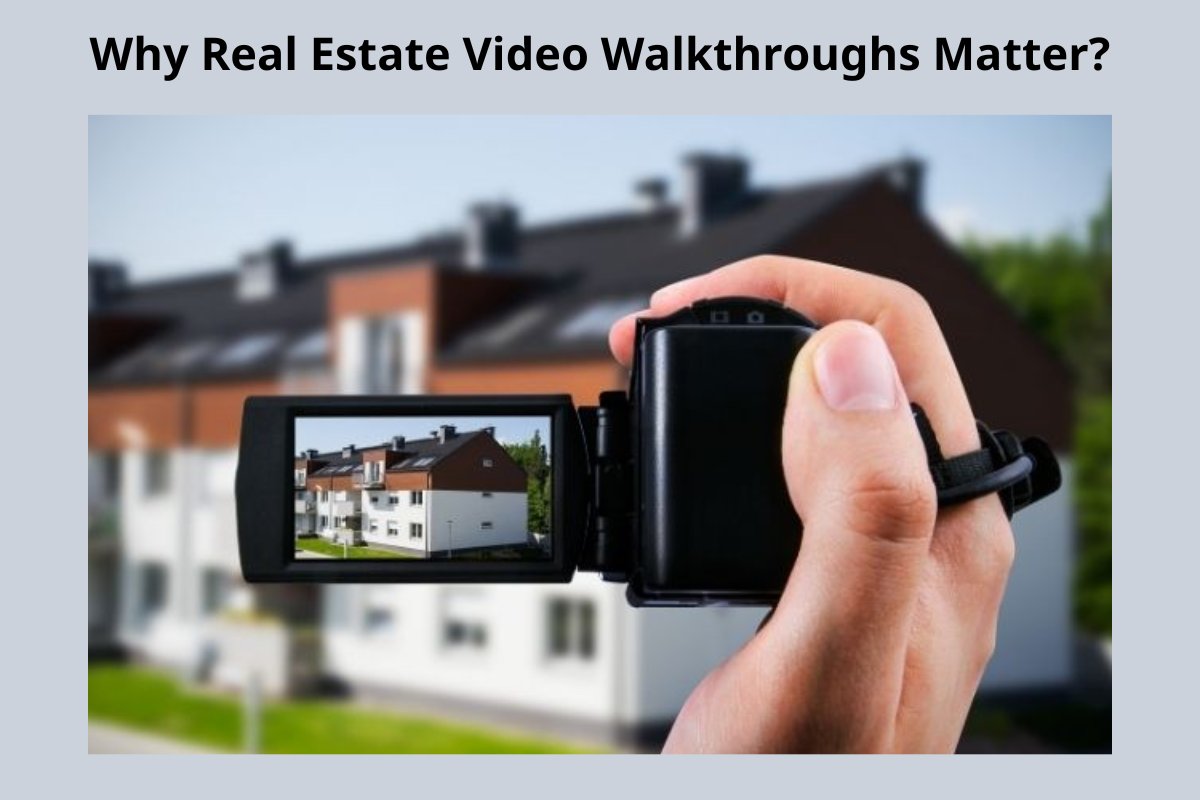
Enhance Property Visibility
Real estate video walkthroughs help listings stand out on every platform. With video dominating social media and search results, a well-produced walkthrough can increase exposure and generate more qualified leads.
Key advantages:
- Properties with video receive up to 400% more inquiries compared to photo-only listings.
- Videos capture user attention longer, boosting engagement rates on sites like Zillow, YouTube, or Facebook.
- The dynamic visuals make your listing appear modern and professional, strengthening first impressions.
By showing real movement and natural flow, a video walkthrough naturally attracts buyers who are serious about exploring a property.
Build Buyer Trust and Transparency
One of the most powerful effects of real estate video walkthroughs is trust. Videos feel more authentic because they show the property as it is — with natural lighting and minimal editing.
Main benefits:
- Helps buyers trust the listing before seeing it in person.
- Reduces time wasted on uninterested or mismatched viewers.
- Essential for remote or international buyers who rely solely on digital visuals.
When clients feel transparency, they’re more likely to move forward confidently — shortening the sales process.
Maximize Social Media Reach
Social media platforms prioritize video content in their algorithms — and real estate videos perform exceptionally well. A walkthrough video can be repurposed into shorter clips for Instagram Reels, YouTube Shorts, Facebook Stories, or TikTok to drive more traffic.
Tactical benefits:
- Boosts organic reach without heavy ad spending.
- Builds consistent engagement through cross-platform visibility.
- Allows for easy storytelling through short highlights or teaser clips.
With the right hashtags, captions, and timing, one video can multiply your reach across multiple channels.
Planning Your Real Estate Video Walkthrough
Before filming, careful planning ensures your video looks polished and professional.
Step 1: Understand the Property
- Walk through the property beforehand.
- Identify its best features — natural light, spacious rooms, or architectural details.
- Note potential problem areas (dark corners, cluttered spaces).
Step 2: Create a Shot List
A shot list acts as your filming blueprint. Include:
- Exterior establishing shots (front, garden, driveway)
- Entryway reveal
- Living room, kitchen, dining area
- Bedrooms, bathrooms, and special rooms (office, gym, etc.)
- Backyard or balcony finale
Step 3: Decide the Style
- Cinematic: Slow pacing, emotional music, storytelling narration.
- Informational: Clear voiceover or text overlay with key details.
- Social media-friendly: Vertical format, fast cuts, captions, and upbeat audio.
Essential Equipment for Video Walkthroughs
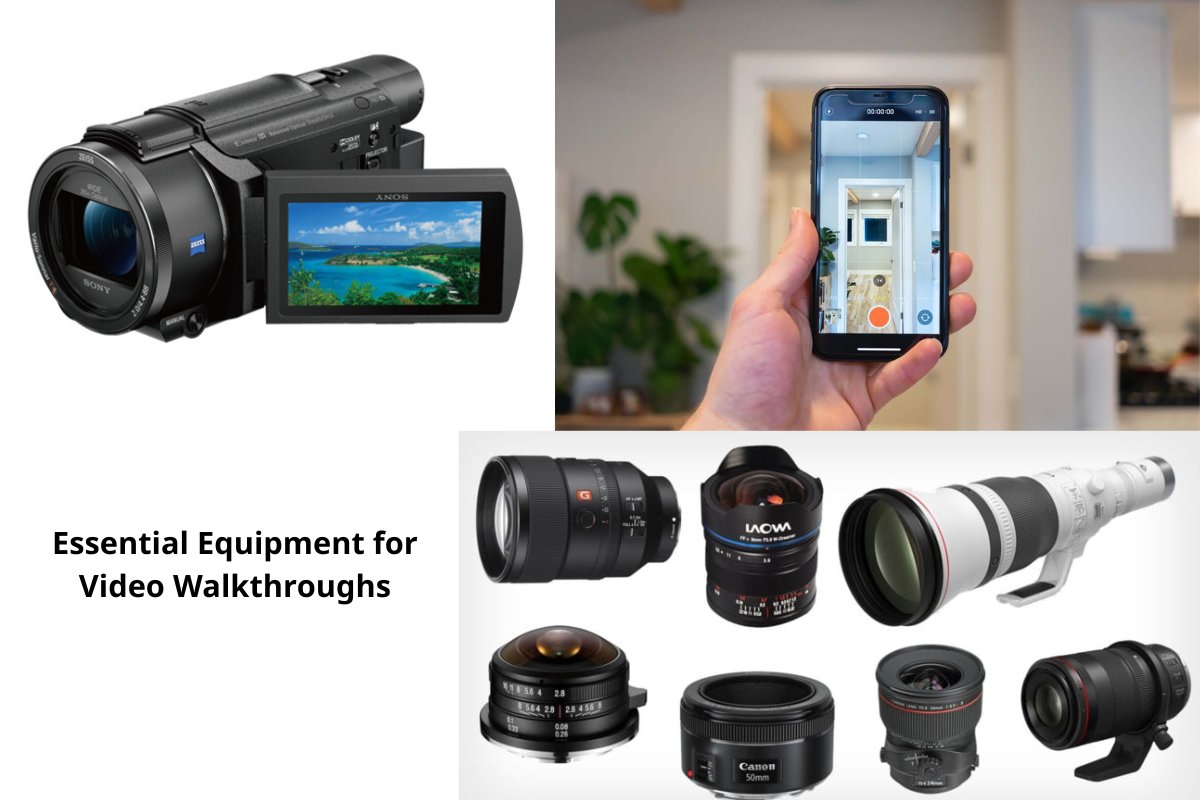
Creating a high-quality real estate video walkthrough starts with using the right equipment. Every detail — from the lens you choose to the way you stabilize your camera — directly affects the final impression buyers get. Professional gear not only enhances image clarity but also helps capture the property’s atmosphere in a way that feels immersive and cinematic.
Camera and Lenses
Your camera and lens setup are the foundation of your video. A mirrorless or DSLR camera delivers the depth and dynamic range needed for professional real estate visuals.
- Use mirrorless or DSLR cameras such as Sony A7 IV or Canon EOS R6 for sharp, color-accurate footage.
- Choose wide-angle lenses (16–35mm) to showcase entire rooms and open layouts effectively.
- Adjust aperture settings to keep interiors bright and inviting while maintaining focus balance.
These combinations help ensure smooth transitions and detailed coverage throughout the walkthrough.
Stabilization Tools
Shaky footage can instantly ruin the professionalism of your video walkthrough. Using stabilization tools ensures smooth, cinematic motion that guides viewers naturally through each space.
- Gimbals like DJI Ronin-SC or Zhiyun Weebill 3 maintain stable movement while walking.
- Tripods are essential for static shots or highlighting details such as fixtures and finishes.
- For smaller setups, consider a monopod for quick adjustments without losing stability.
A stable camera keeps attention where it belongs — on the property, not the motion.
Lighting Equipment
Proper lighting transforms an ordinary space into an appealing one. Natural light is always best, but artificial lighting can help maintain consistency throughout the shoot.
- Use natural daylight when possible to create warmth and authenticity.
- Add softbox or LED panels in darker rooms to reduce harsh shadows.
- Experiment with bounce lighting to soften brightness and evenly illuminate interiors.
Balancing light sources ensures that colors appear true and rooms look as open and welcoming as possible.
Audio Equipment
Audio often gets overlooked, but it can greatly enhance immersion. A clear, crisp narration adds professionalism, while subtle ambient sounds help viewers feel present in the scene.
- Use lapel microphones or directional shotgun mics for clean voice capture.
- Record ambient room sounds for authenticity — footsteps, doors, or background echo.
- Always monitor sound levels to prevent distortion or muffling.
The right audio setup transforms your video from silent visuals into a real sensory experience.
Shooting Techniques for Professional Results
Shooting a real estate video walkthrough is both an art and a science.
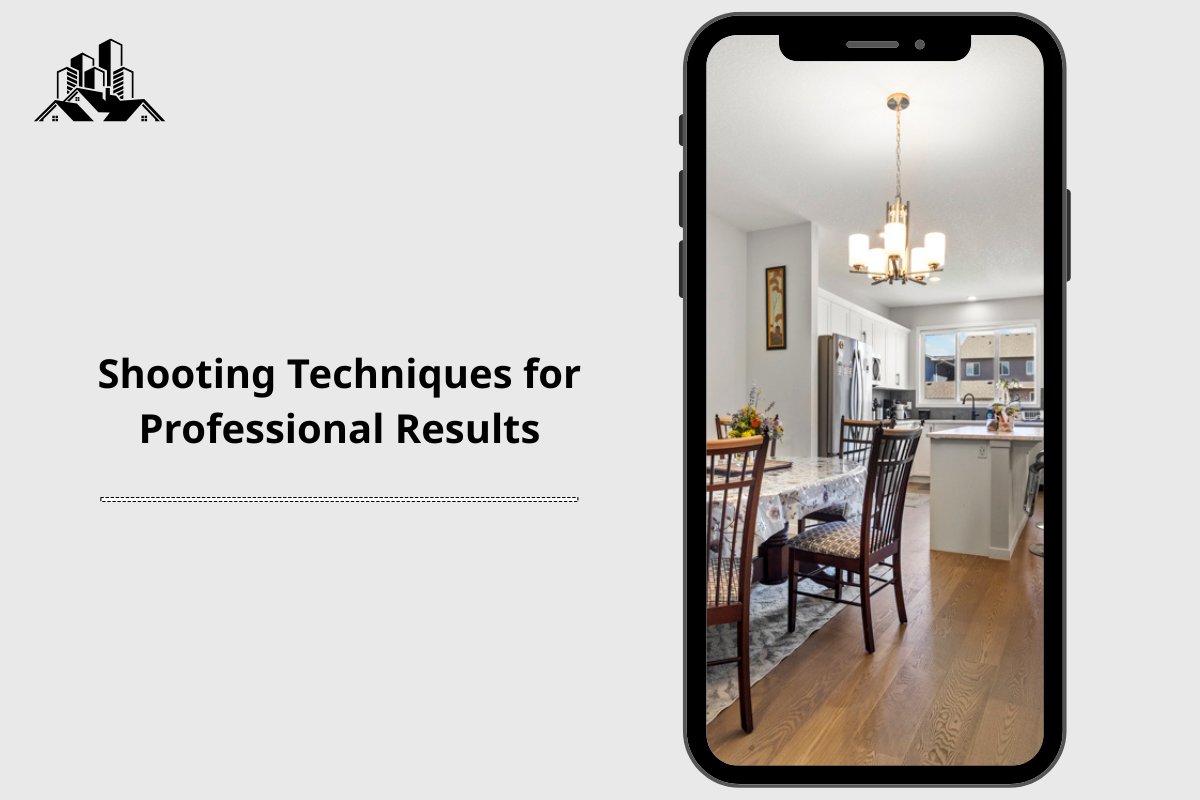
Tips for a Perfect Shoot:
- Shoot during golden hours — morning or late afternoon for soft lighting.
- Move slowly and consistently to avoid jerky footage.
- Follow natural pathways — let the viewer feel guided through the property.
- Keep camera at chest height for realistic perspective.
- Capture detail shots (door handles, textures, finishes) for emotional depth.
Pro Tip:
Do a practice walkthrough without recording to visualize transitions and pacing.
Editing Your Real Estate Video Walkthrough
Editing transforms your raw clips into a professional narrative that sells the home.
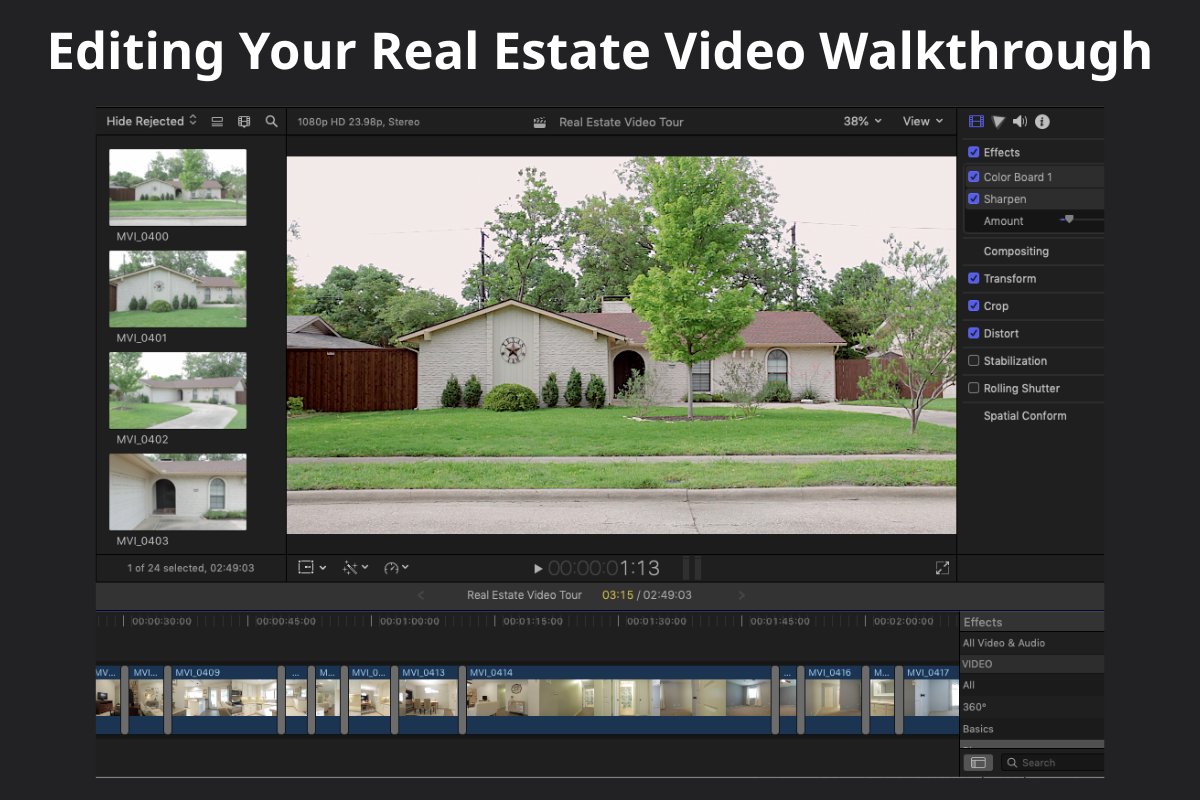
Editing Steps:
- Organize your footage by rooms and scenes.
- Trim unnecessary parts — keep the pace natural.
- Add music that matches the property’s vibe (calm for luxury homes, upbeat for modern apartments).
- Insert text overlays to highlight room sizes or features.
- Apply color correction to ensure brightness and consistency.
- Add branding (logo, contact info, or watermark).
A polished edit can make a property appear more elegant, spacious, and inviting.
Conclusion
A real estate video walkthrough is more than a marketing trend — it’s a storytelling tool that helps buyers fall in love with properties before setting foot inside. Whether you’re filming million-dollar estates or cozy apartments, the goal is the same: to make every viewer feel at home.
By planning carefully, filming smoothly, and using smart editing tools, you can consistently create videos that elevate your listings, attract serious buyers, and strengthen your professional image.
 Single Exposure
 Room Cleaning
 Reels
Reels Blended Brackets (HDR)
 Changing Seasons
 Slideshows
 Flambient
 Water in Pool
 Individual
 360° Image Enhancement
 Lawn Replacement
 Team
Team Virtual Staging
 Rain to Shine
 Add Person
 Remodel
 Custom 2D
 Remove Person
 360° Image
 Custom 3D
 Background Replacement
 Day to Dusk
 Property Video
 Cut Outs
 Day to Twilight
 Walkthrough Video
 Change color
 1–4 Items
